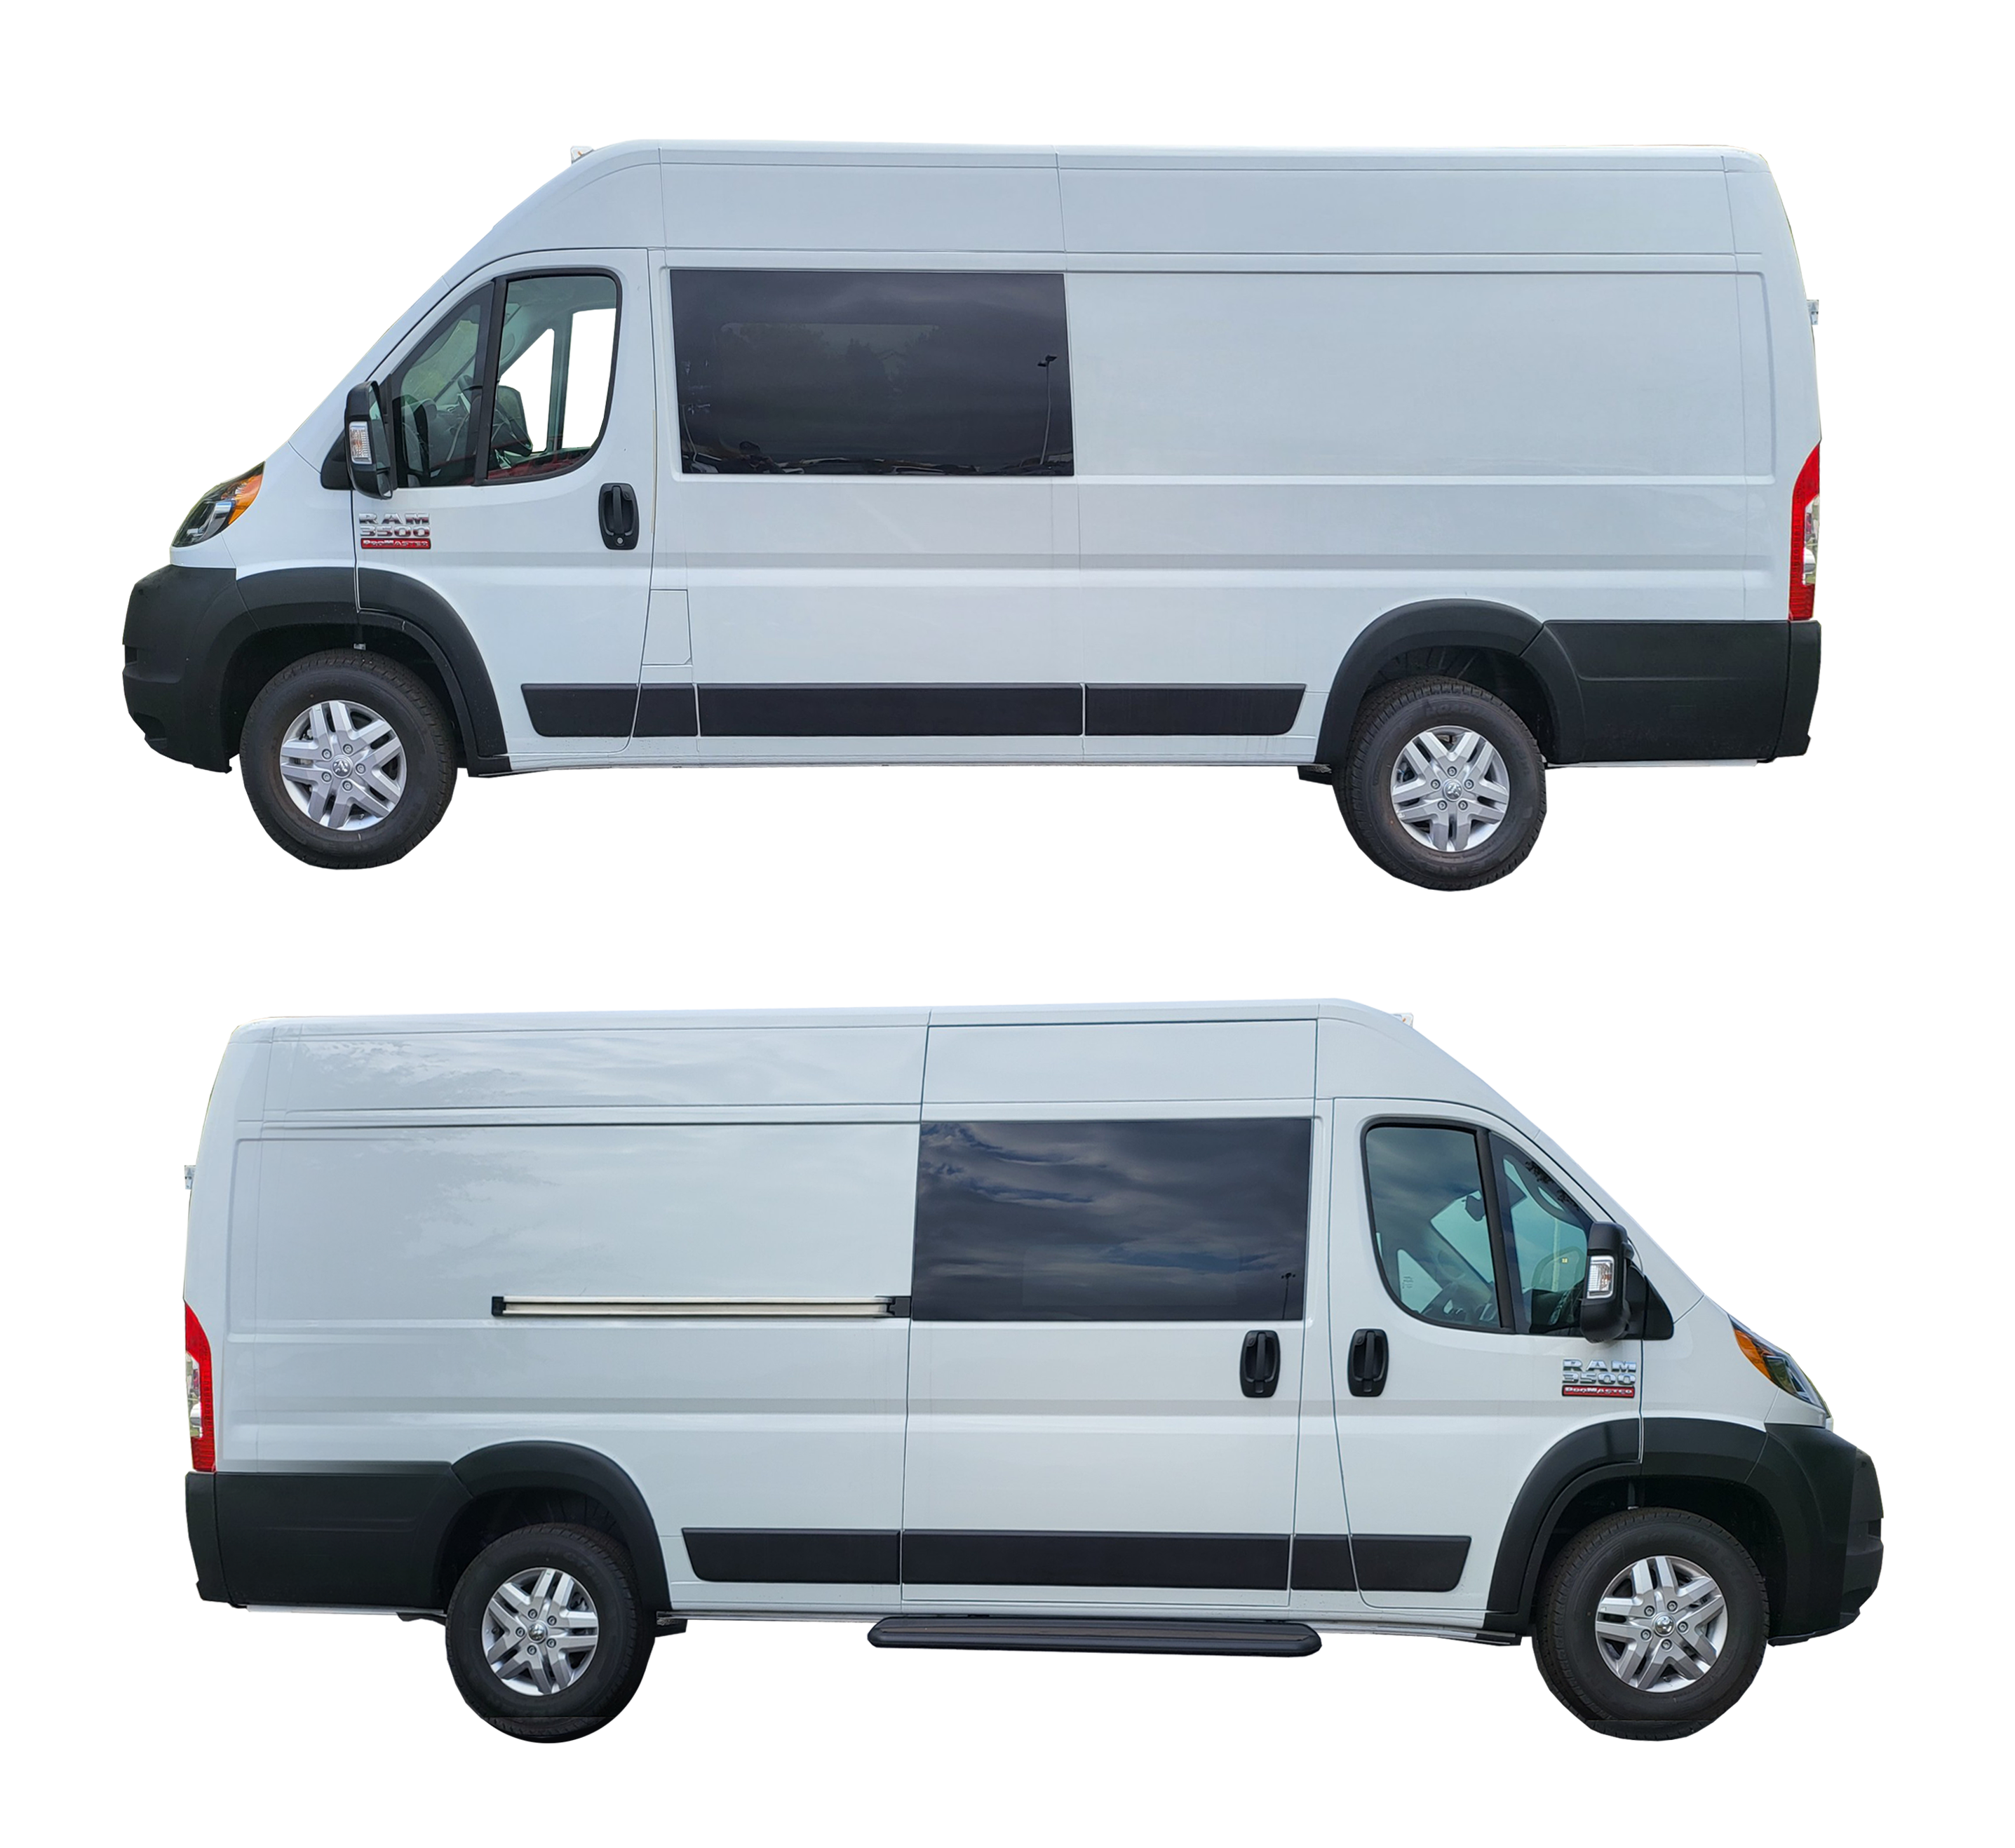
Original Van
I ordered Gravytrain's shell in January 2022. She's a (relatively) loaded 2022 Dodge Ram ProMaster 3500 One-Ton Panel Van. That's one of the biggest vans available. Nine months later... (October!), she arrived. The work began...
When Gravytrain arrived in October '22, I headed to Columbus, where I worked remotely while cranking up the RV build-out. I headed back to Denver in early 2023 in order to retire. The van stayed in Columbus, so work was put on hold. Below is the work accomplished so far.

Original Van
I ordered Gravytrain's shell in January 2022. She's a (relatively) loaded 2022 Dodge Ram ProMaster 3500 One-Ton Panel Van. That's one of the biggest vans available. Nine months later... (October!), she arrived. The work began...
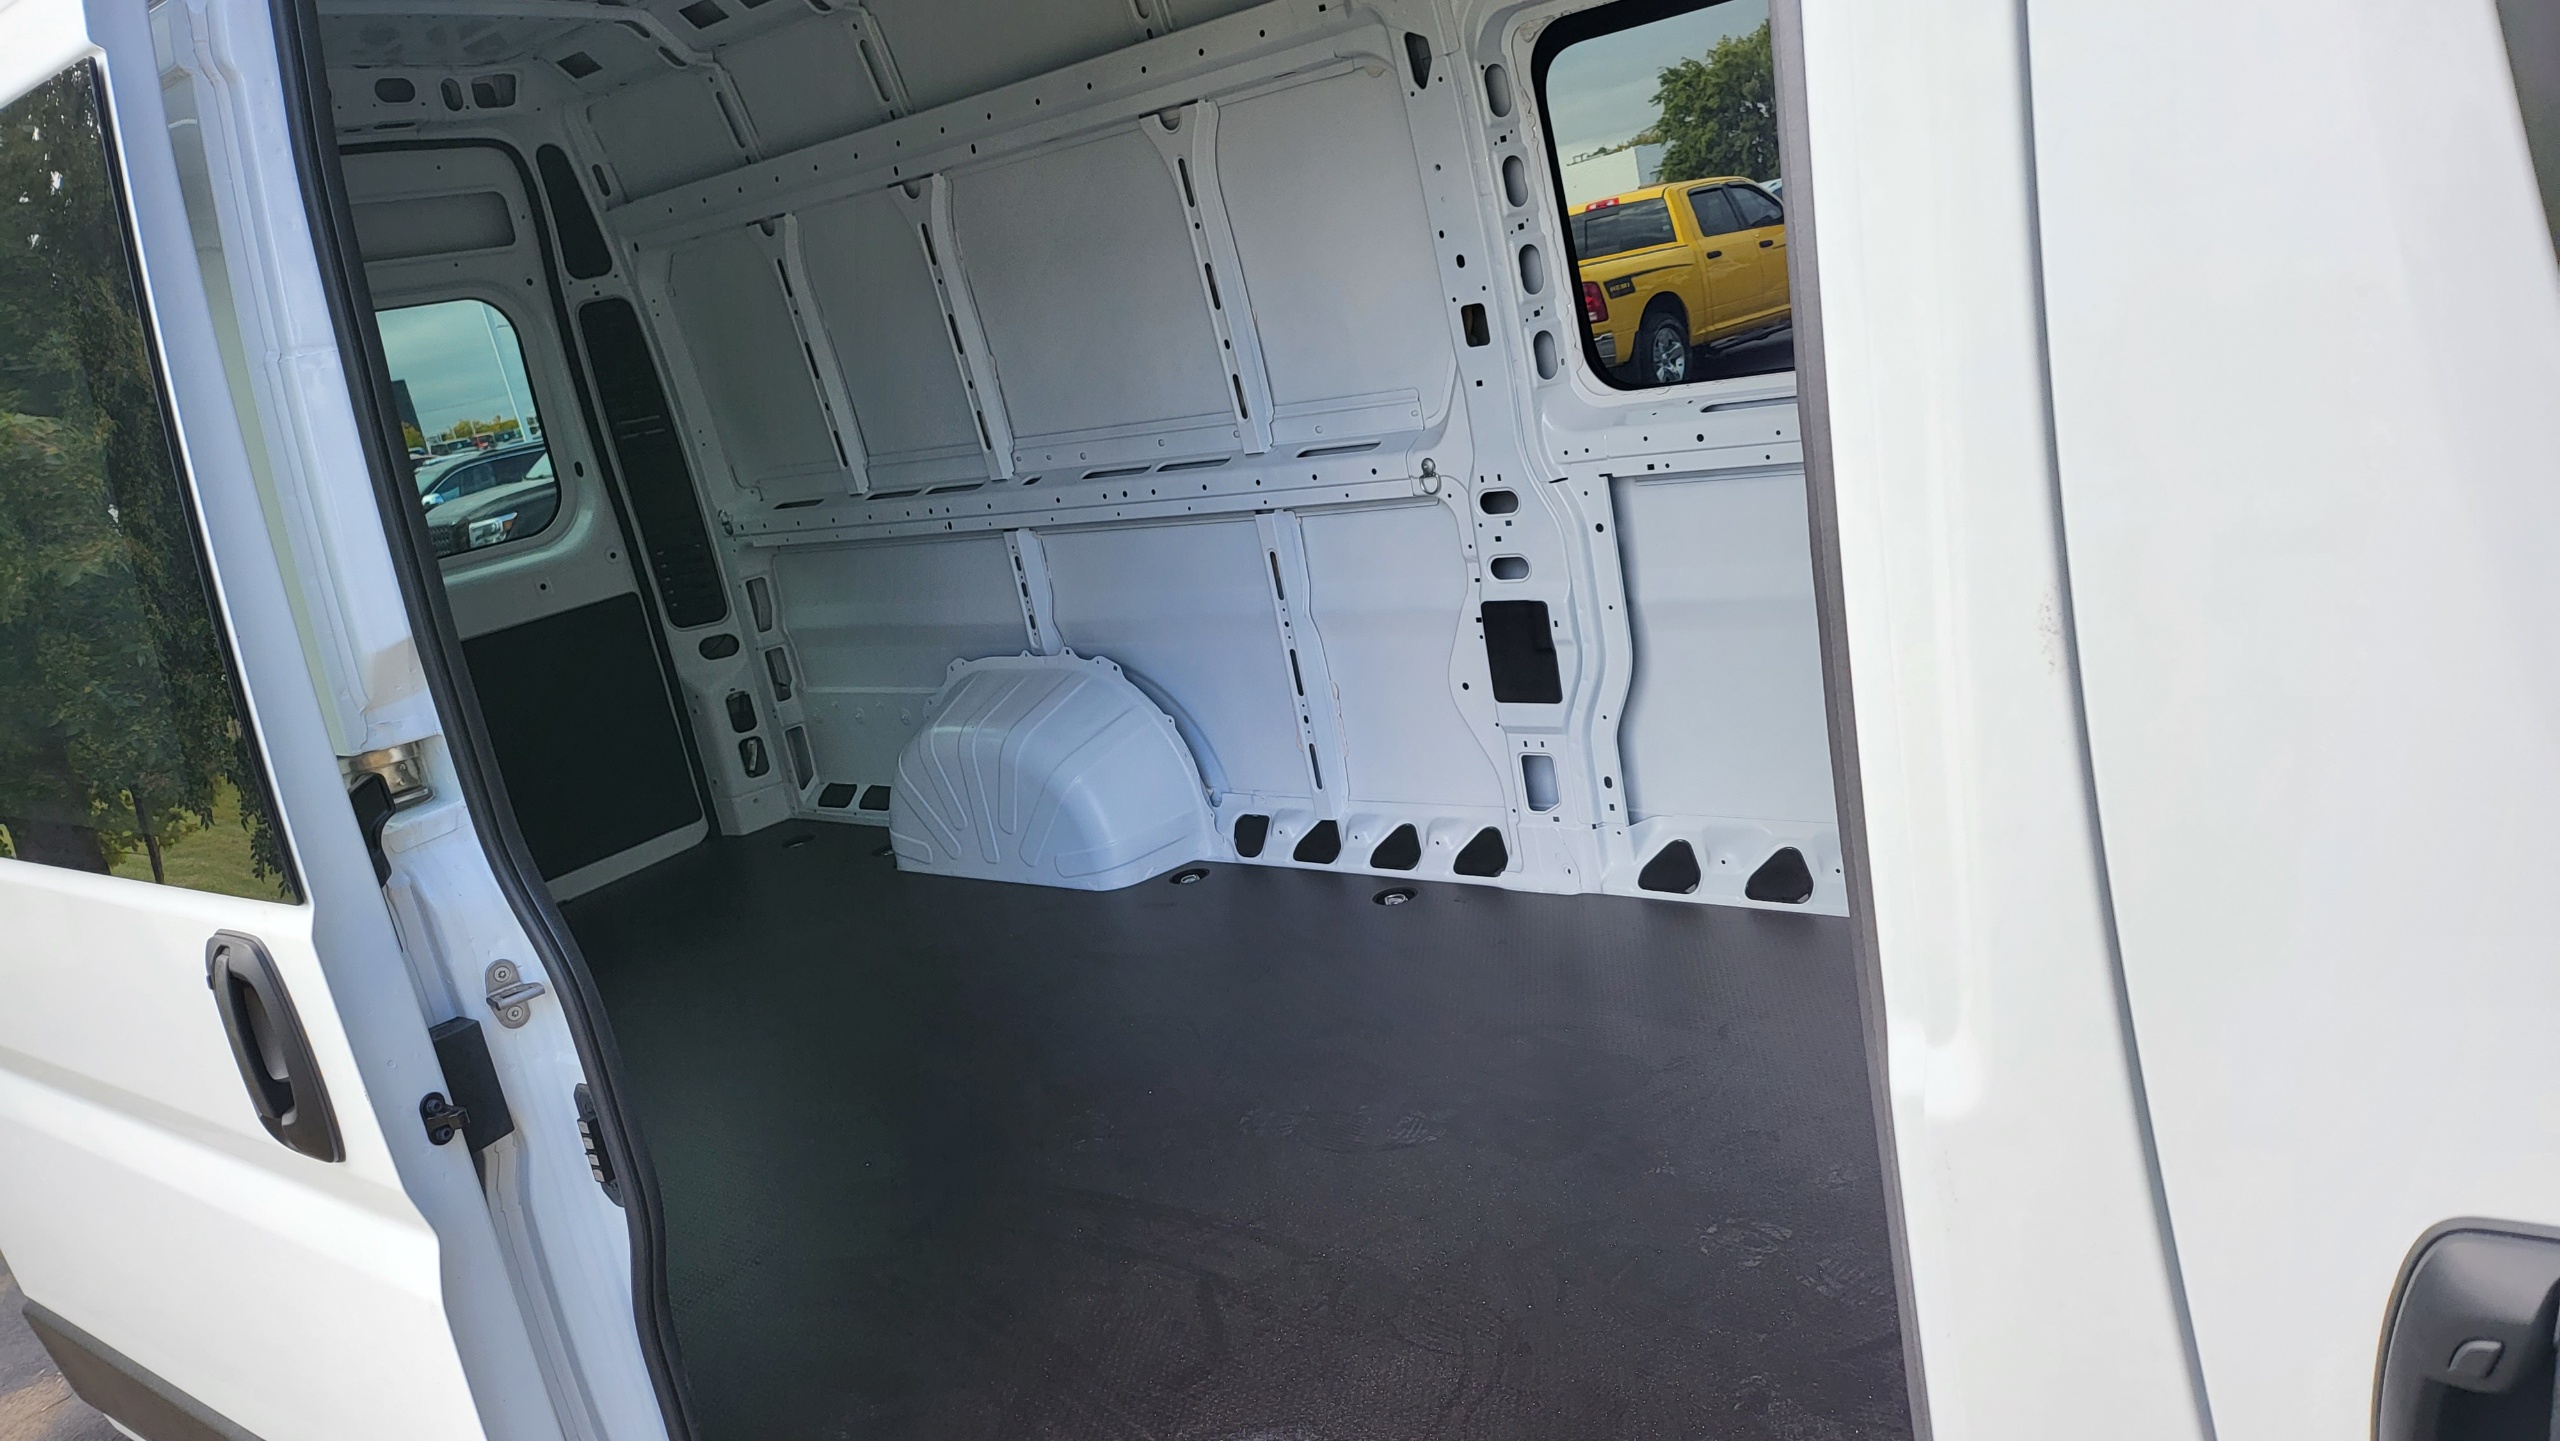
Original Floor
One of the options I purchased was a factory-installed 1/2 inch wood floor. I figured this would give me a (relatively) level platform to build on.
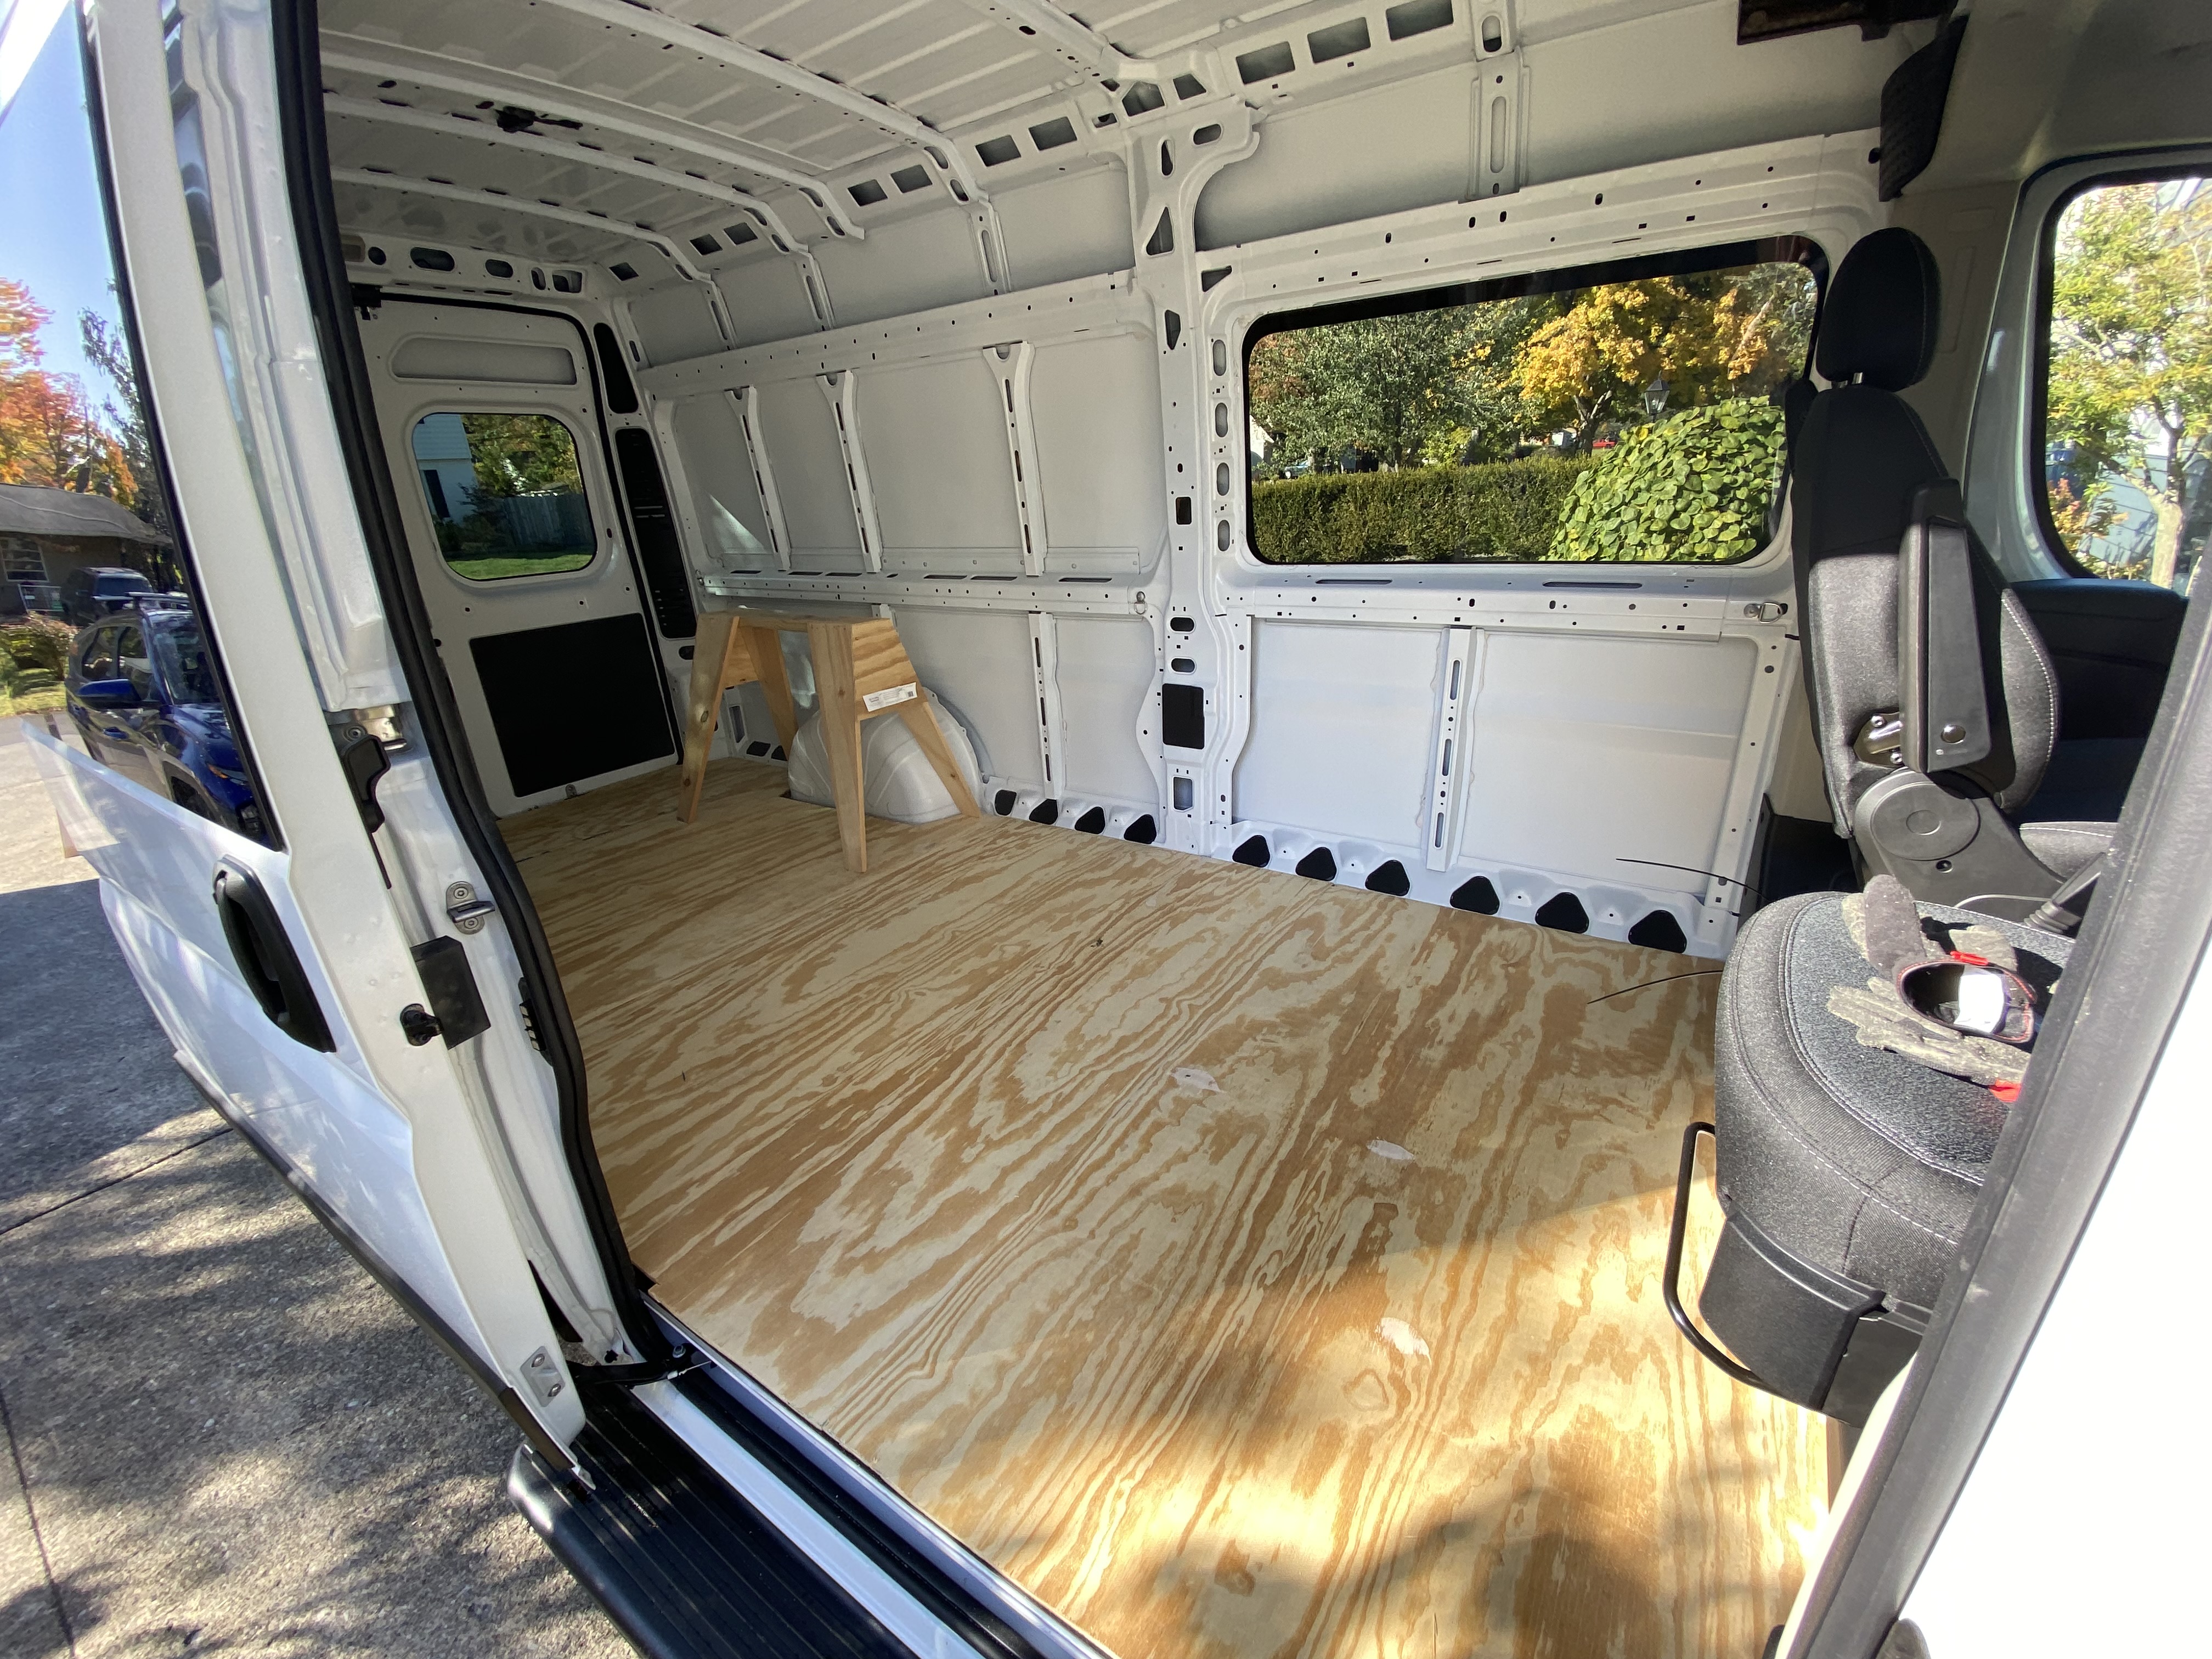
Subfloor
On top of the factory floor, I glued and screwed another 1/2 inch subfloor. This provides a one-inch subfloor for solidly attaching cabinetry and components to the floor.
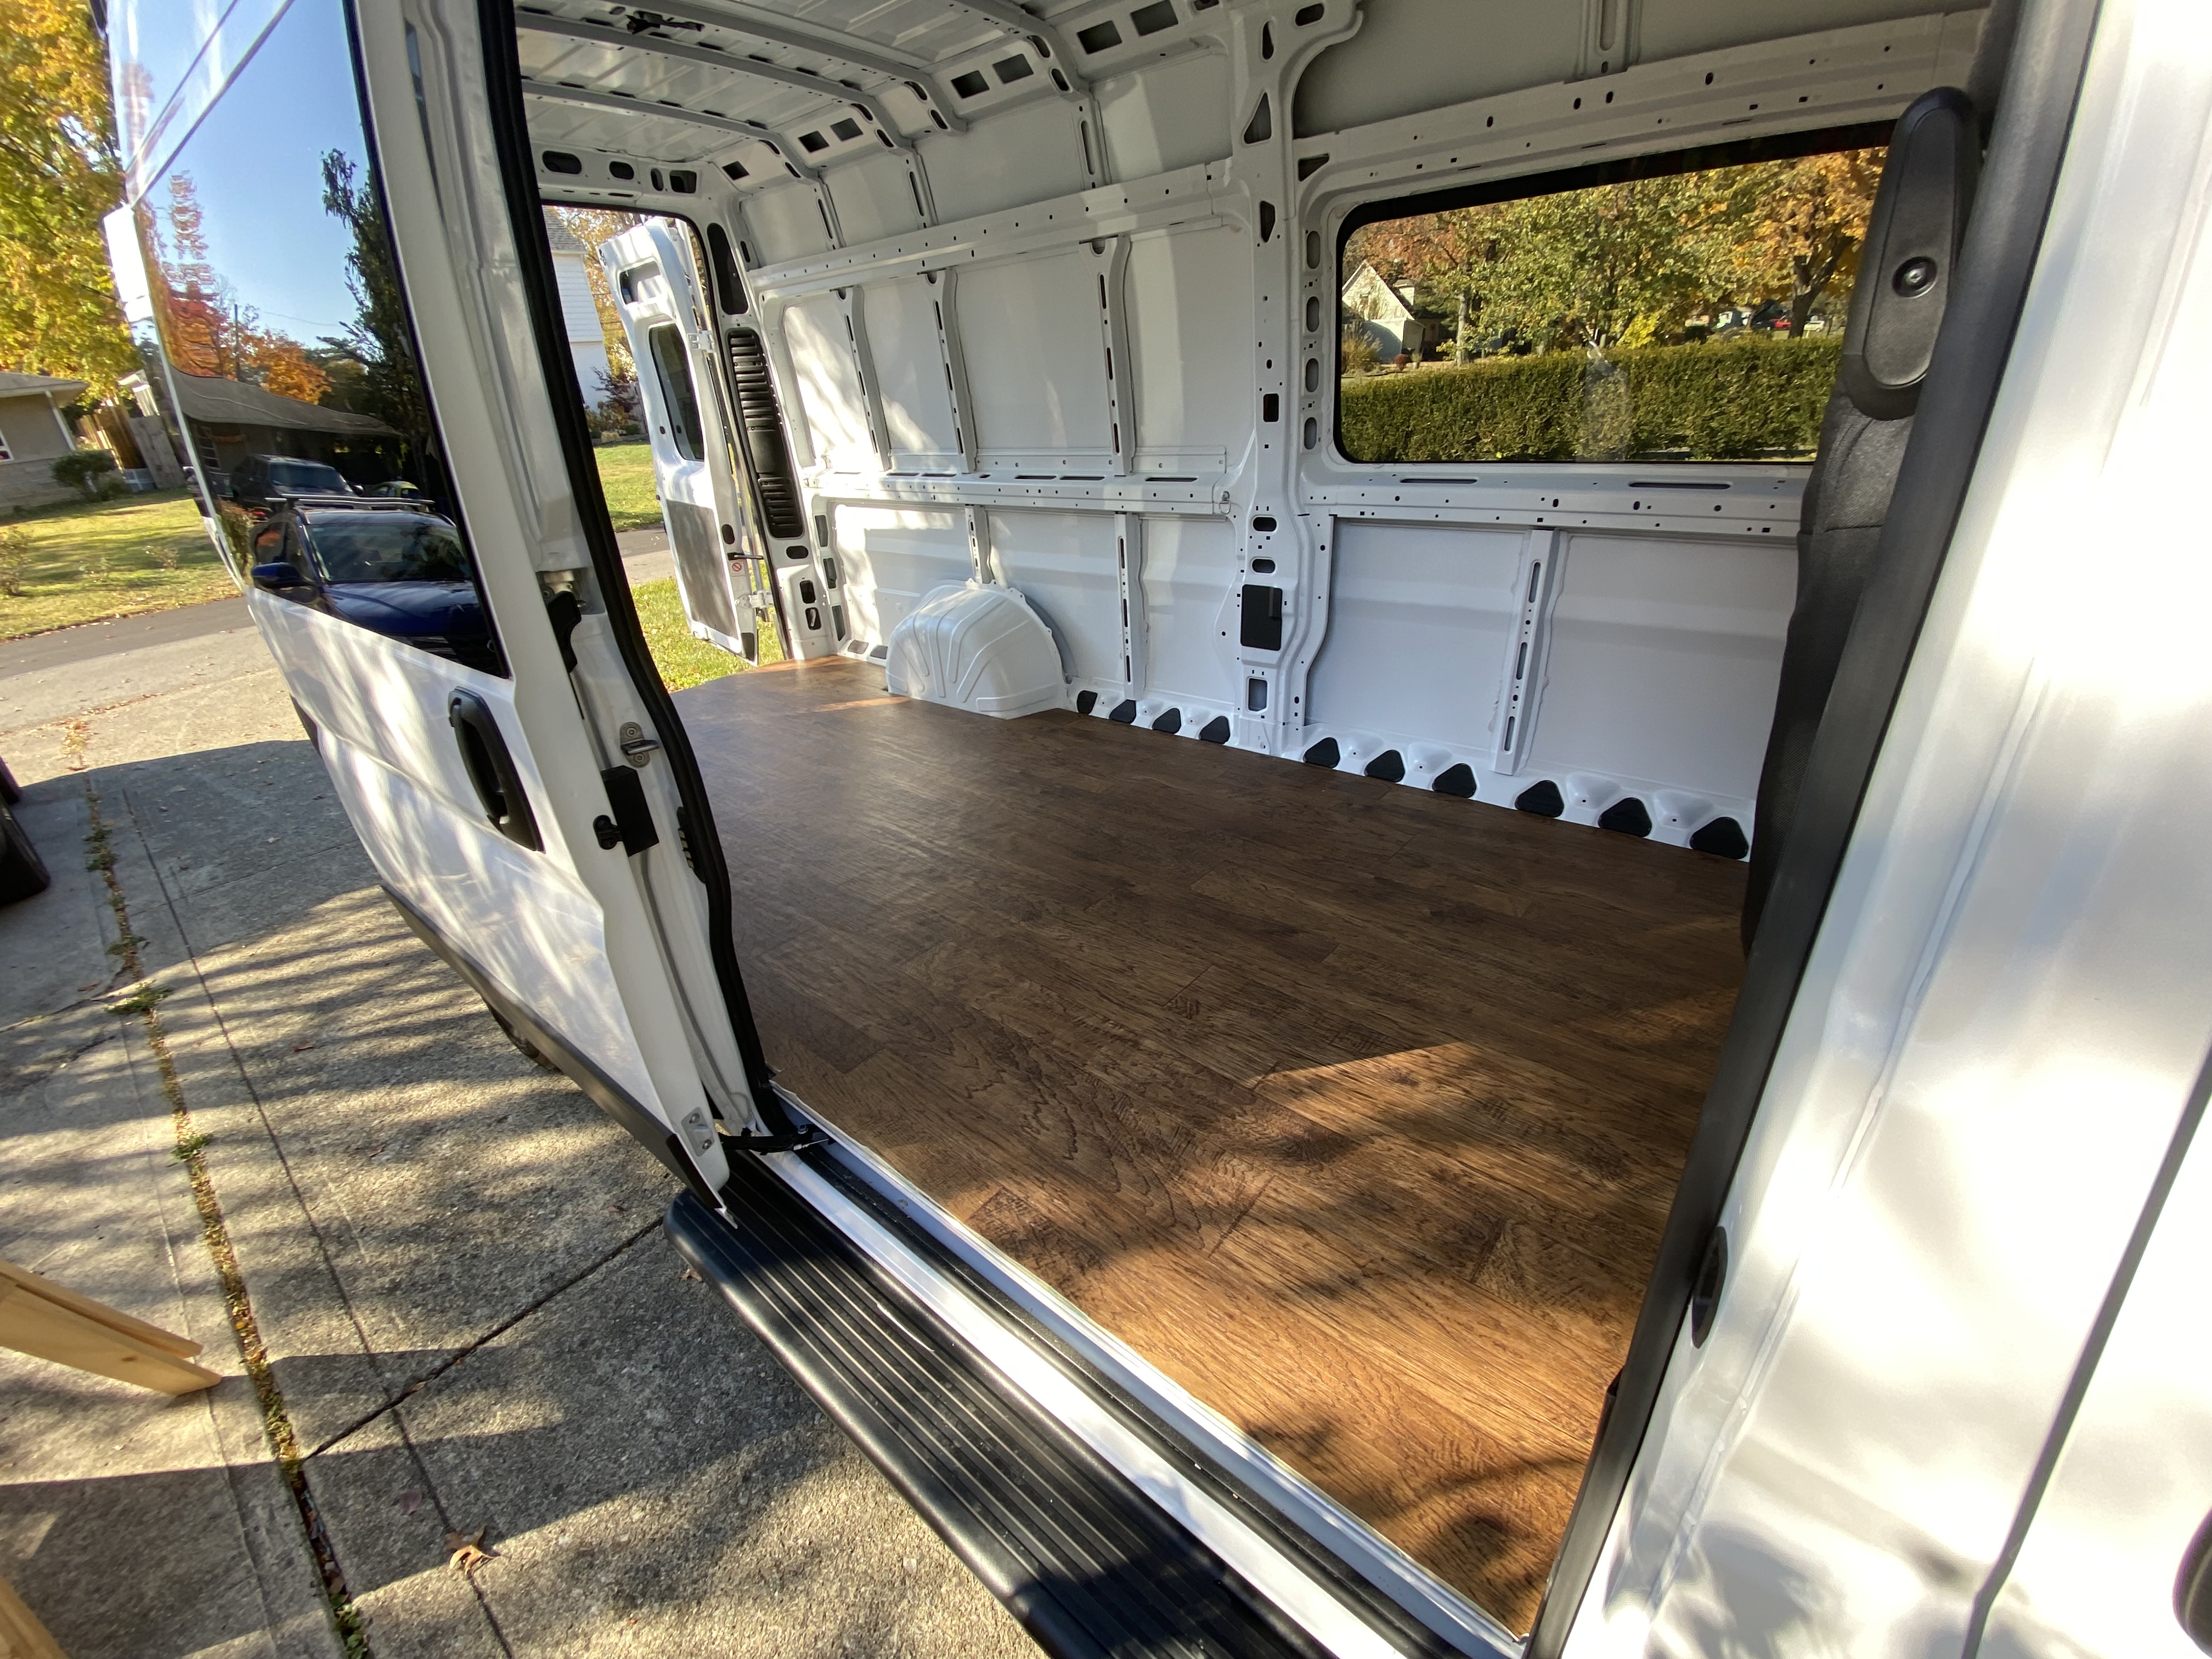
Sheet Vinyl floor
Finally, I installed a woodgrain pattern sheet vinyl floor. Many thanks to elementary school buddy Rick, who did most of this installation. I really felt like Tom Sawyer convincing his friend Ben that whitewashing his fence was the best thing in the world. Thanks Rick!
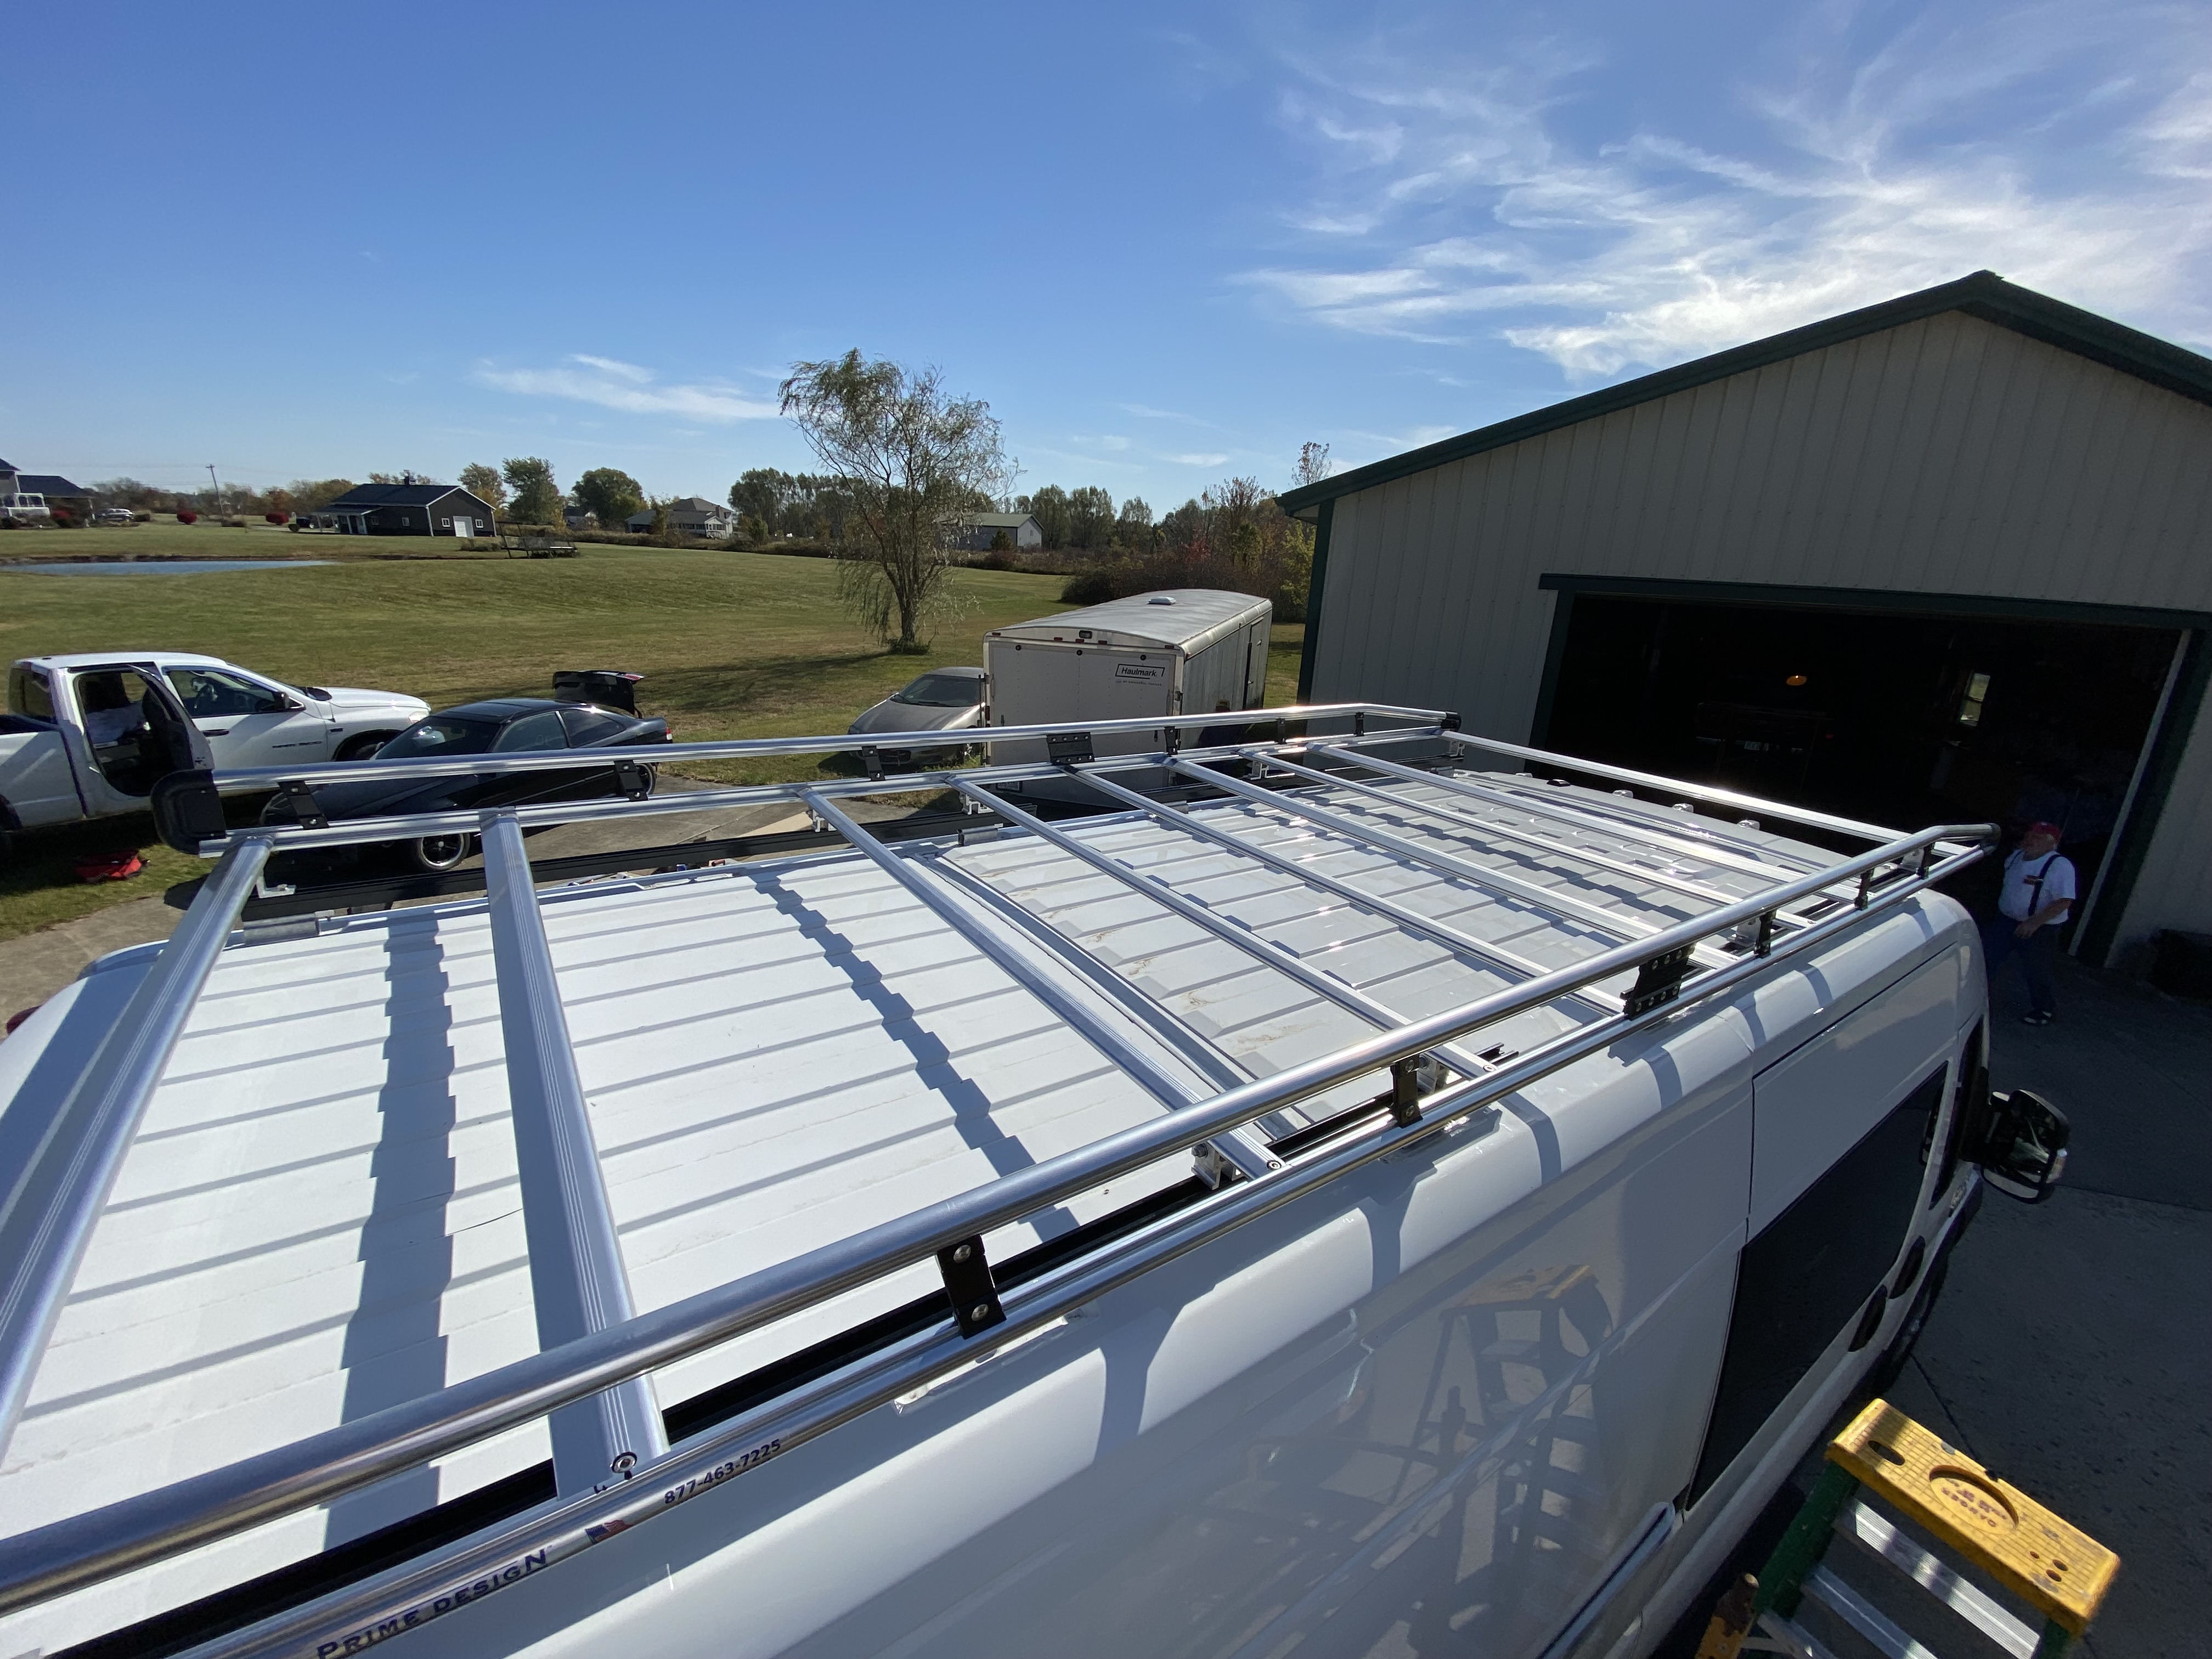
Roof Rack
Thanks to Rick, Bob, and Mad Mike for their help installing this bad boy. I think it could carry a space shuttle. It was a mind-boggling erector set, but while I was still trying to read the instructions, these guys nearly had it installed! Friends are good.
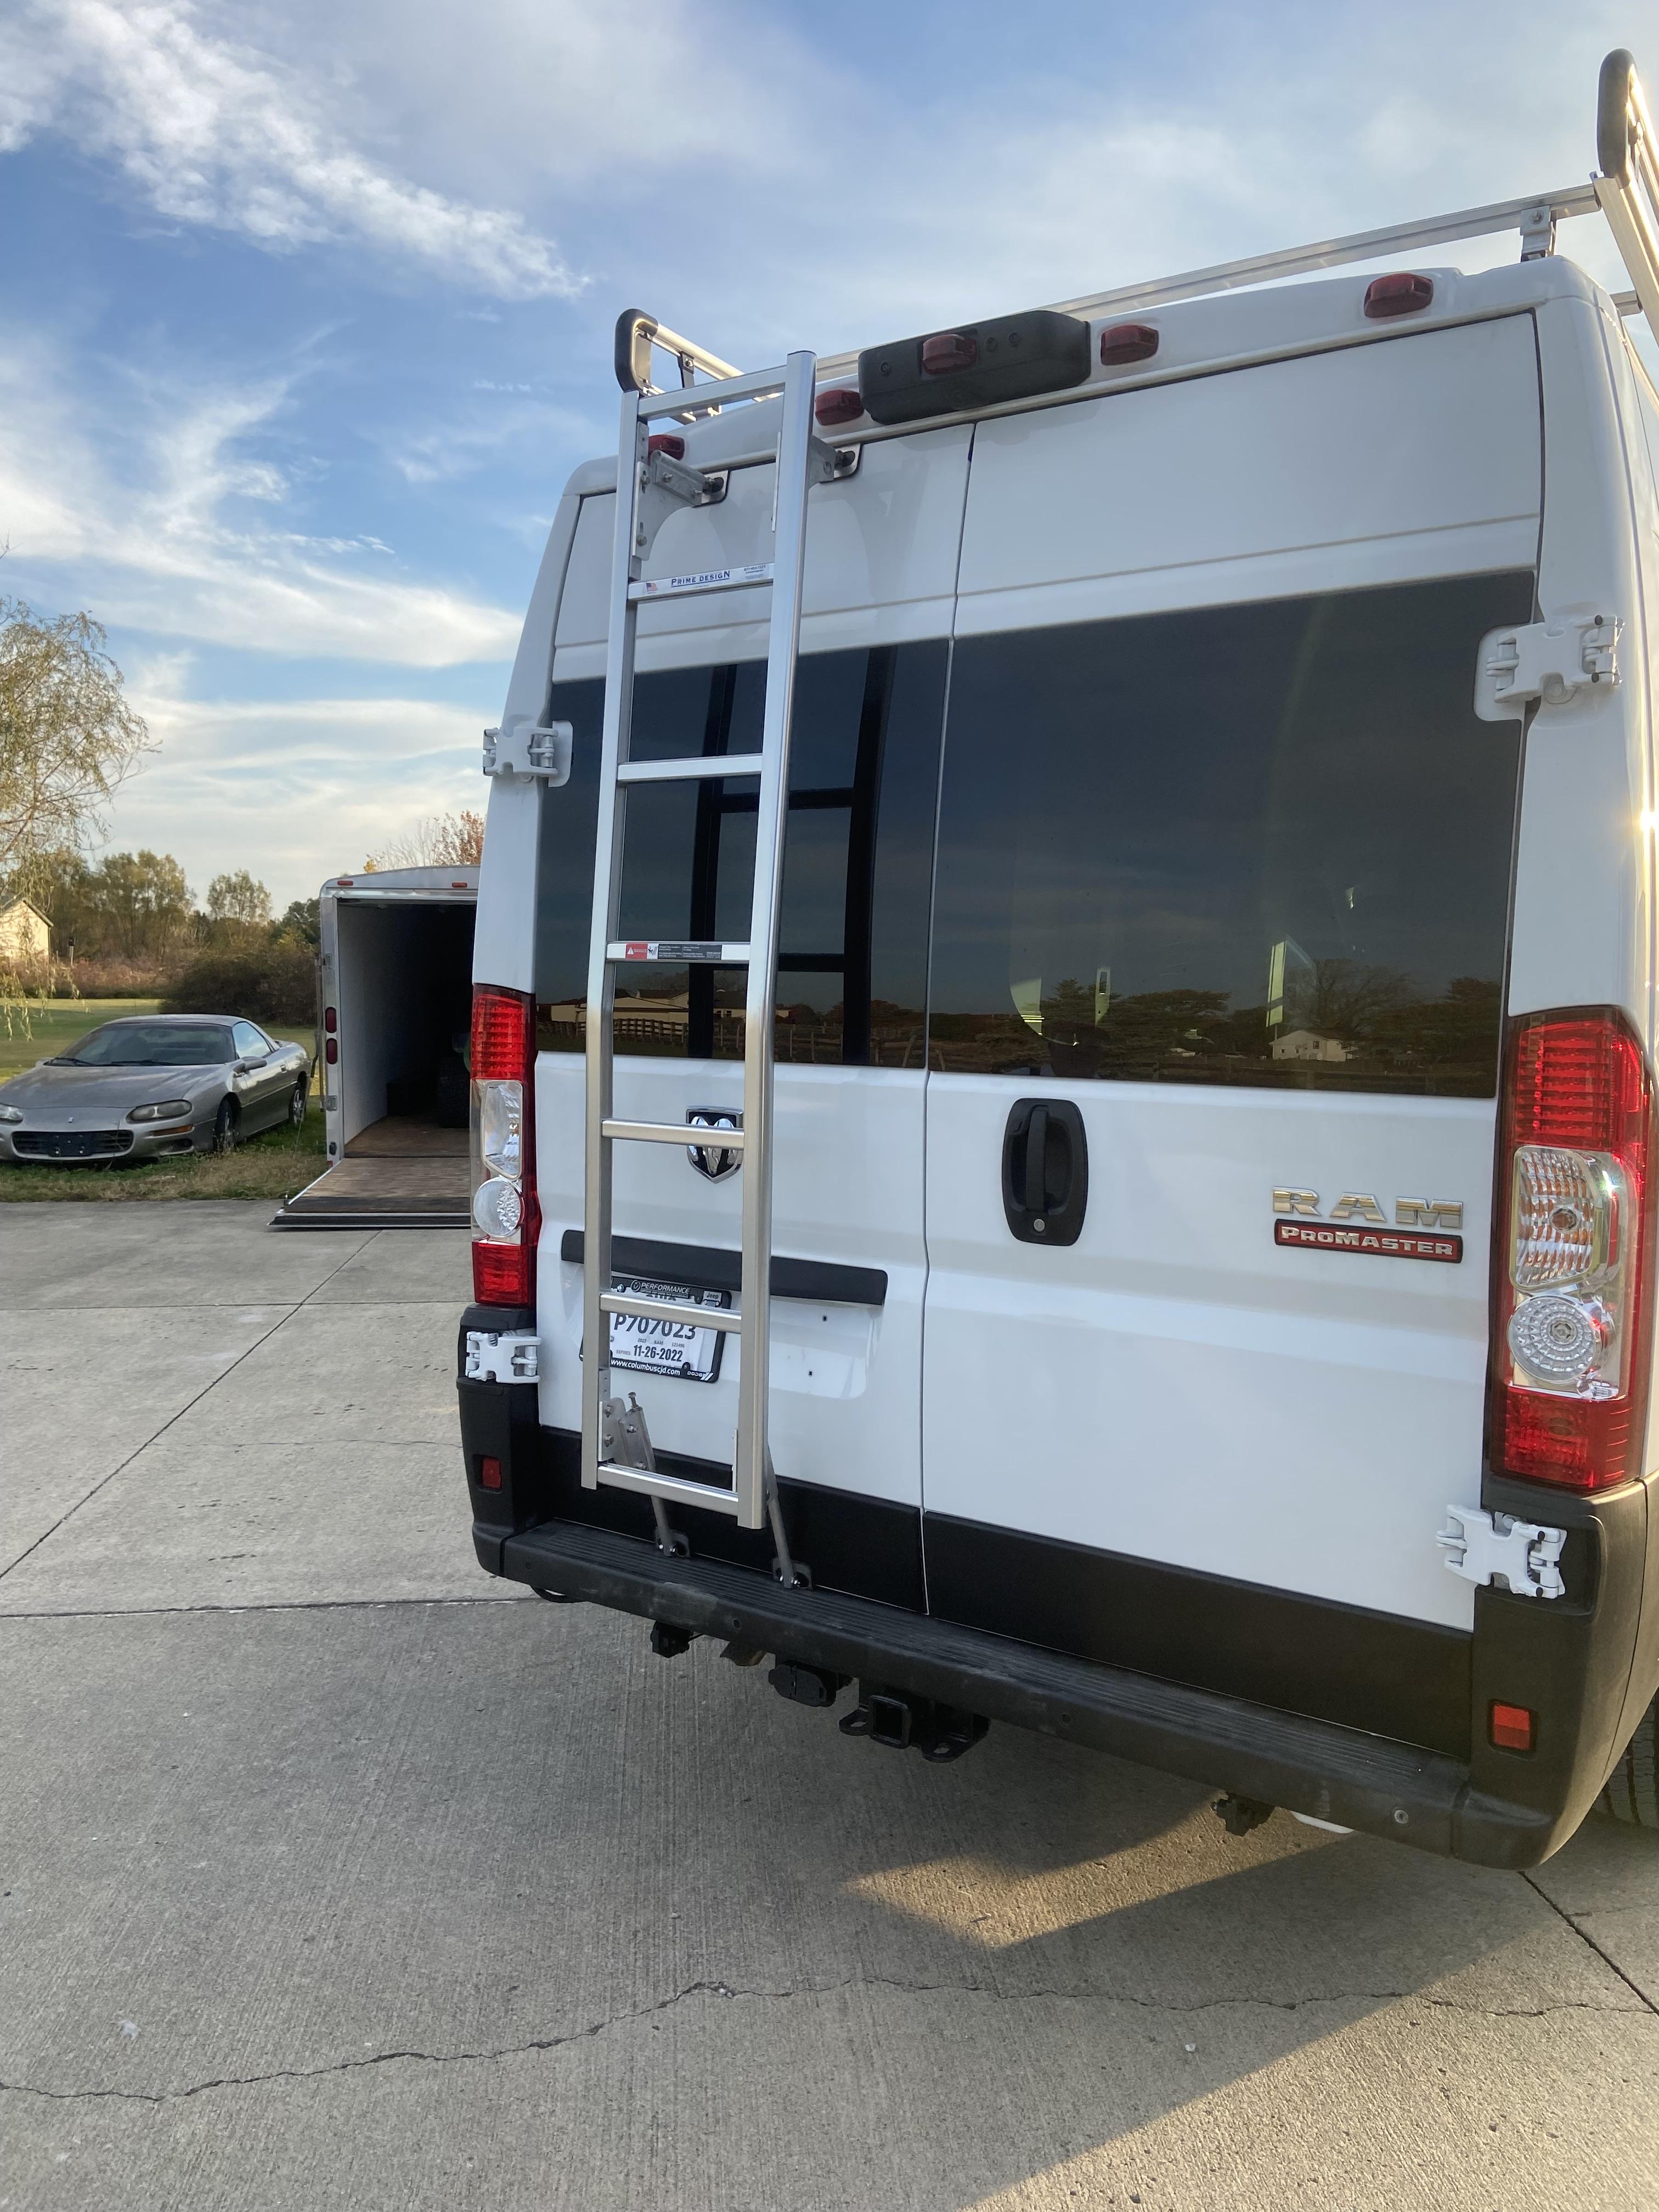
Door-mounted Ladder
Rick and I Installed this feature. It has been invaluable as access to the roof.
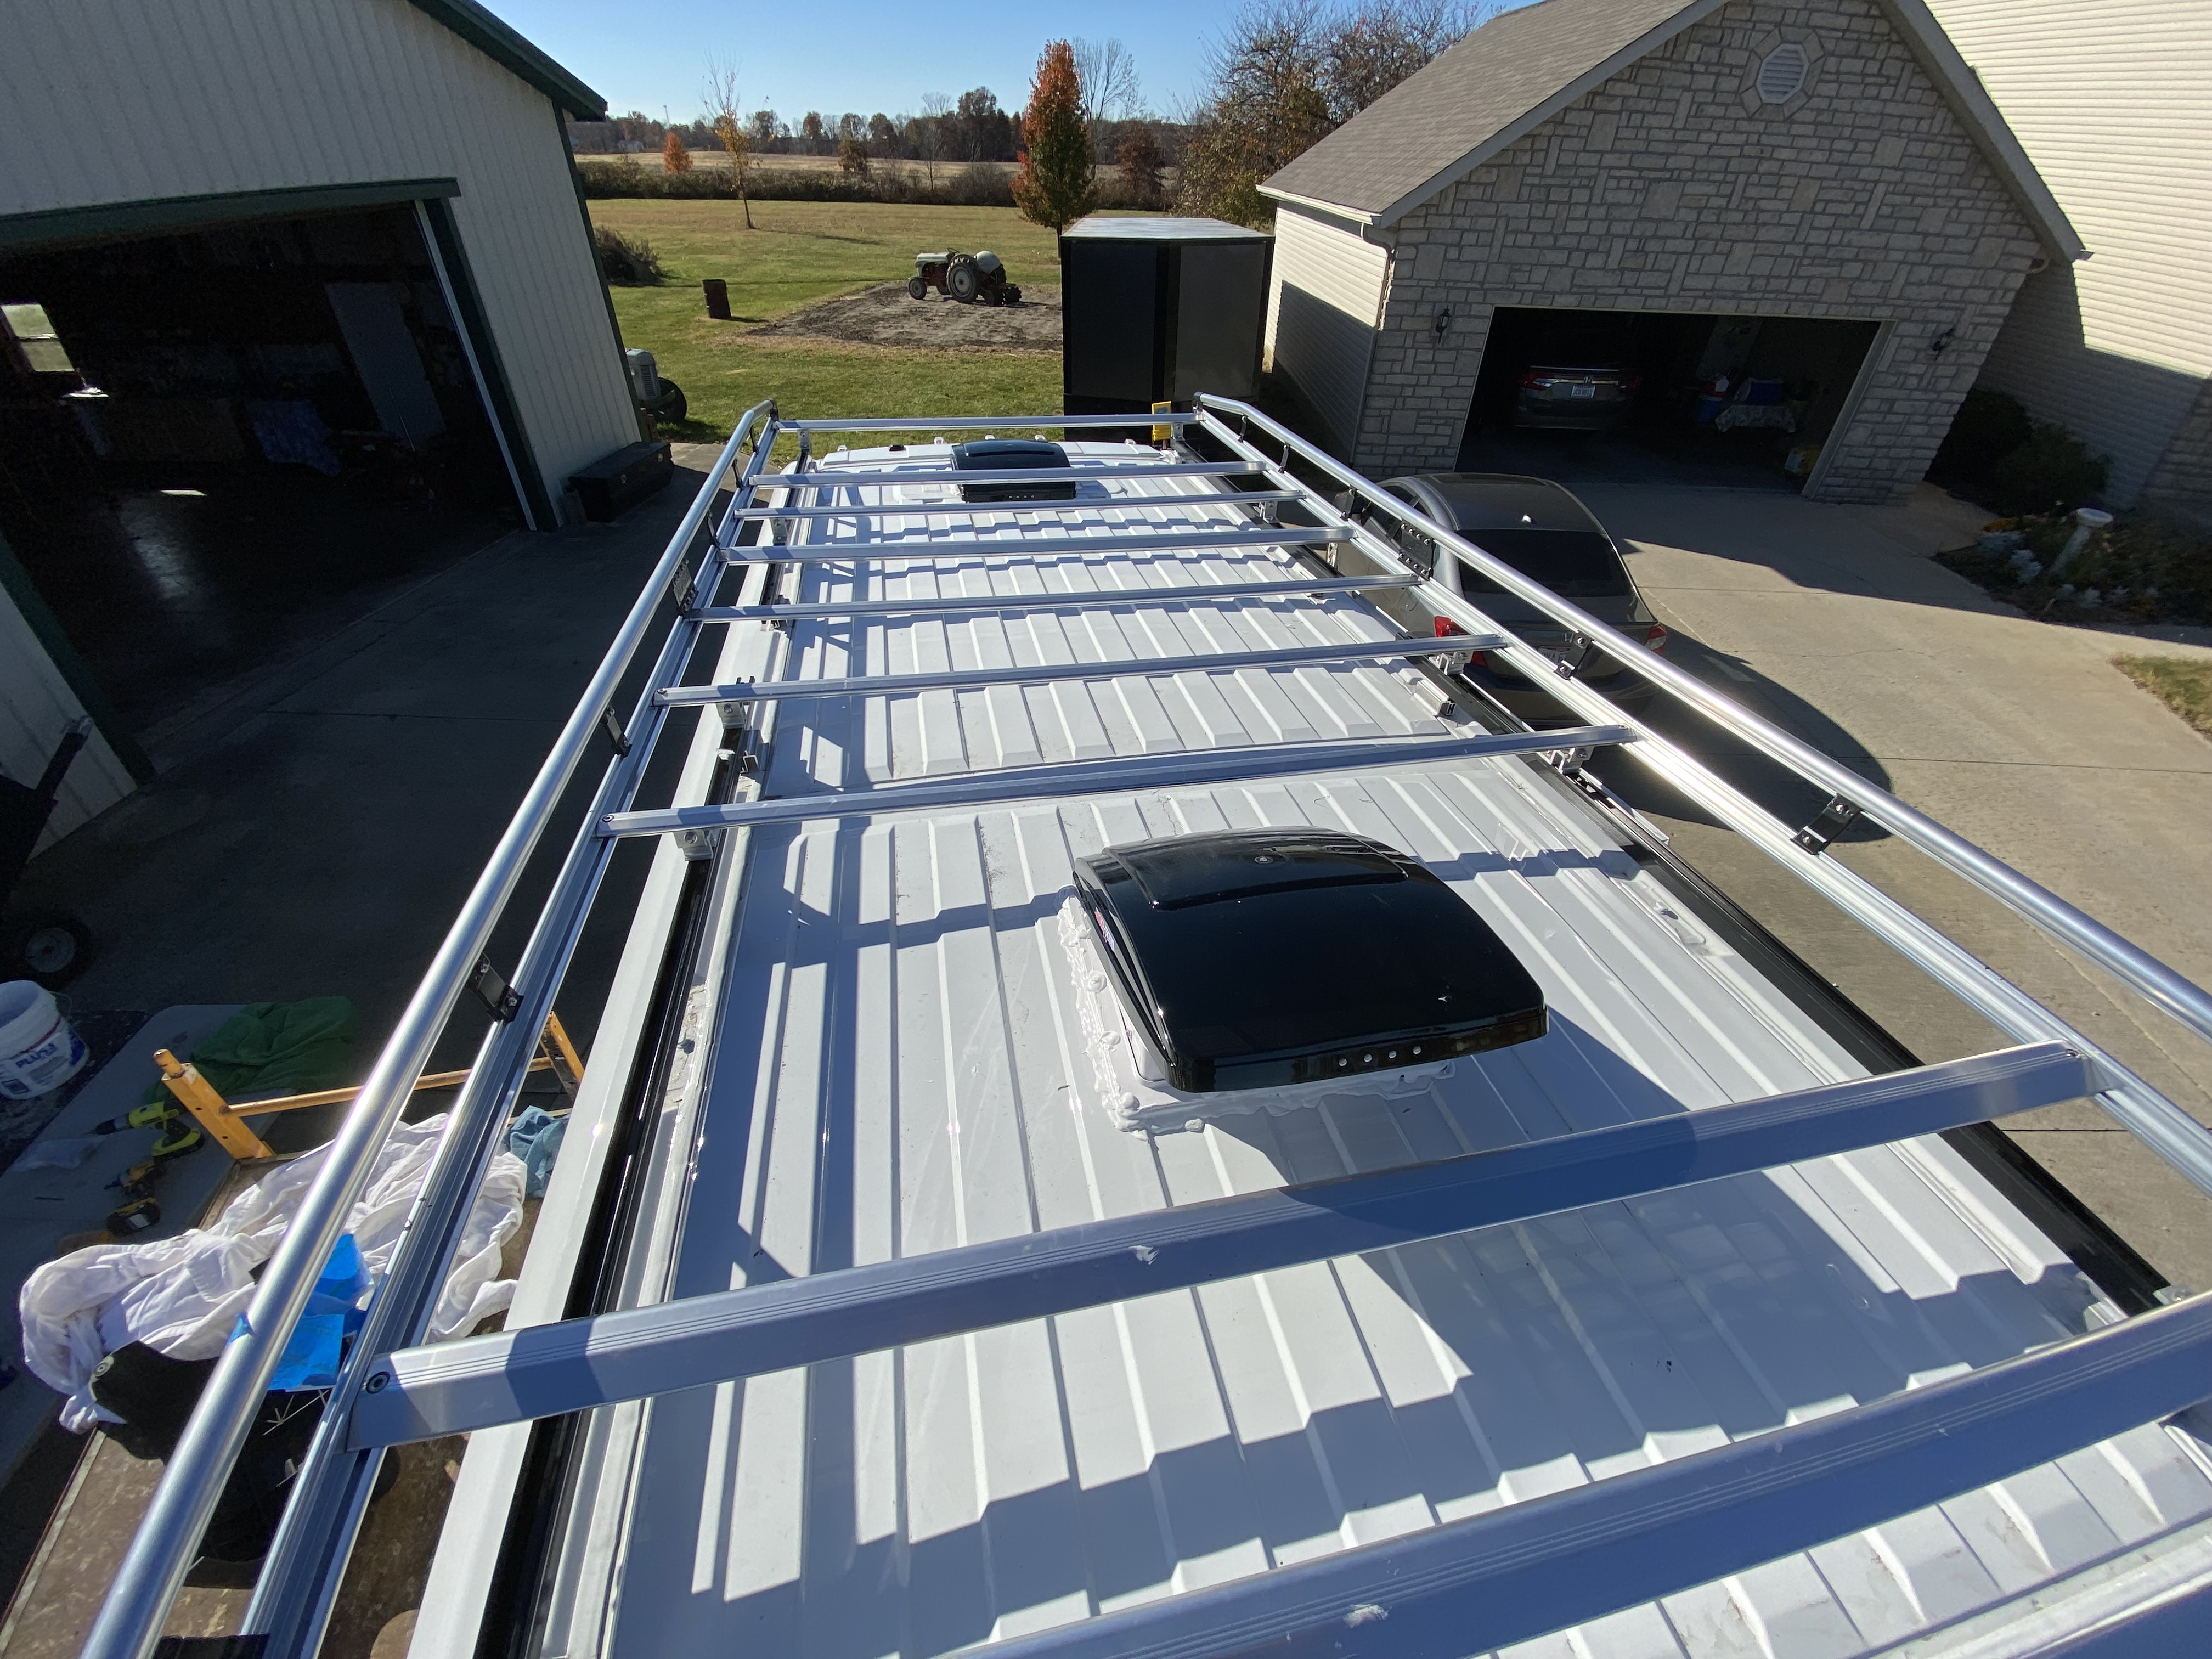
Exhaust Fans
Because the side and back door windows do not open, I installed two MaxxAir roof exhaust fans which will allow me to set up a draft of cool air front to back or back to front.
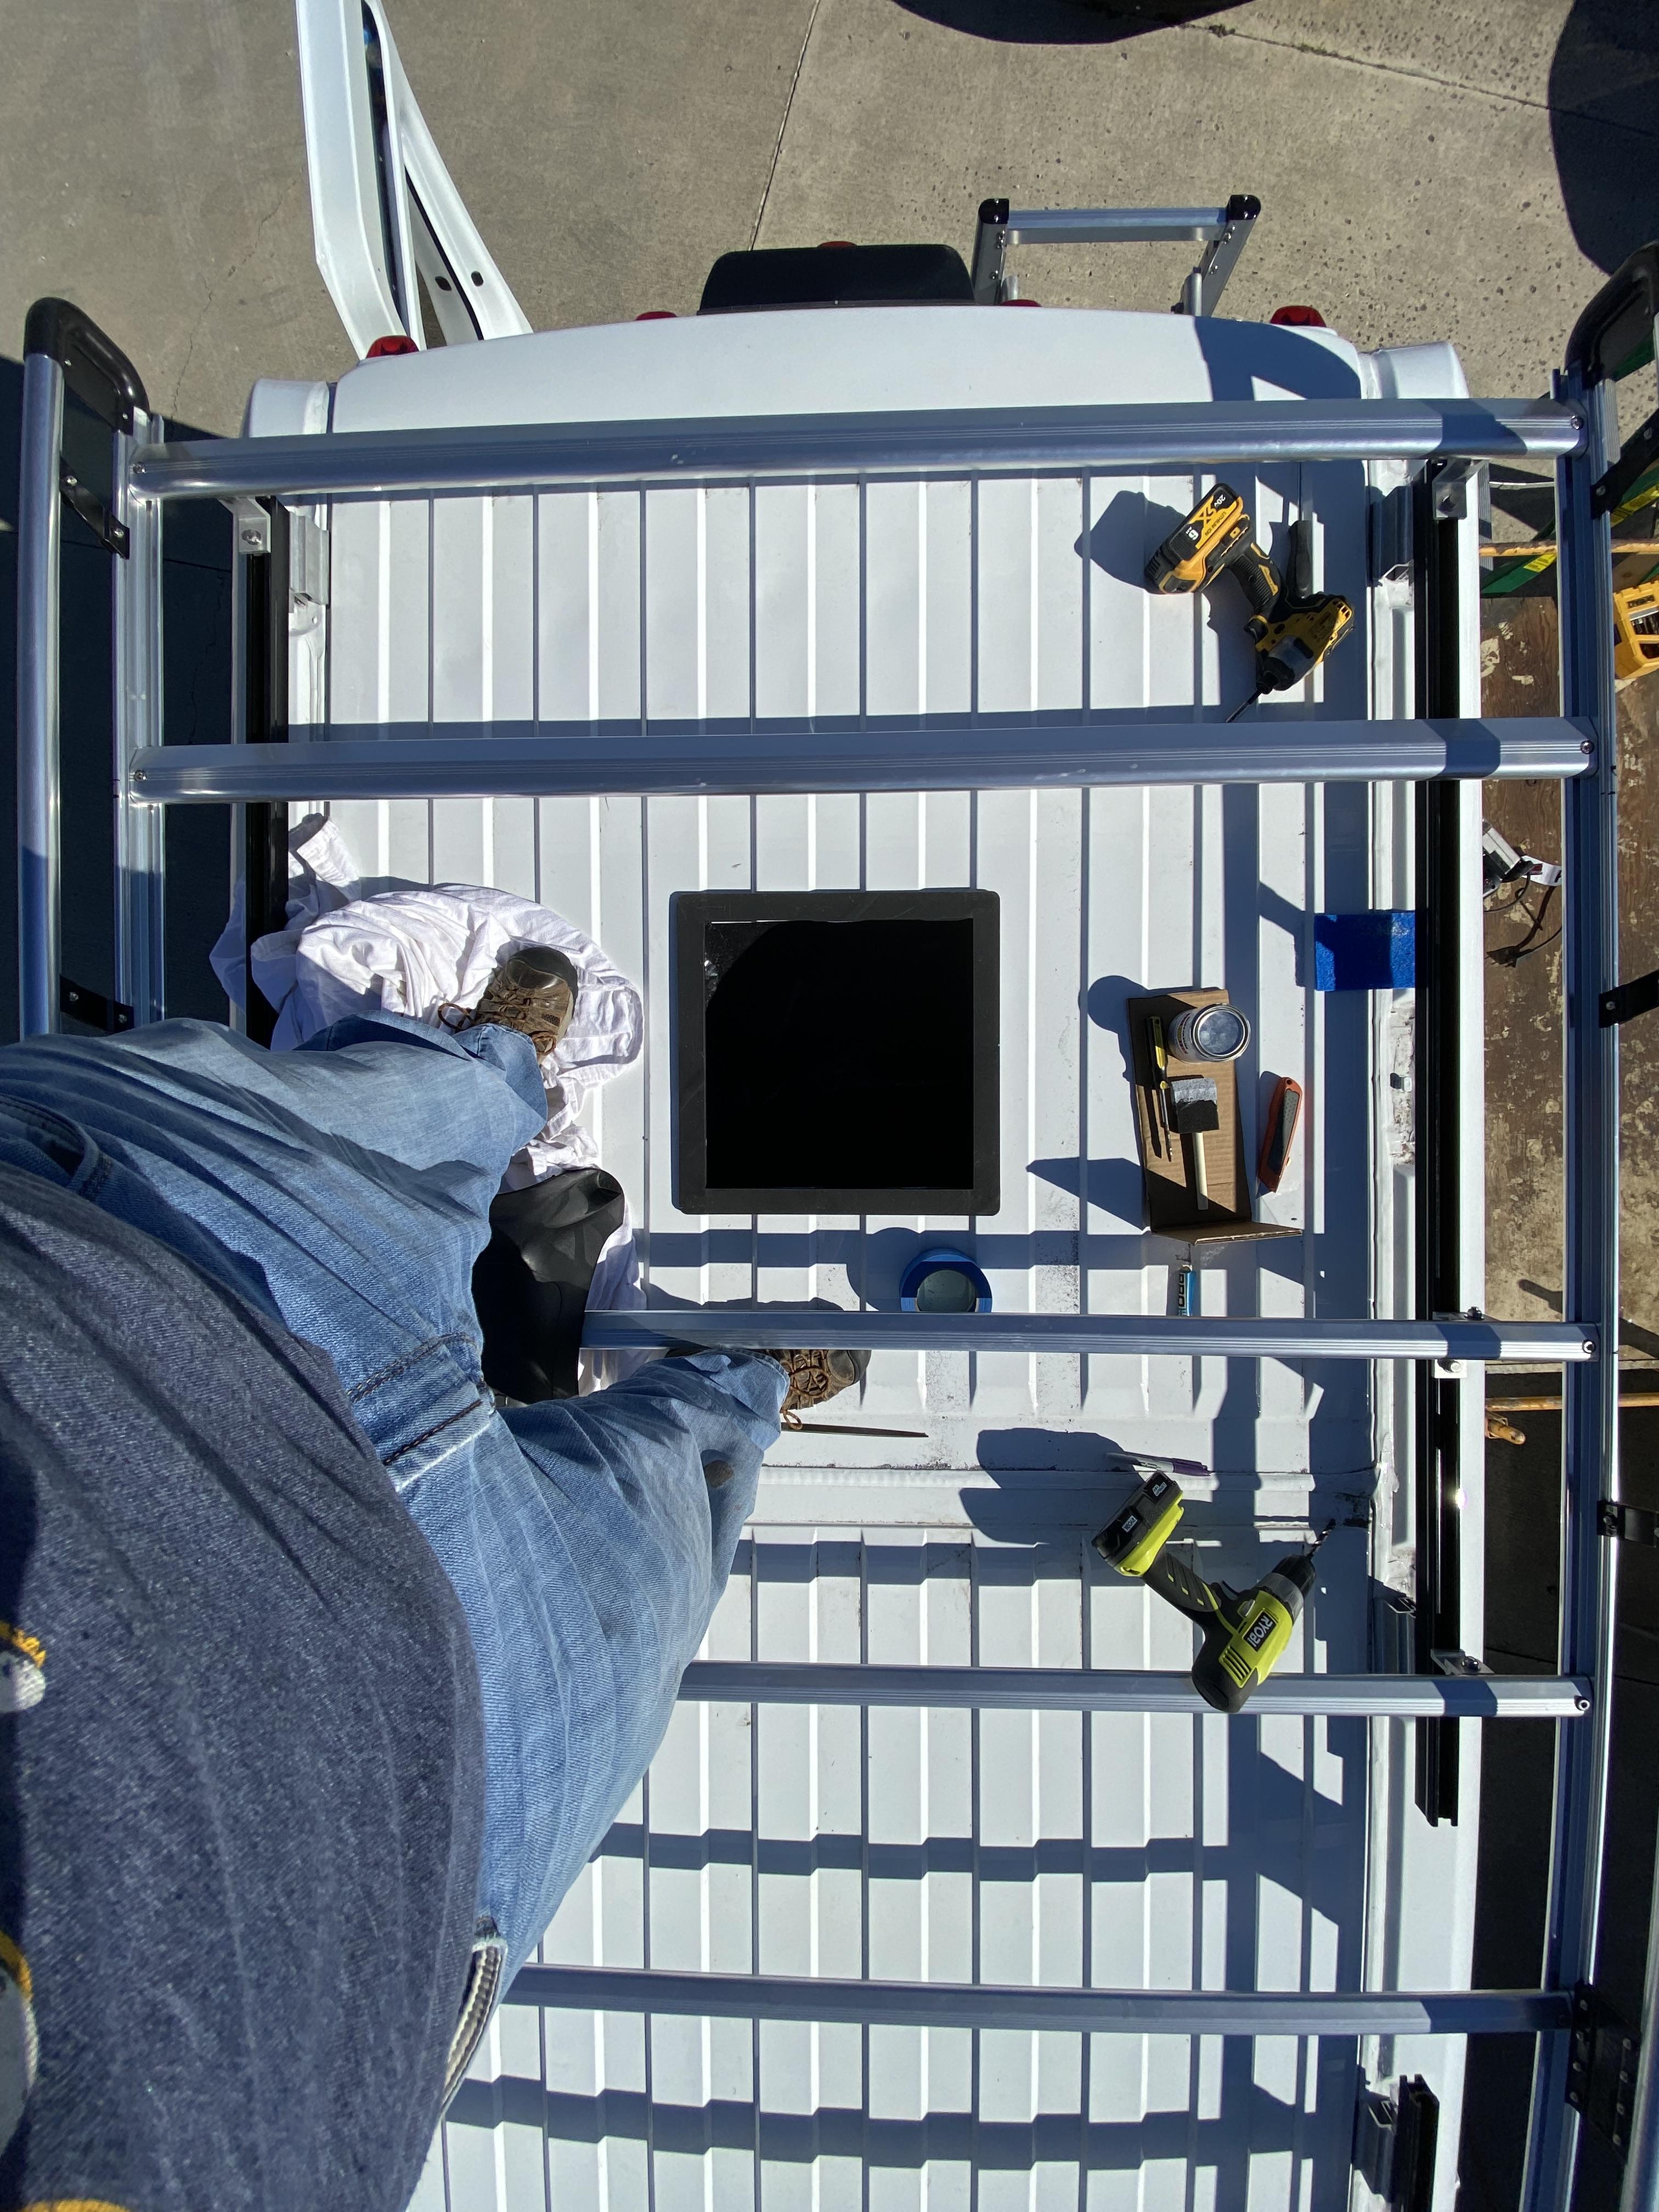
Holes!
Thanks to Rick and Bob for holding my hand while I drilled and cut holes in roof of my brand-new van...
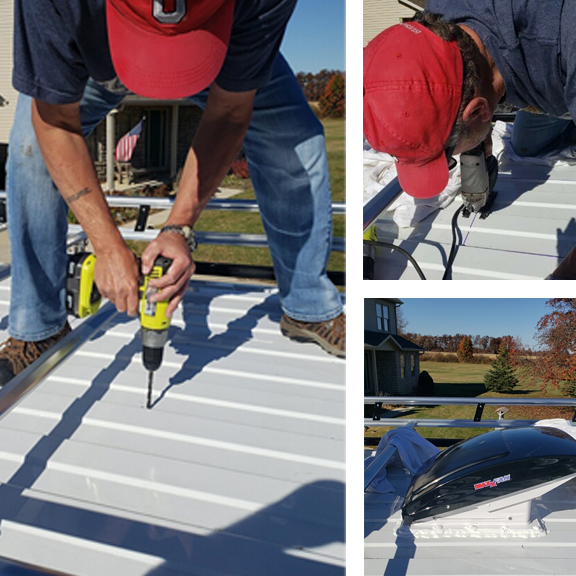
Nervous Times
Measure twice (or 25 times), cut once...
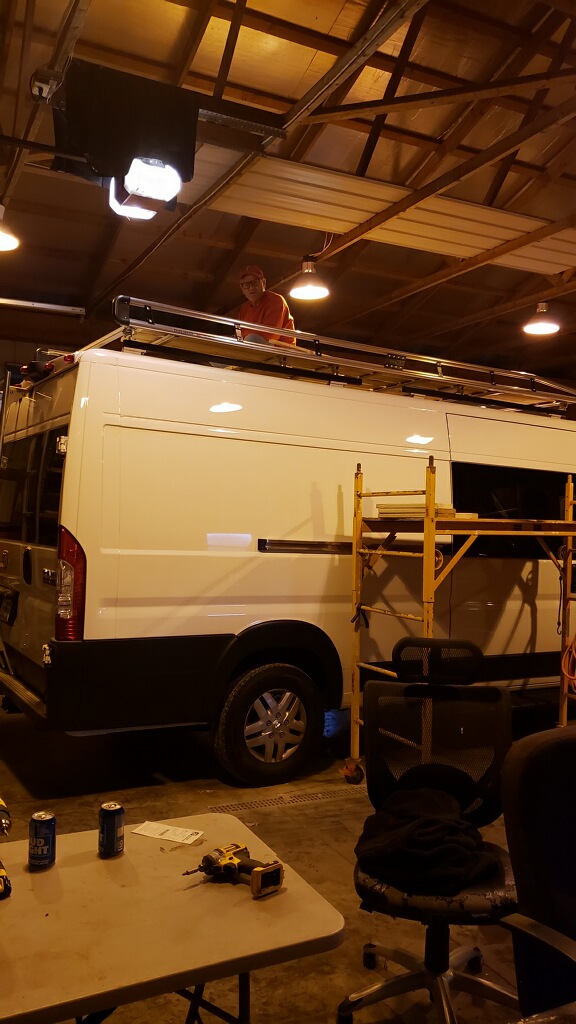
Roof Deck
Working inside Rick's pole barn, he and I installed a treated lumber roof deck. This is where the solar panels will live.
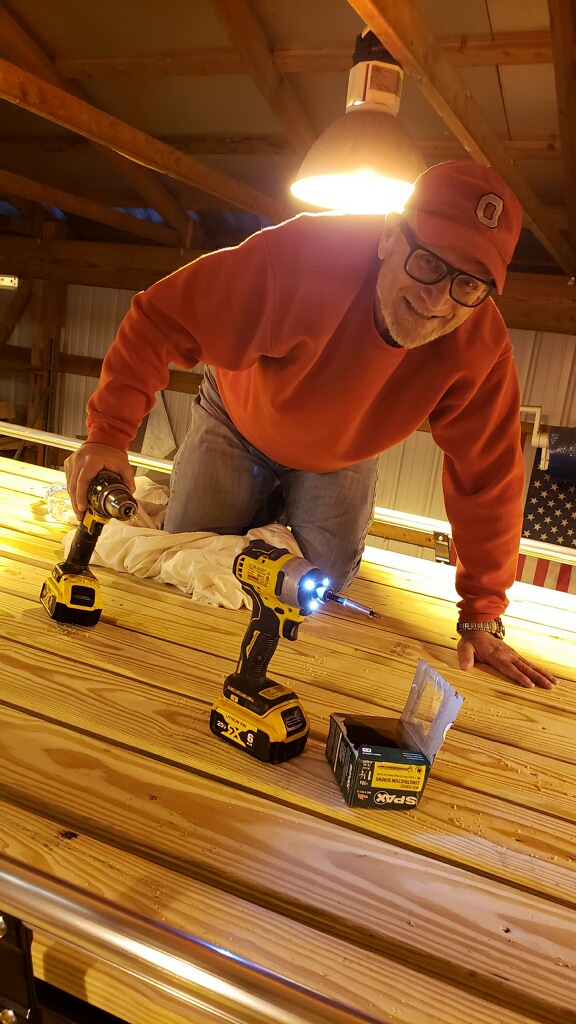
Good Wood
Lots of knee-time. I bled through my jeans.
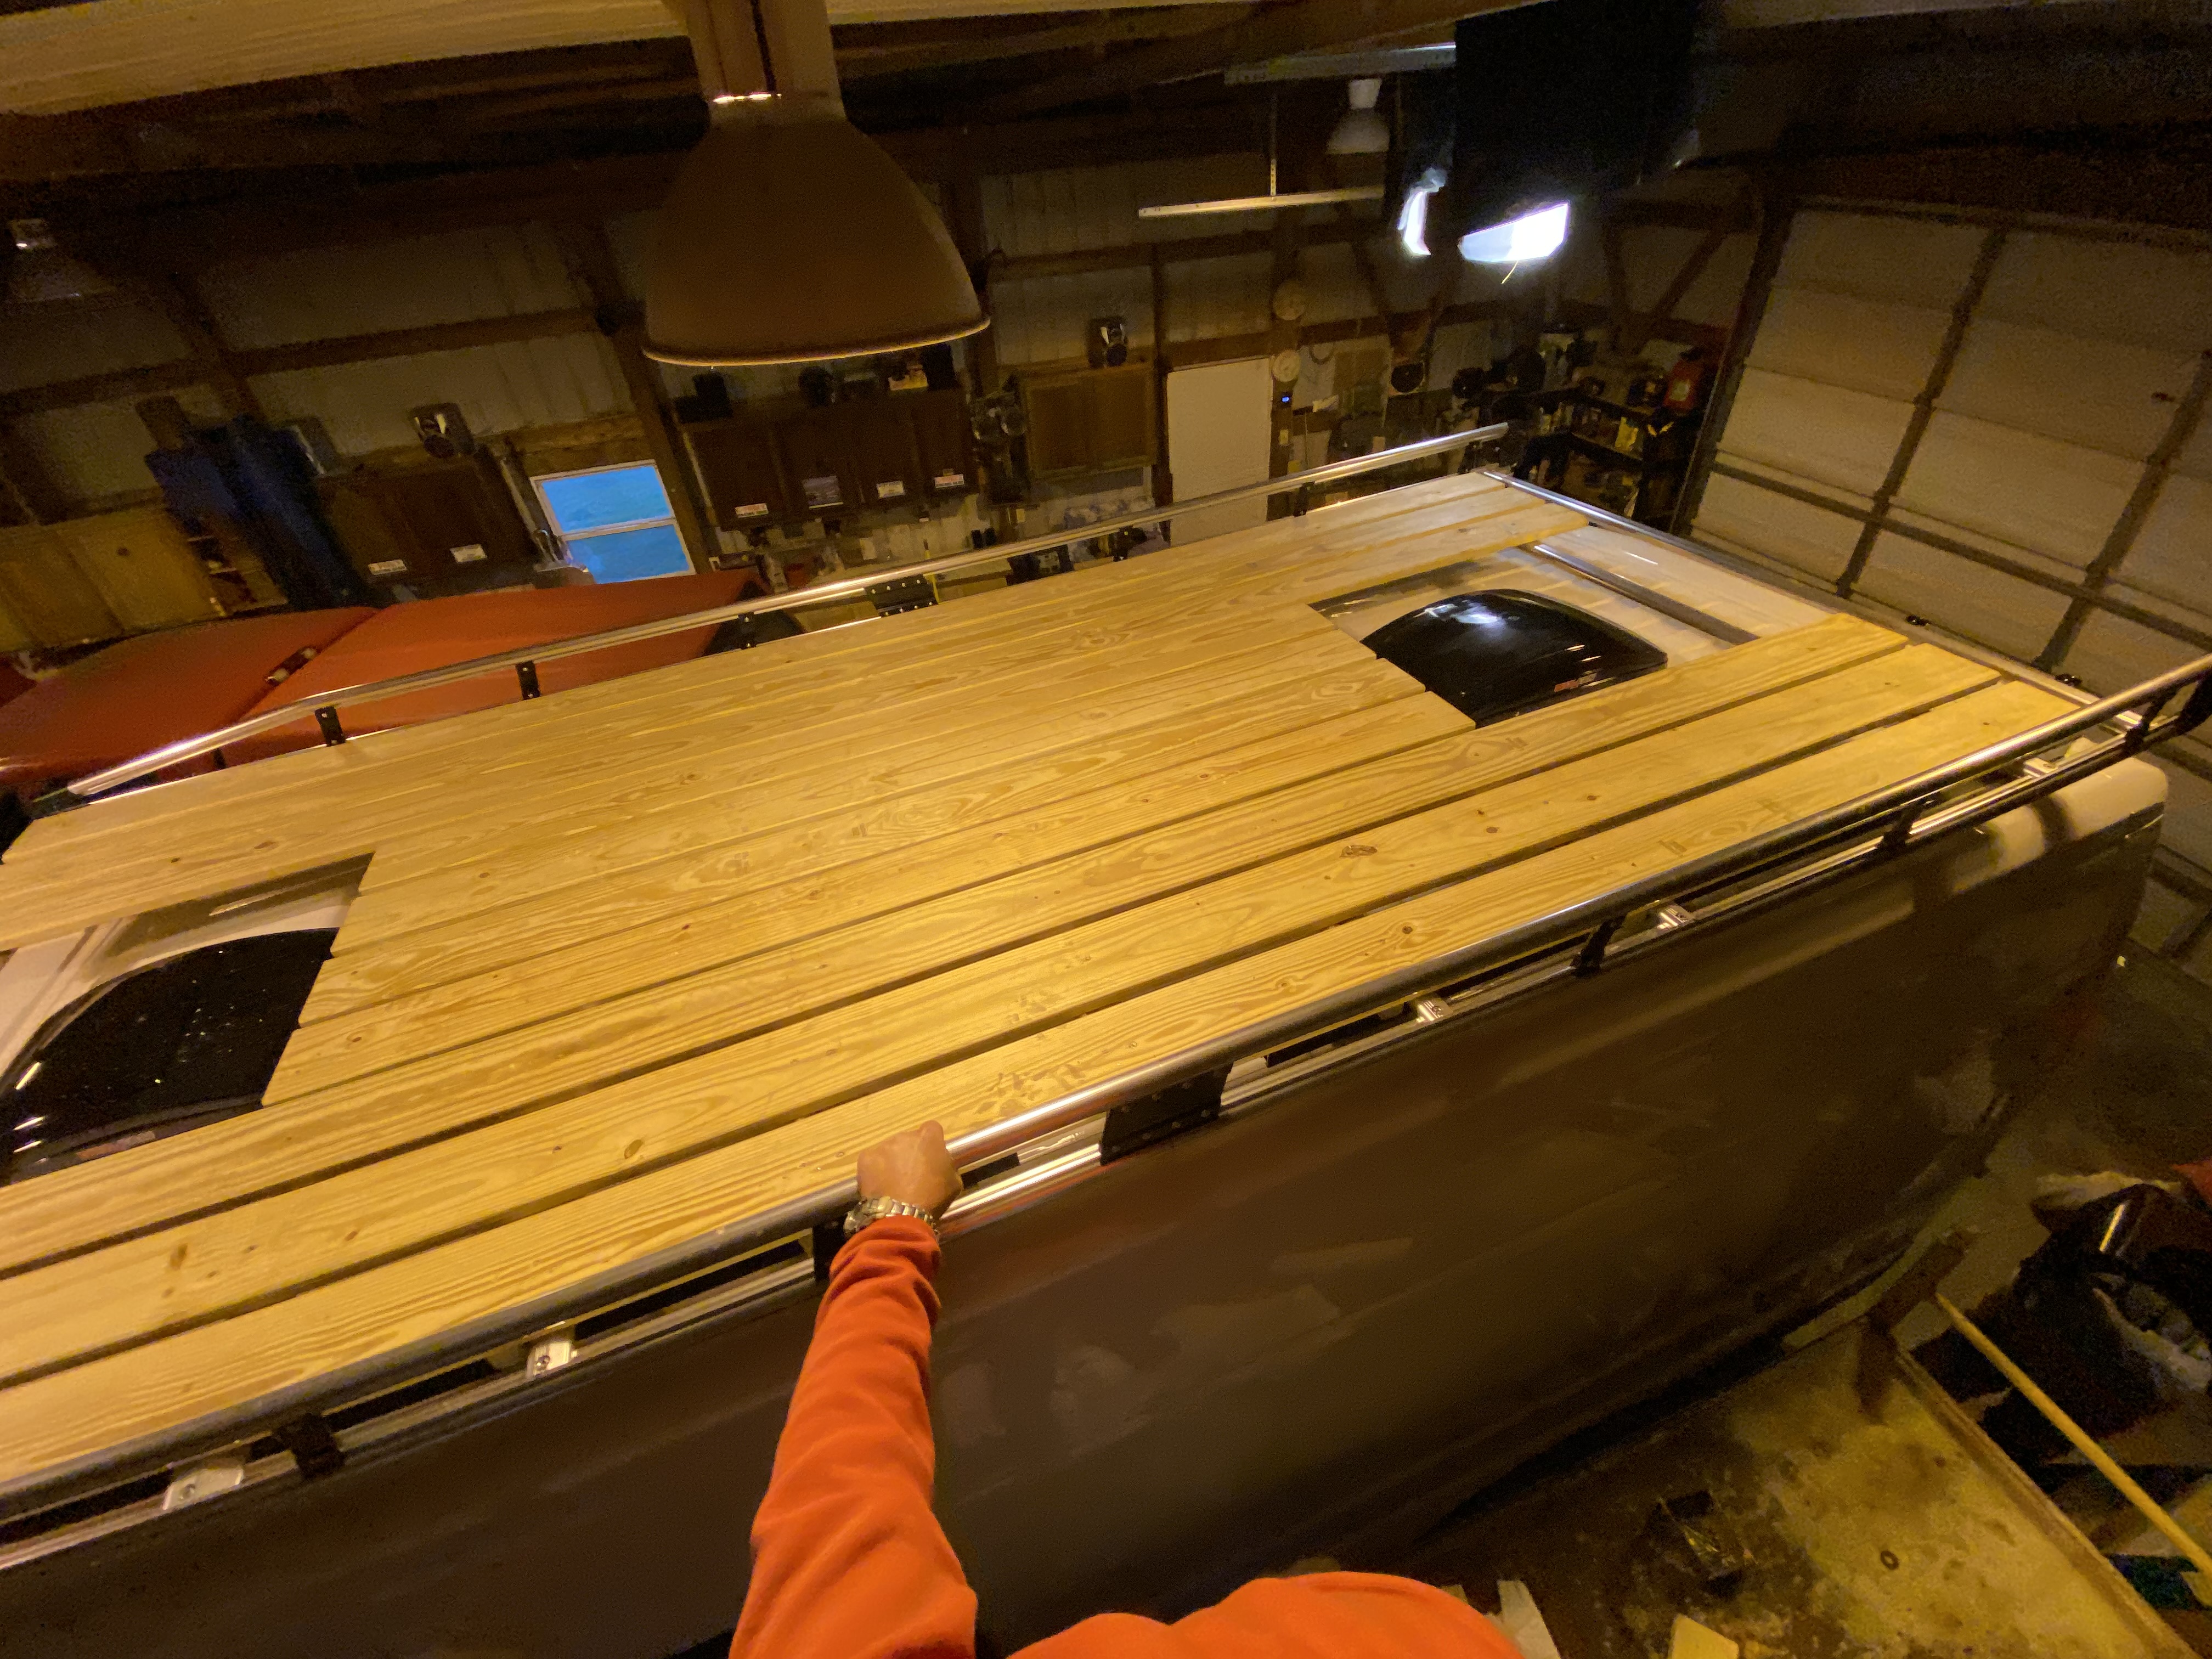
Solid as Rock (or at Least Wood)
Too bad this will be mostly covered with solar panels. It could be a cool place to climb up and watch a sunset or two.
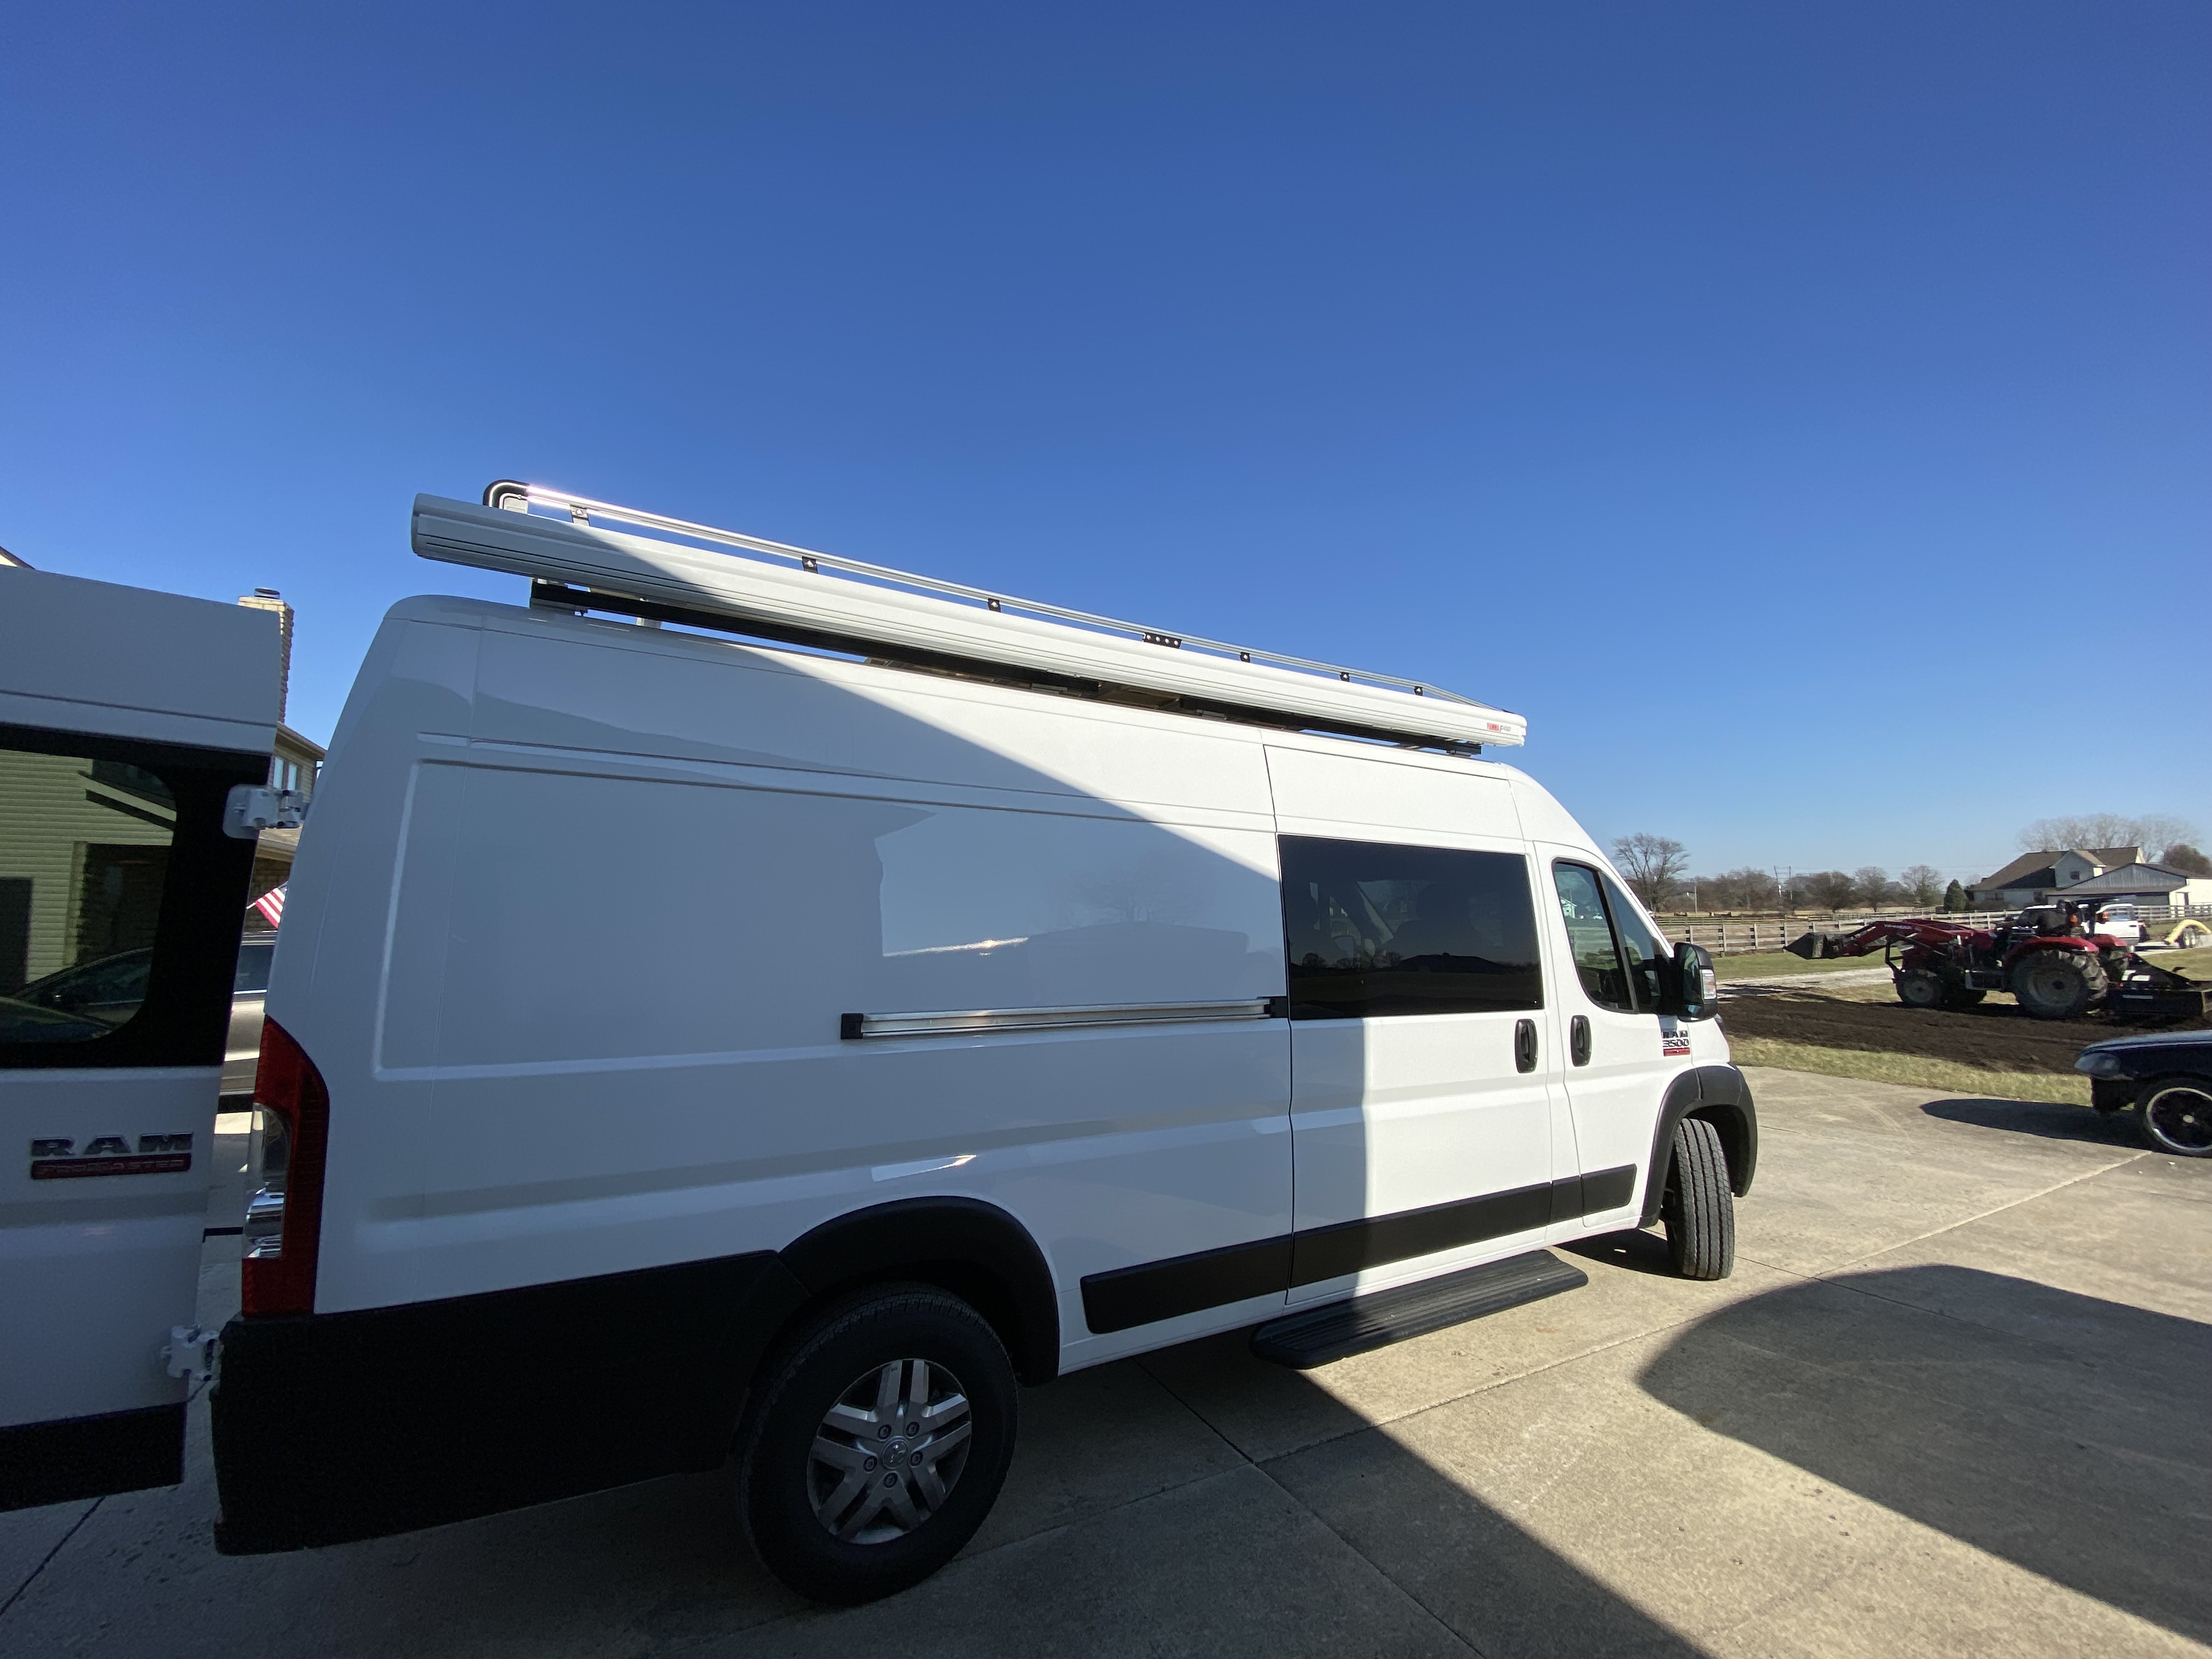
Awning
Rick and Bob helped me install the Fiamma F45 Awning. It was another half-hour job that took 4 hours!
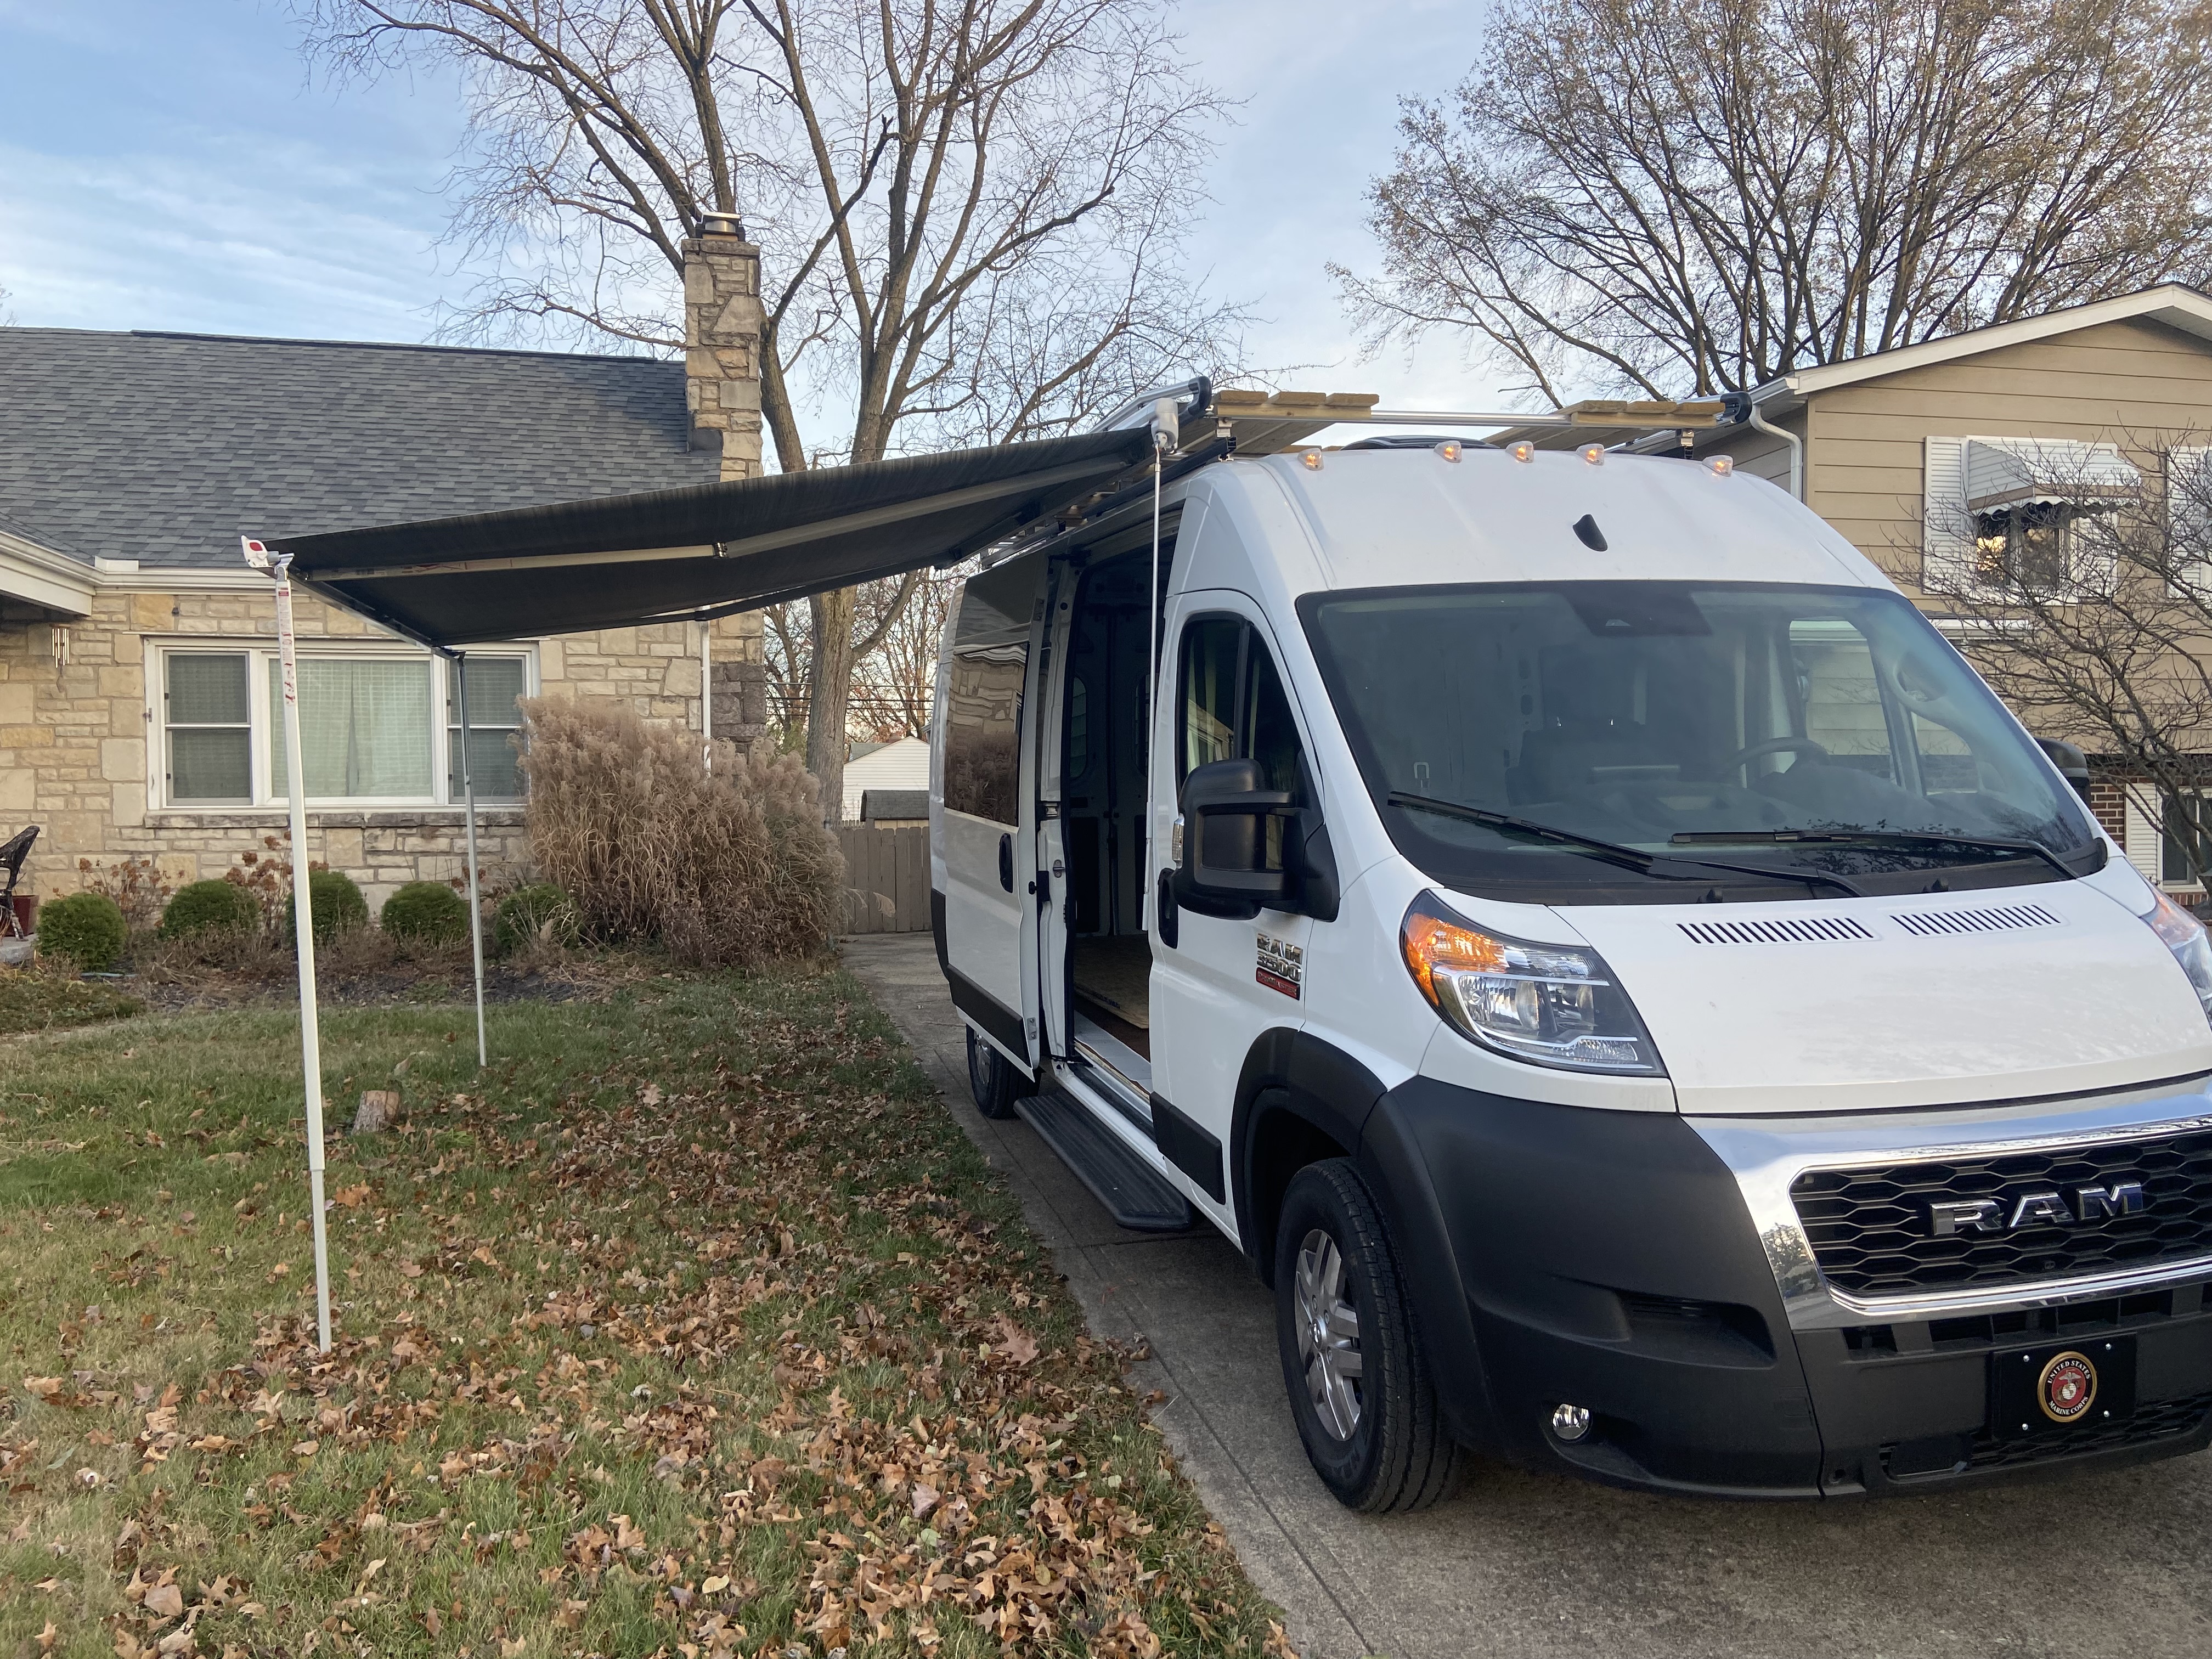
Full Extension (That's what she said?)
13x10 foot awning. It will come in handy I'm sure.
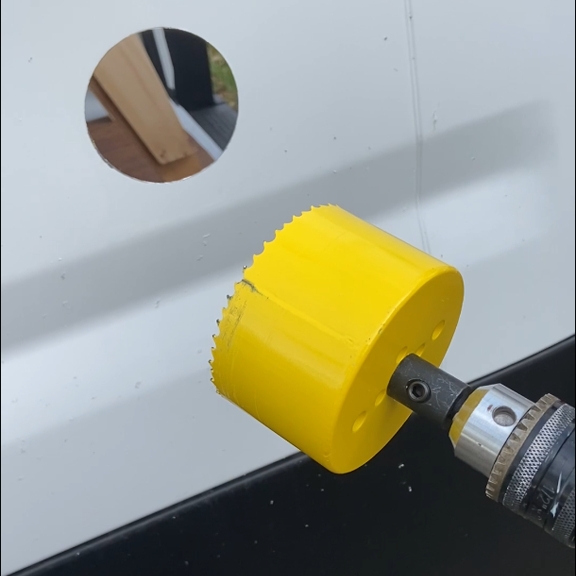
More Holes!
Yikes! This never gets less stressful.
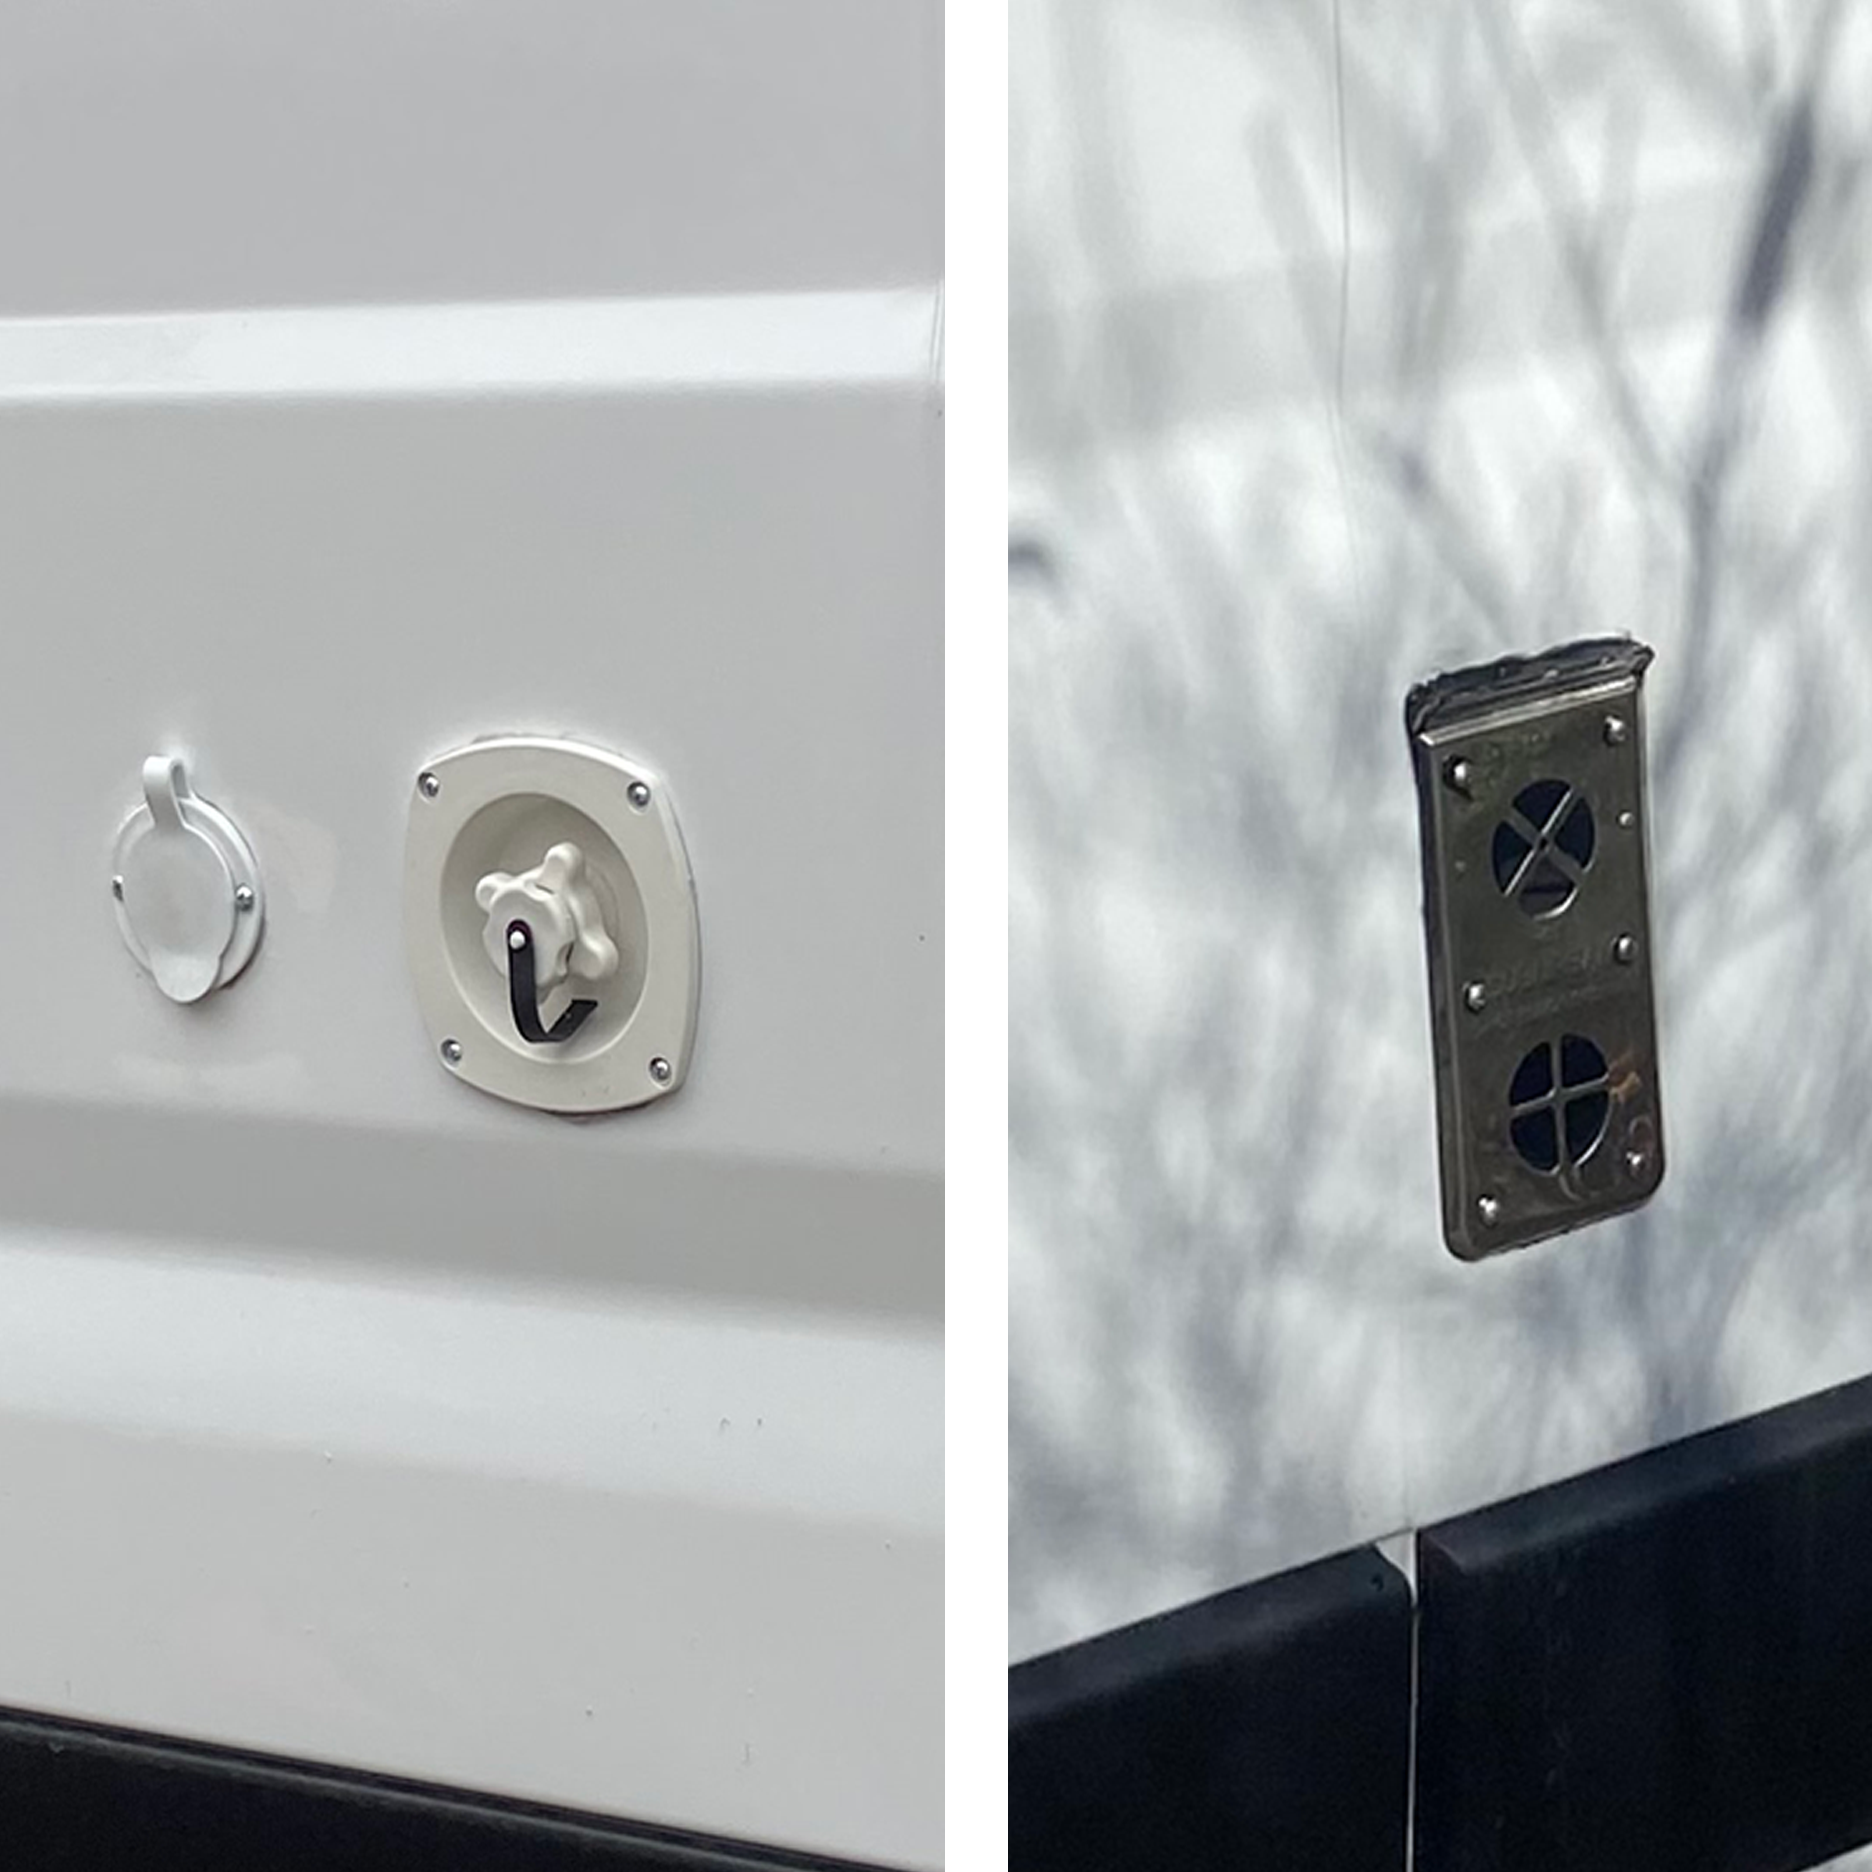
Filling the Holes
Shore power and water on the Left above. Furnace intake/exhaust on the right.
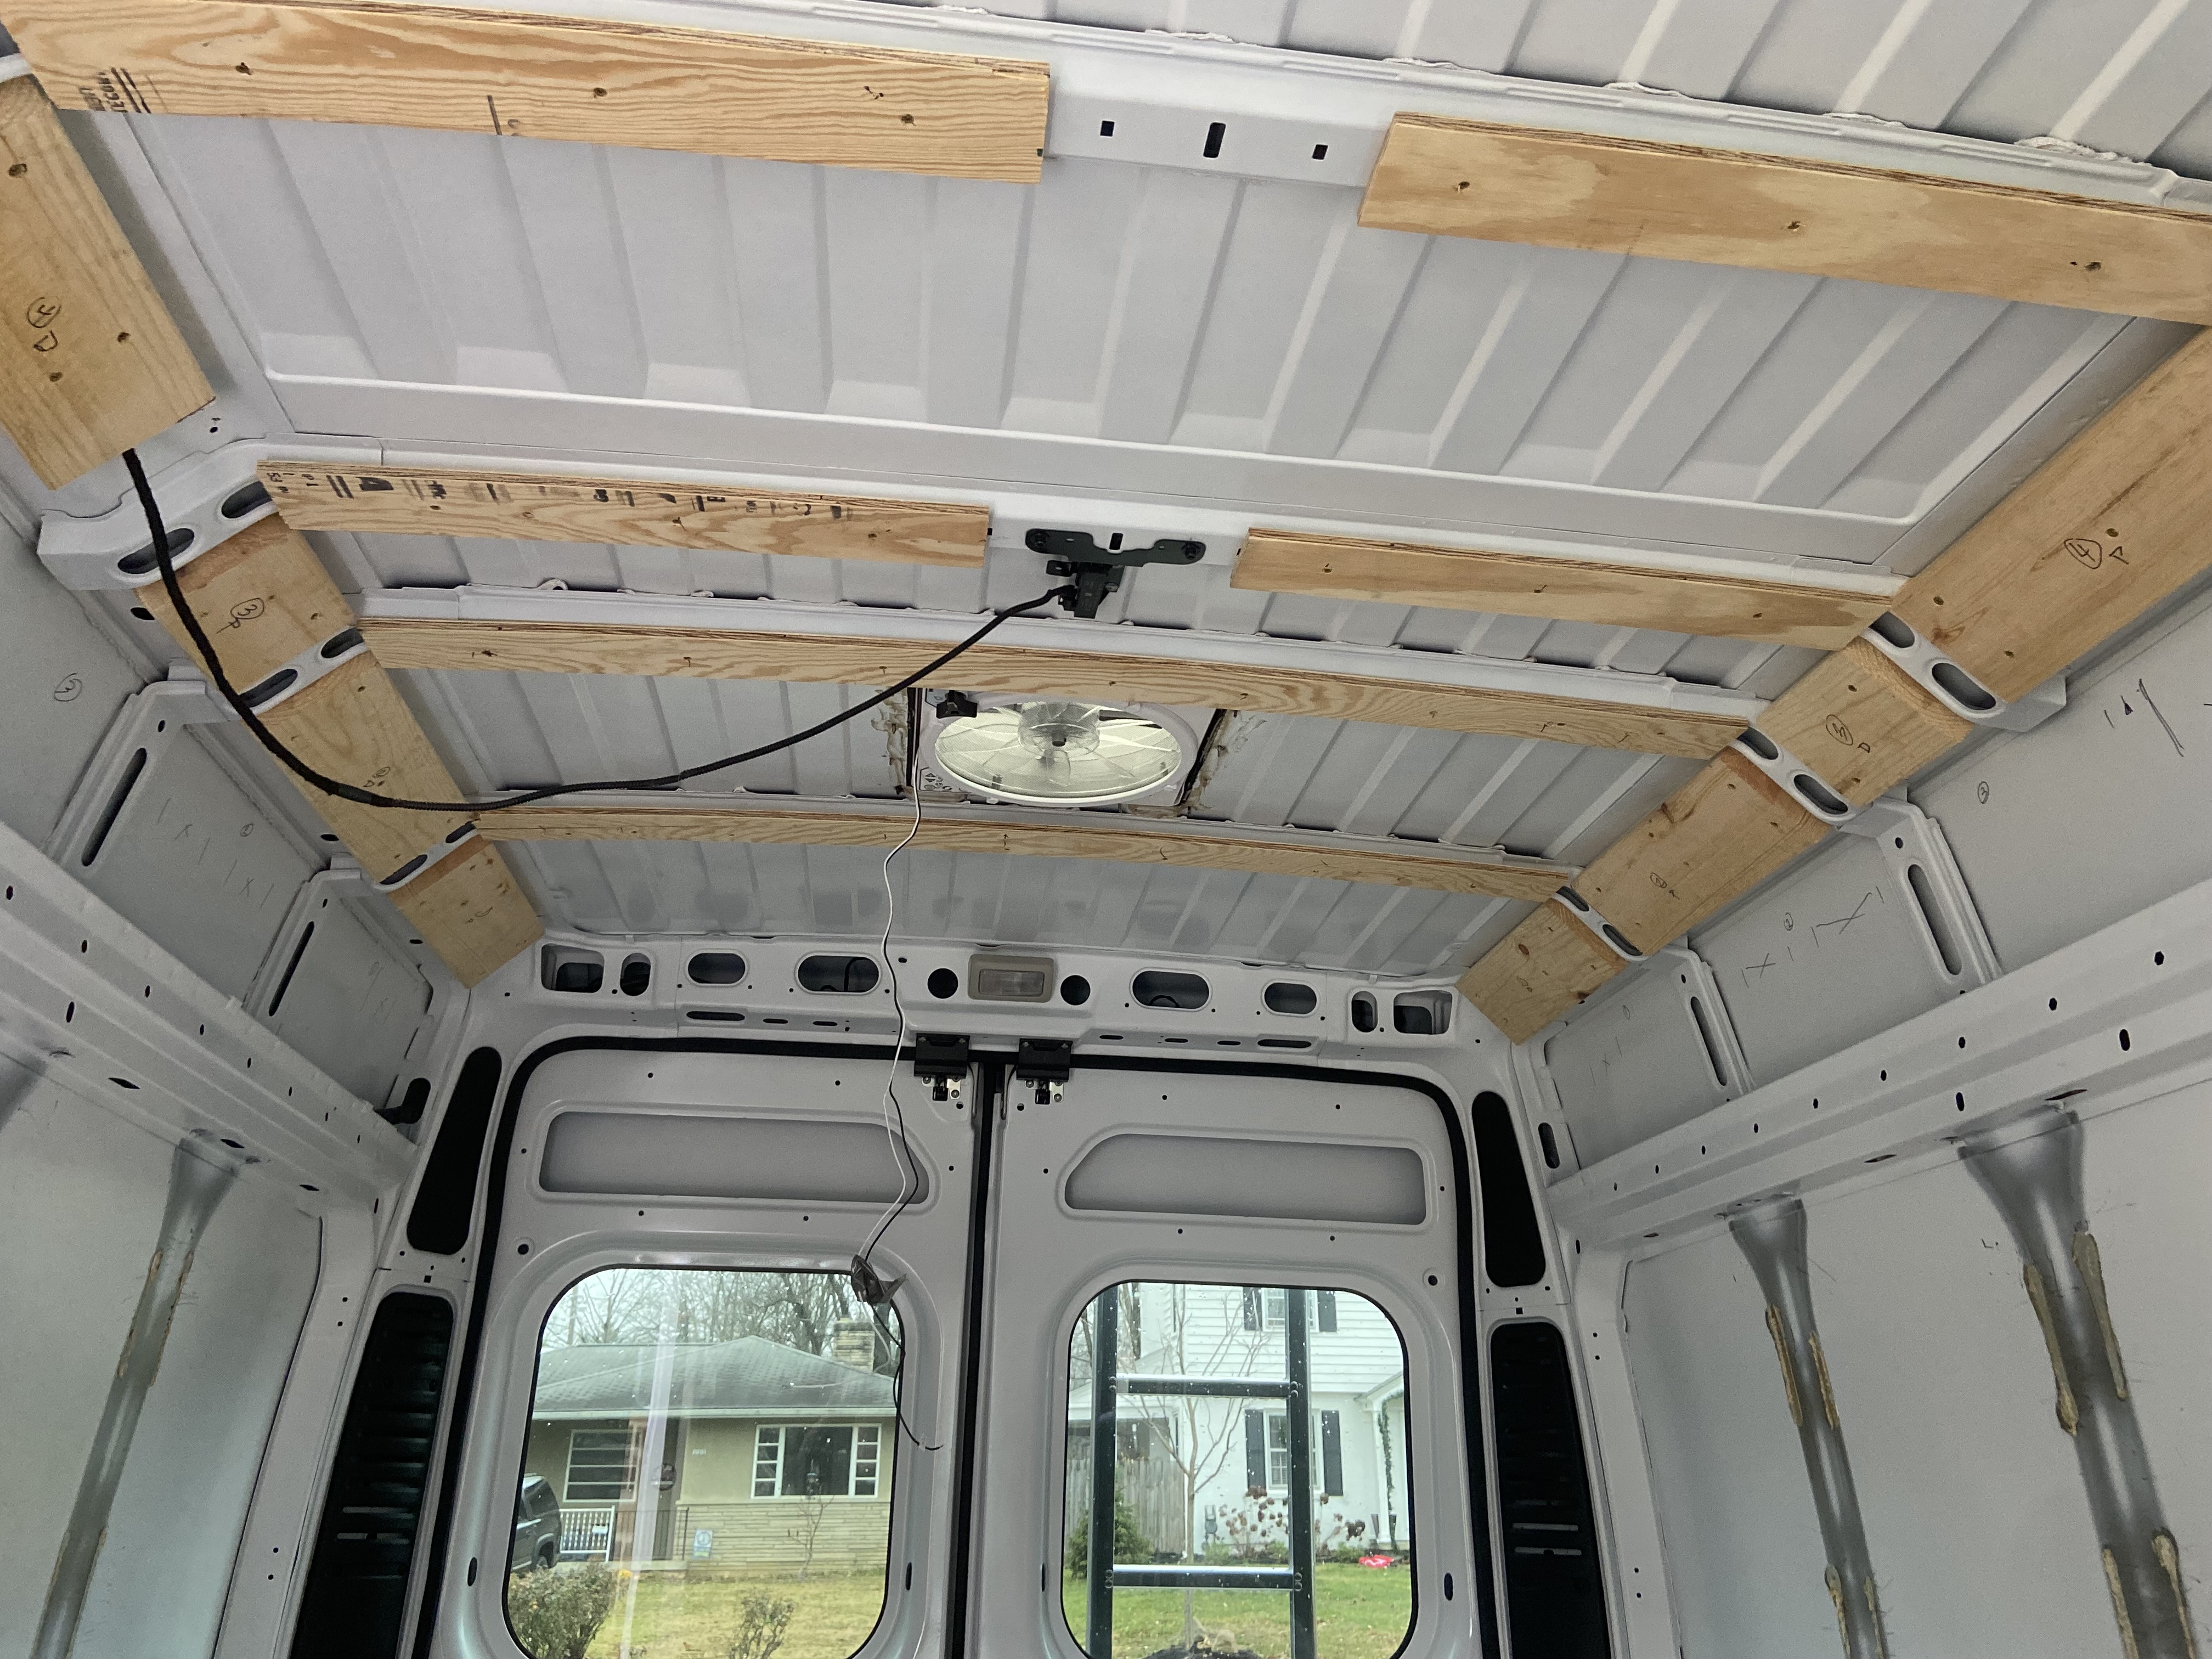
Framing the Roof
1/2 inch plywood strips and 2x6 side headers for cabinet mounting.
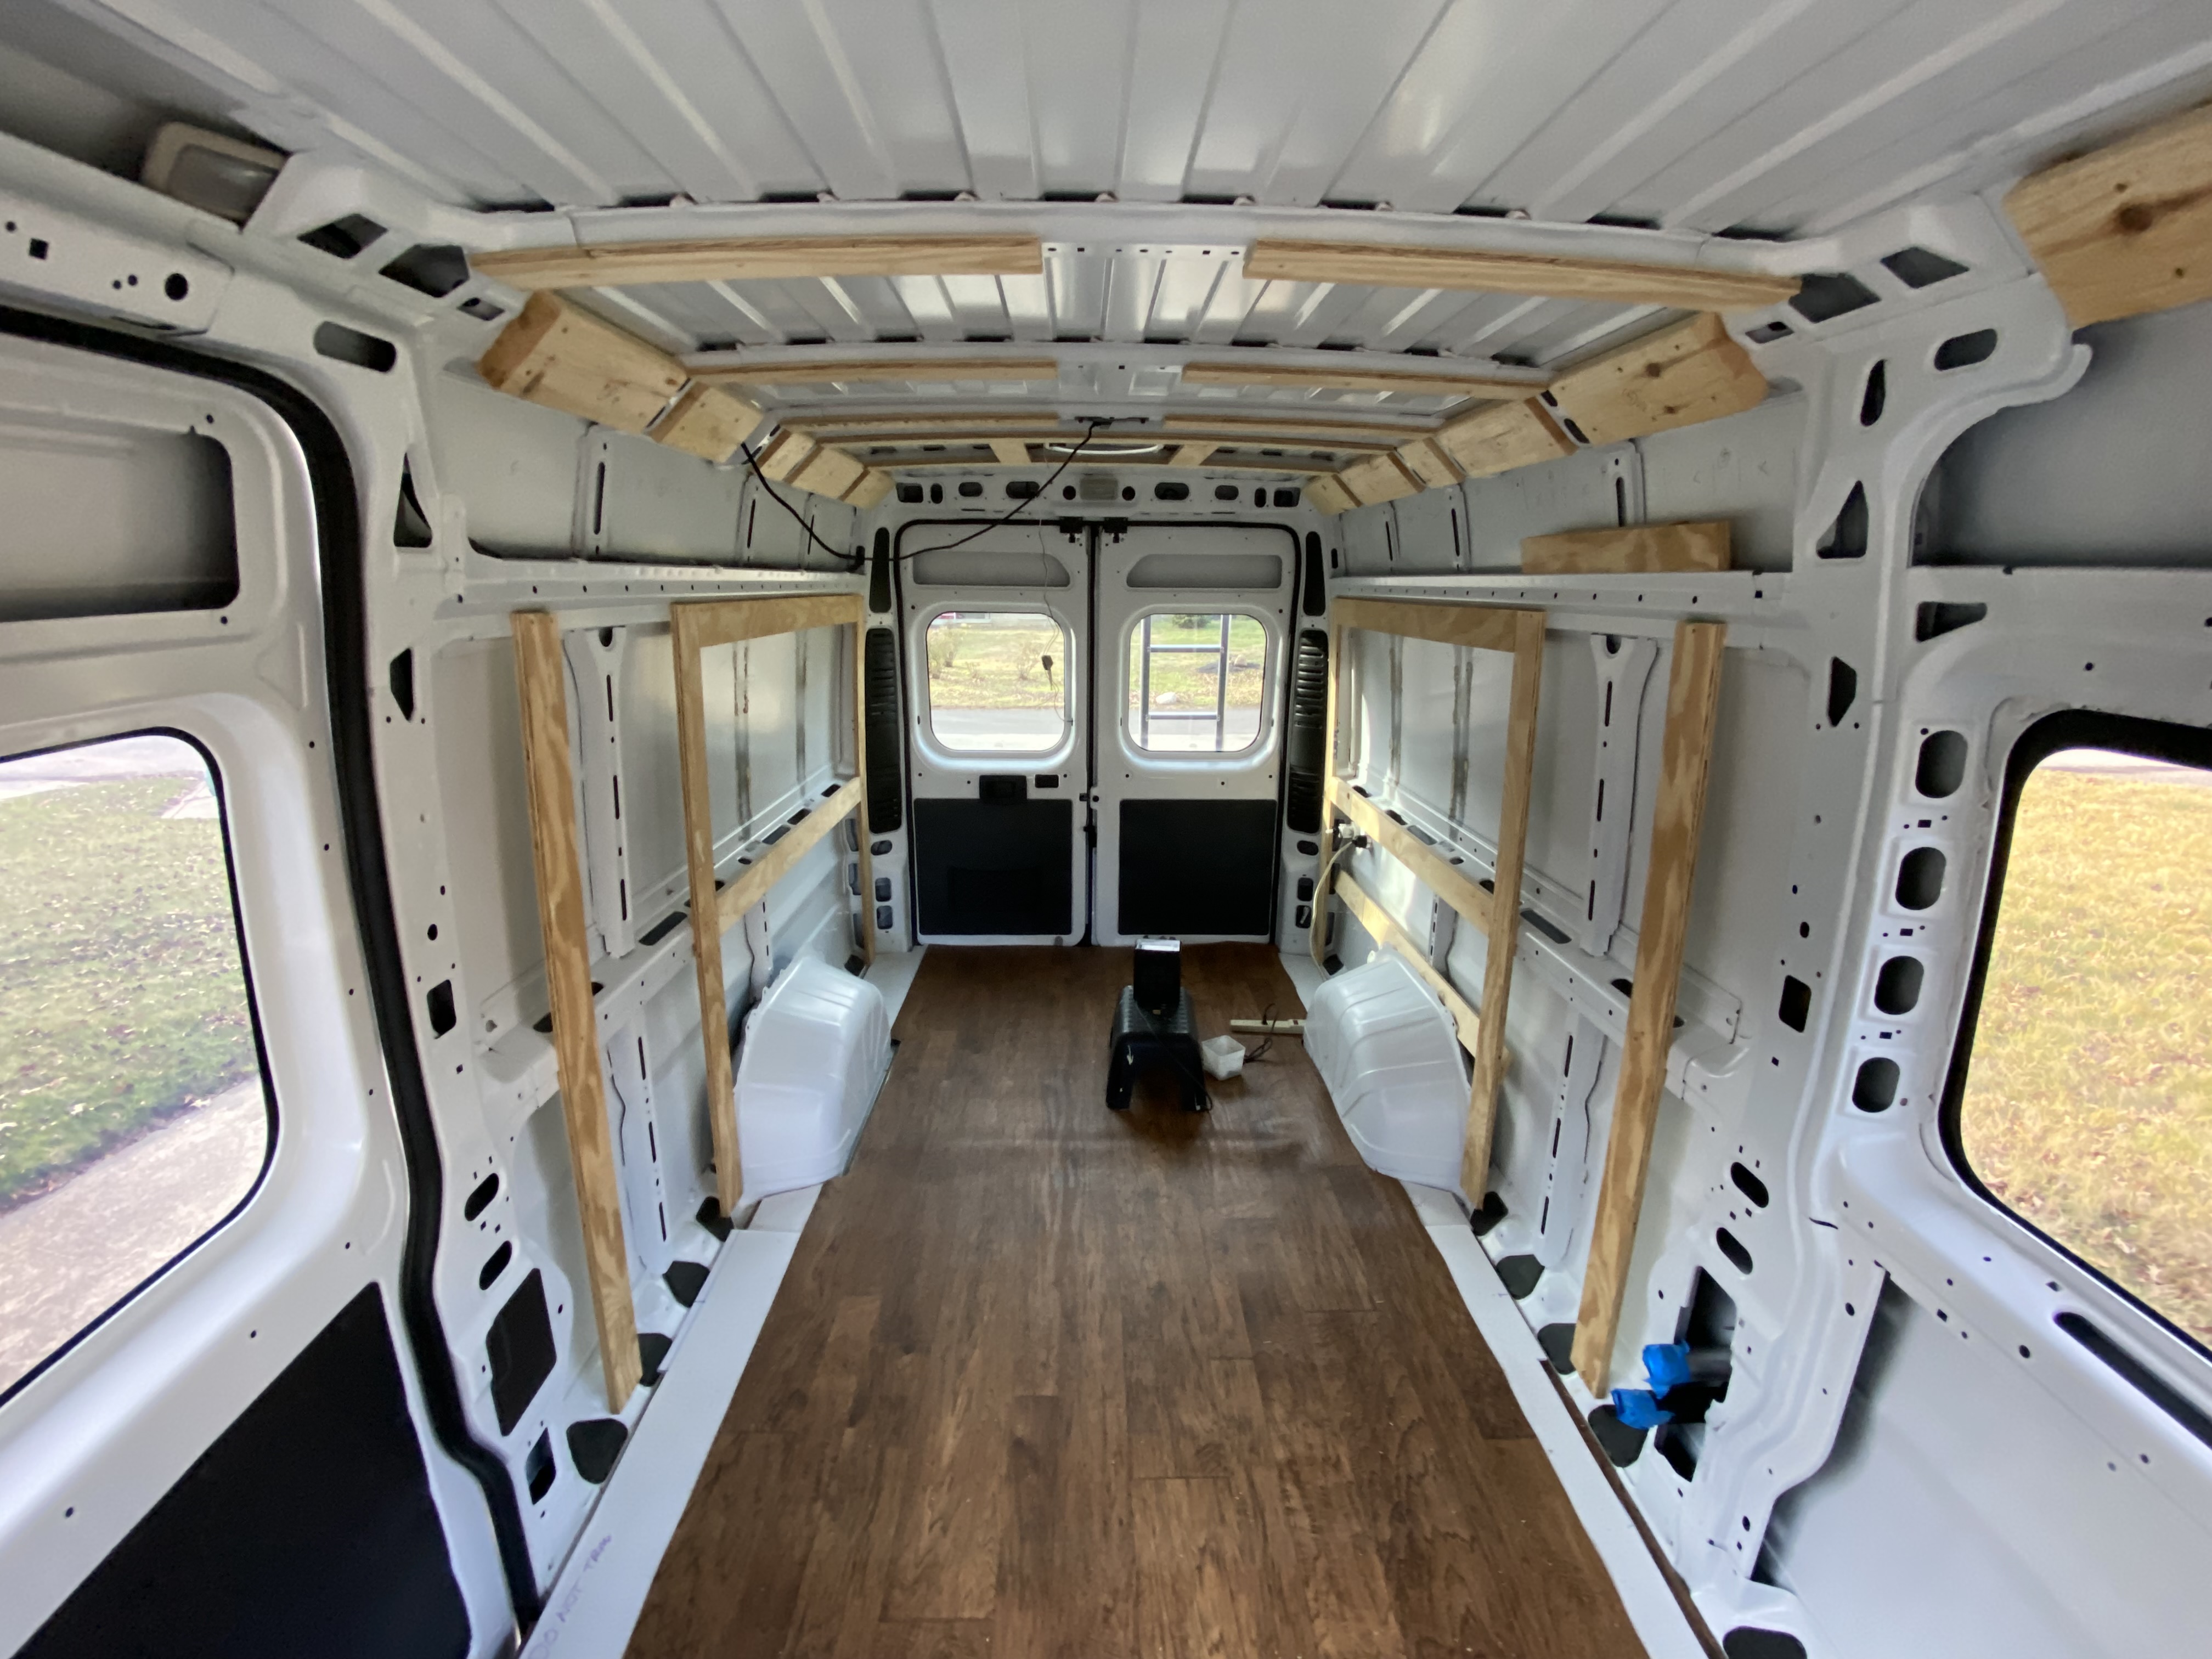
Framing the Walls
3/4 inch plywood for wall "studs."
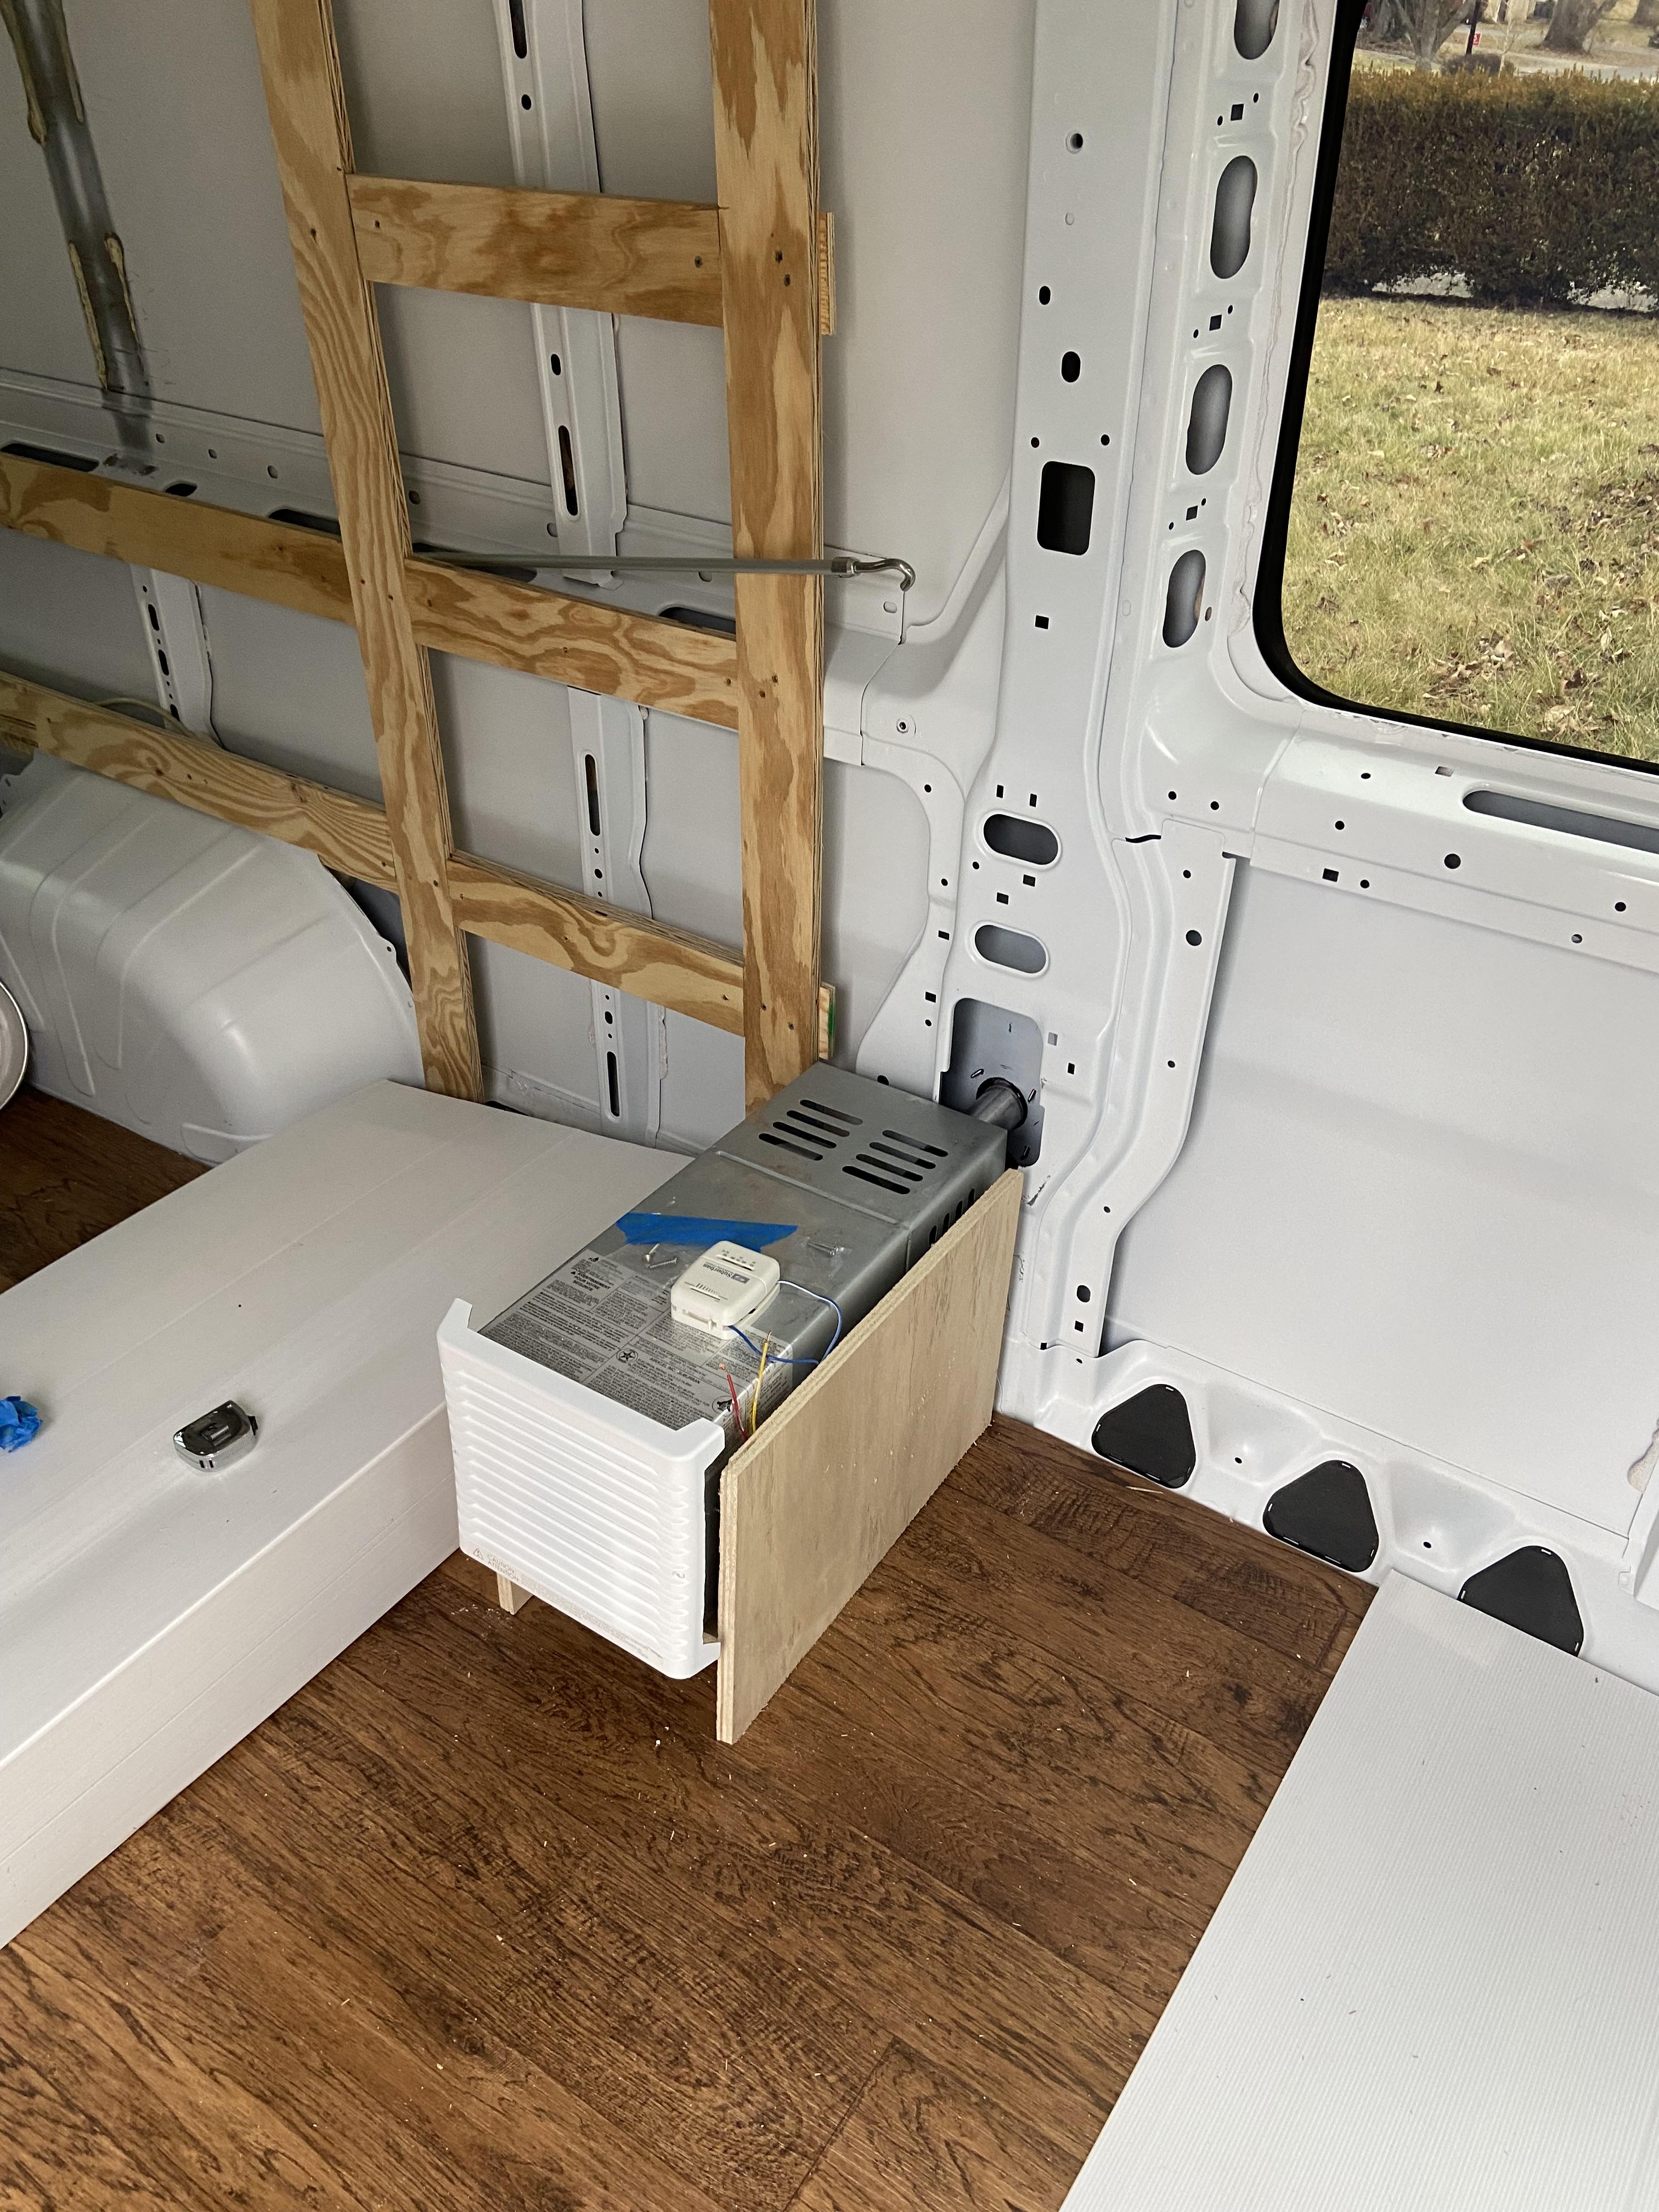
Installing the Furnace
This is the same model furnace I had in my previous camper. It was so dependable, I didn't see a reason for any other choice.
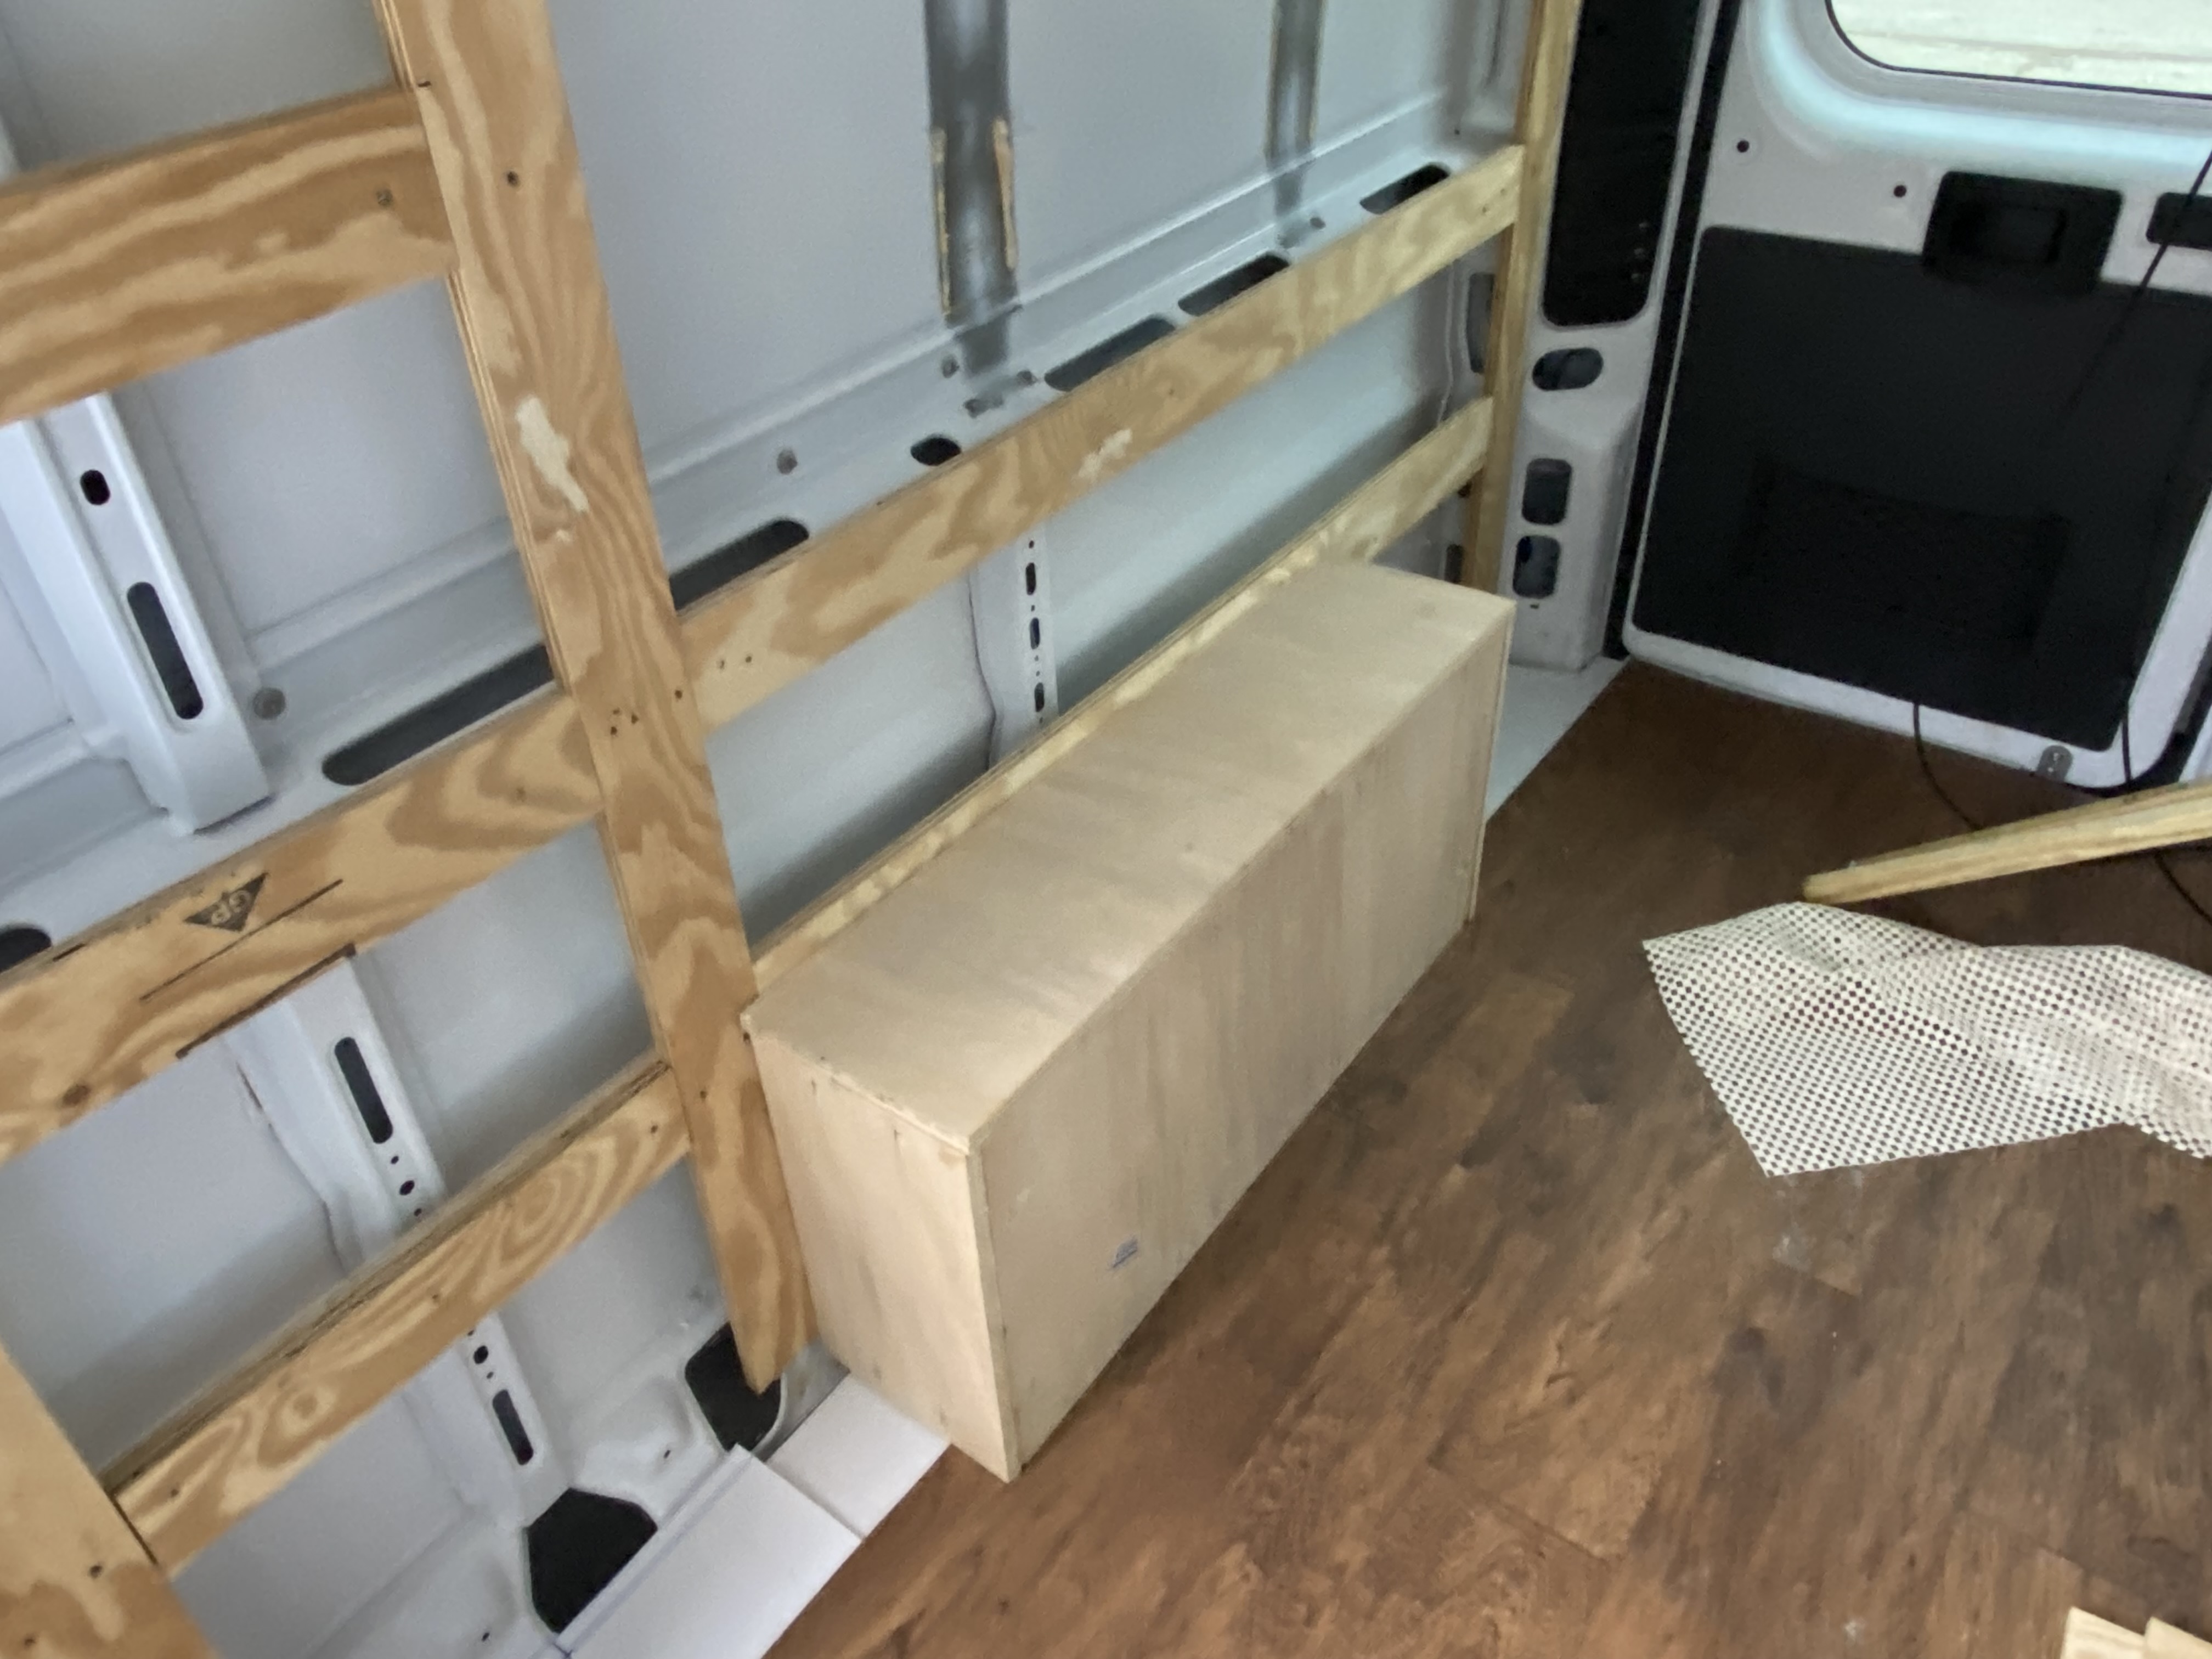
Wheel Well Covers
Used my new pocket screw rig to put these together. Worked really well.
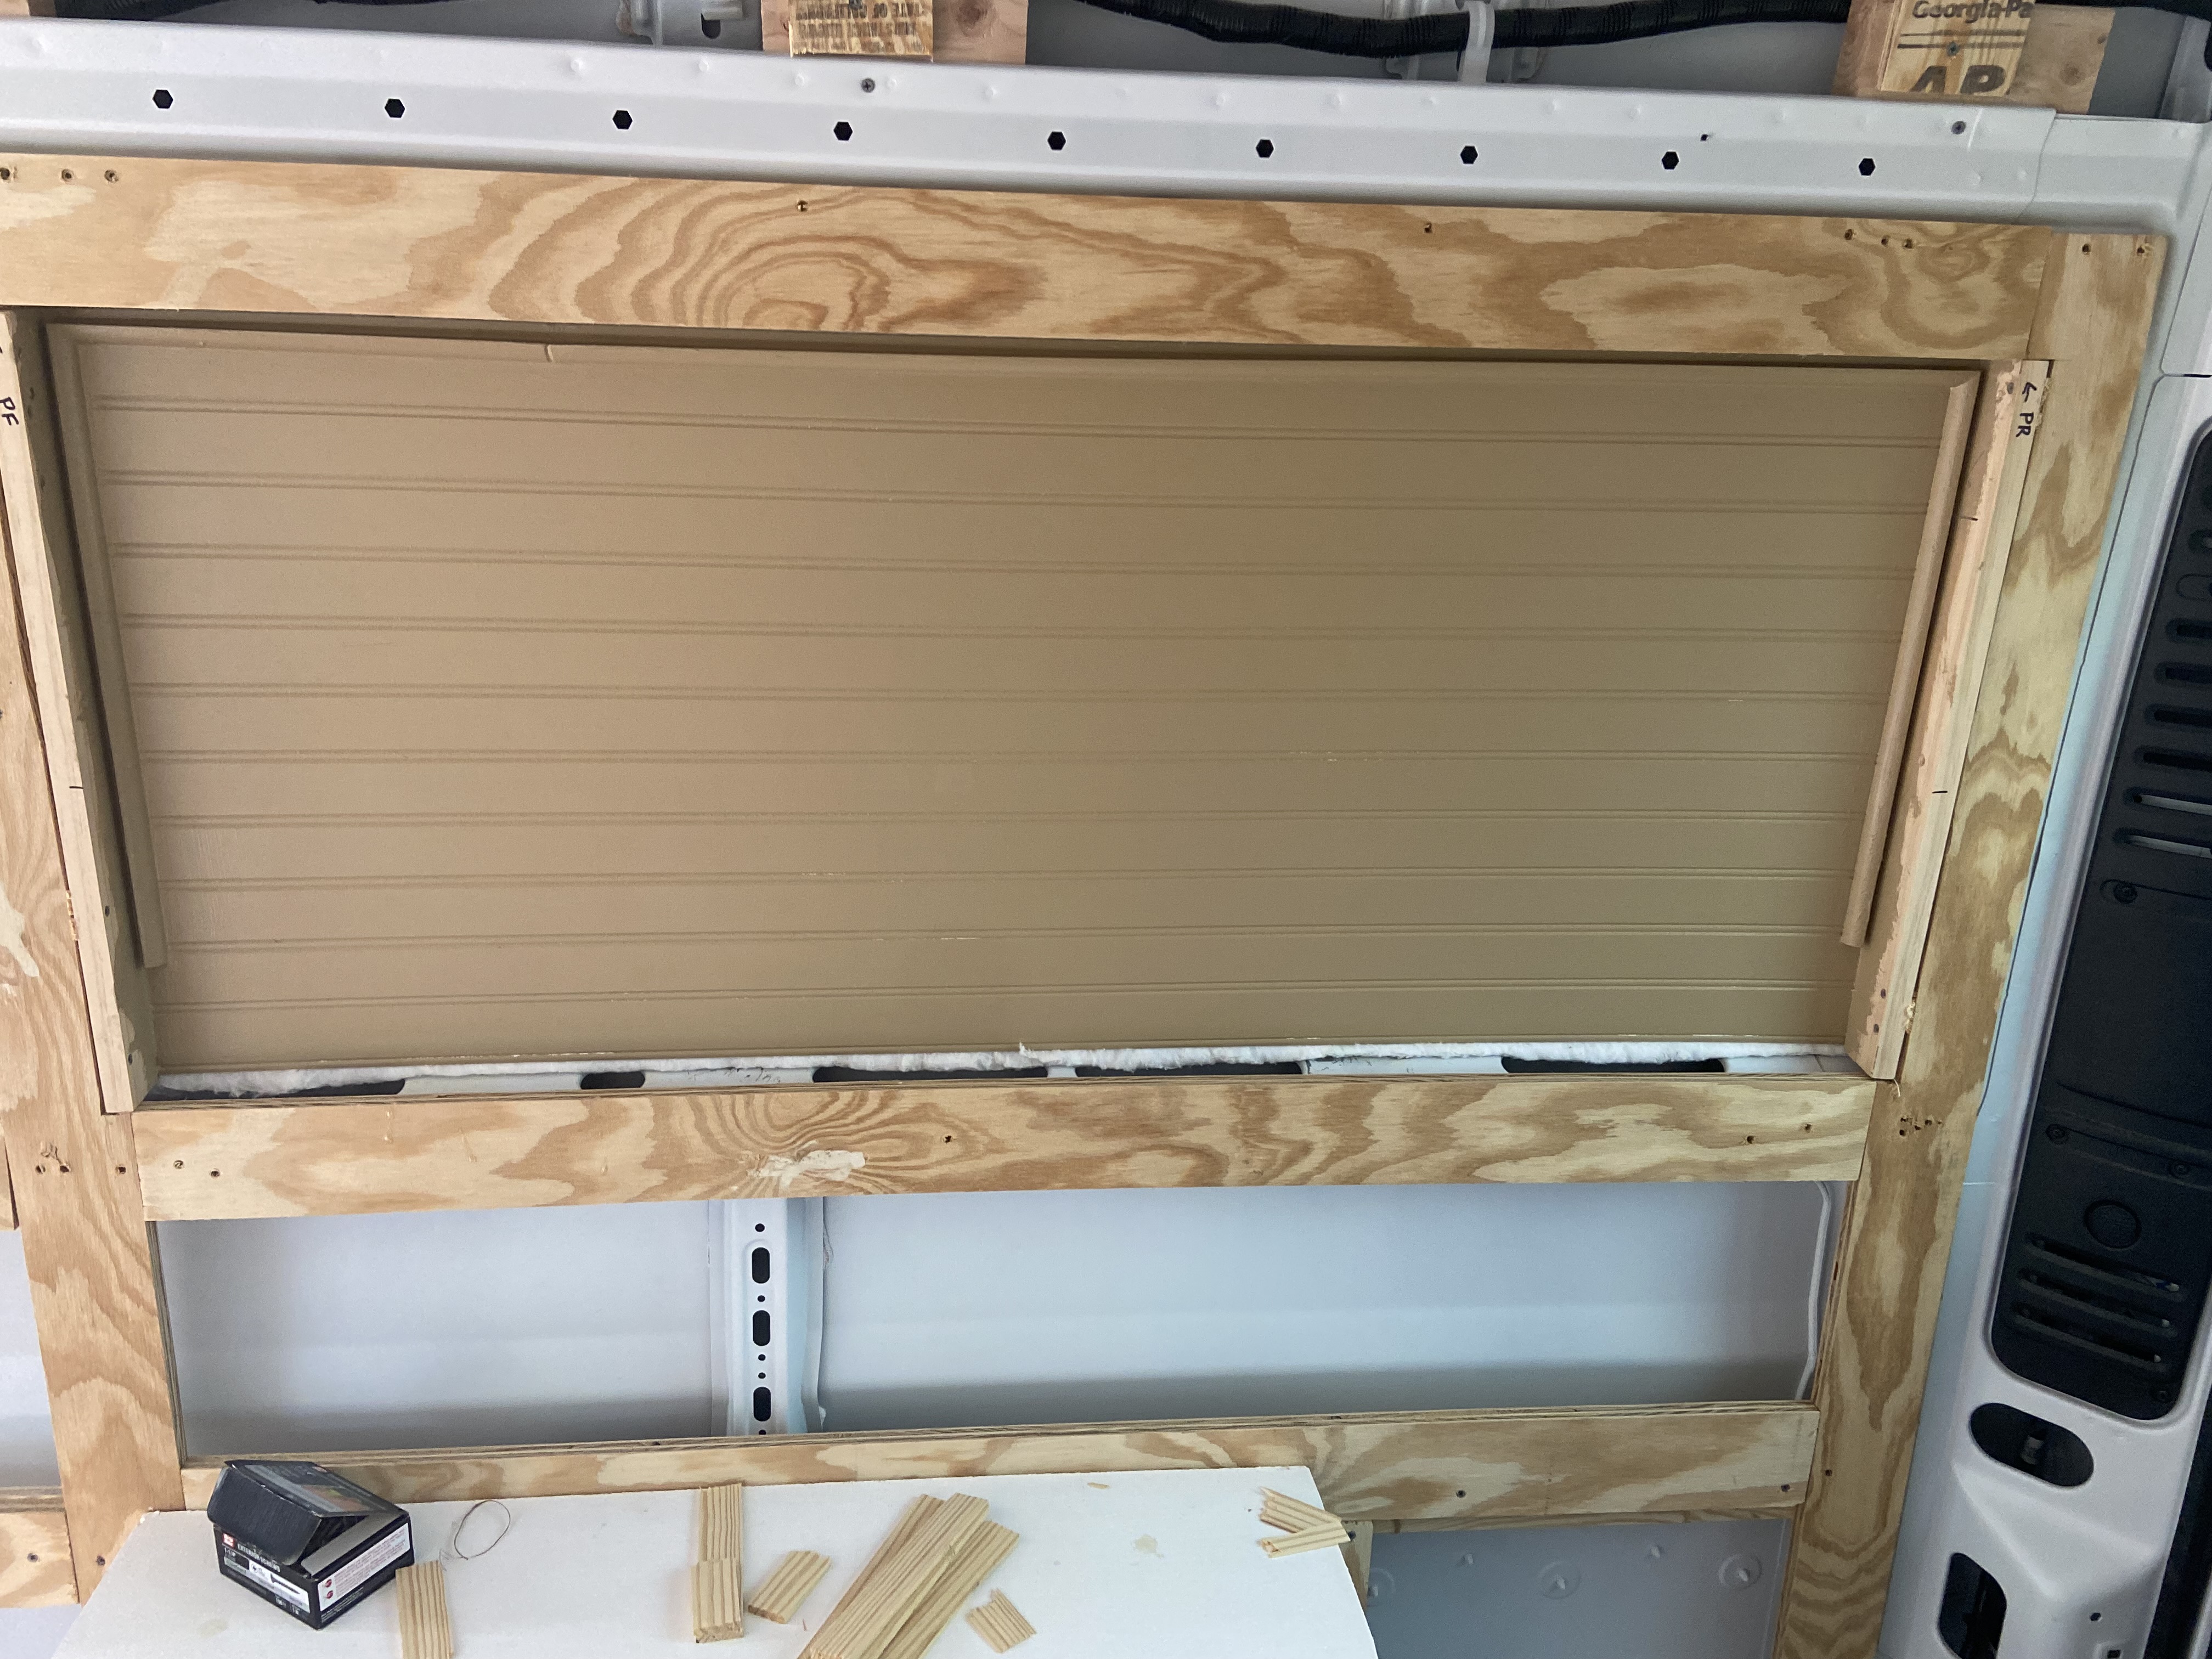
Bed Inset
In order to fit a full size mattress accross the back of Gravytrain, siding panels at the head and foot of the bed must be pushed back to almost the outer walls of the van. This is the color for the paneling.
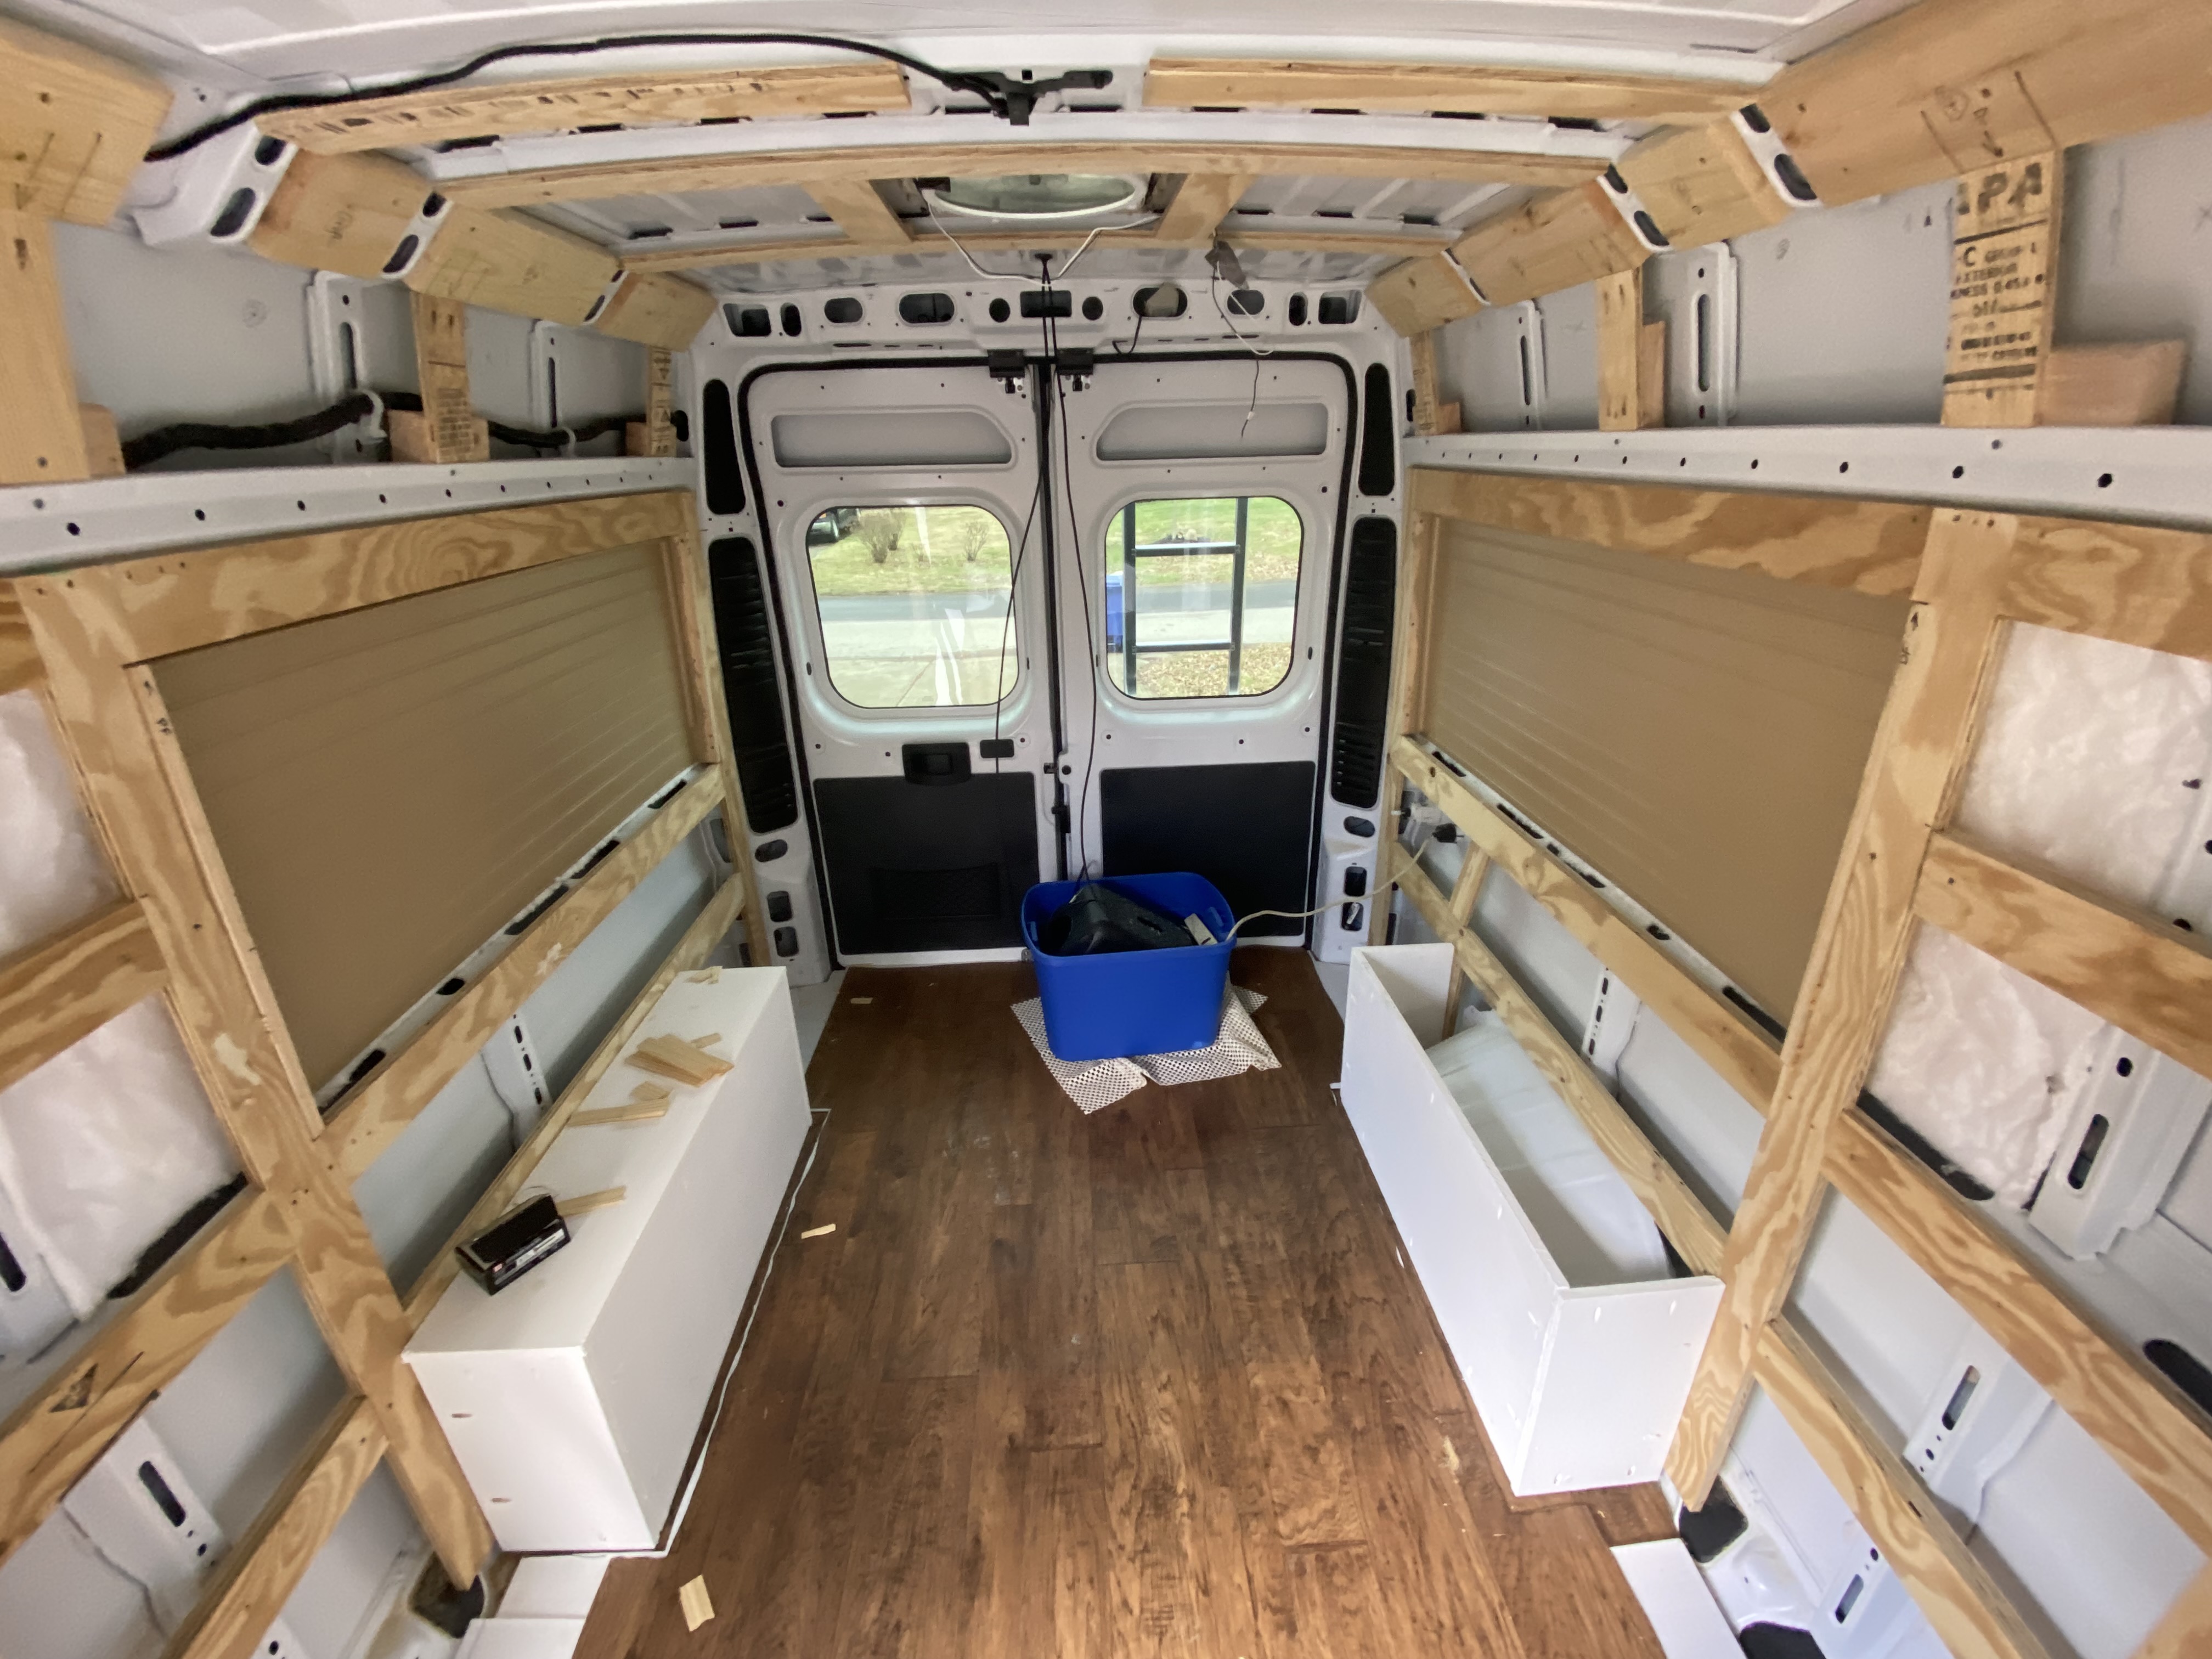
Final Framing
The build-out is sorta stuck here until spring. I need temps in the 60's to apply the adhesive for the insulation. I'll pick up here when I return to Columbus (hopefully in May).
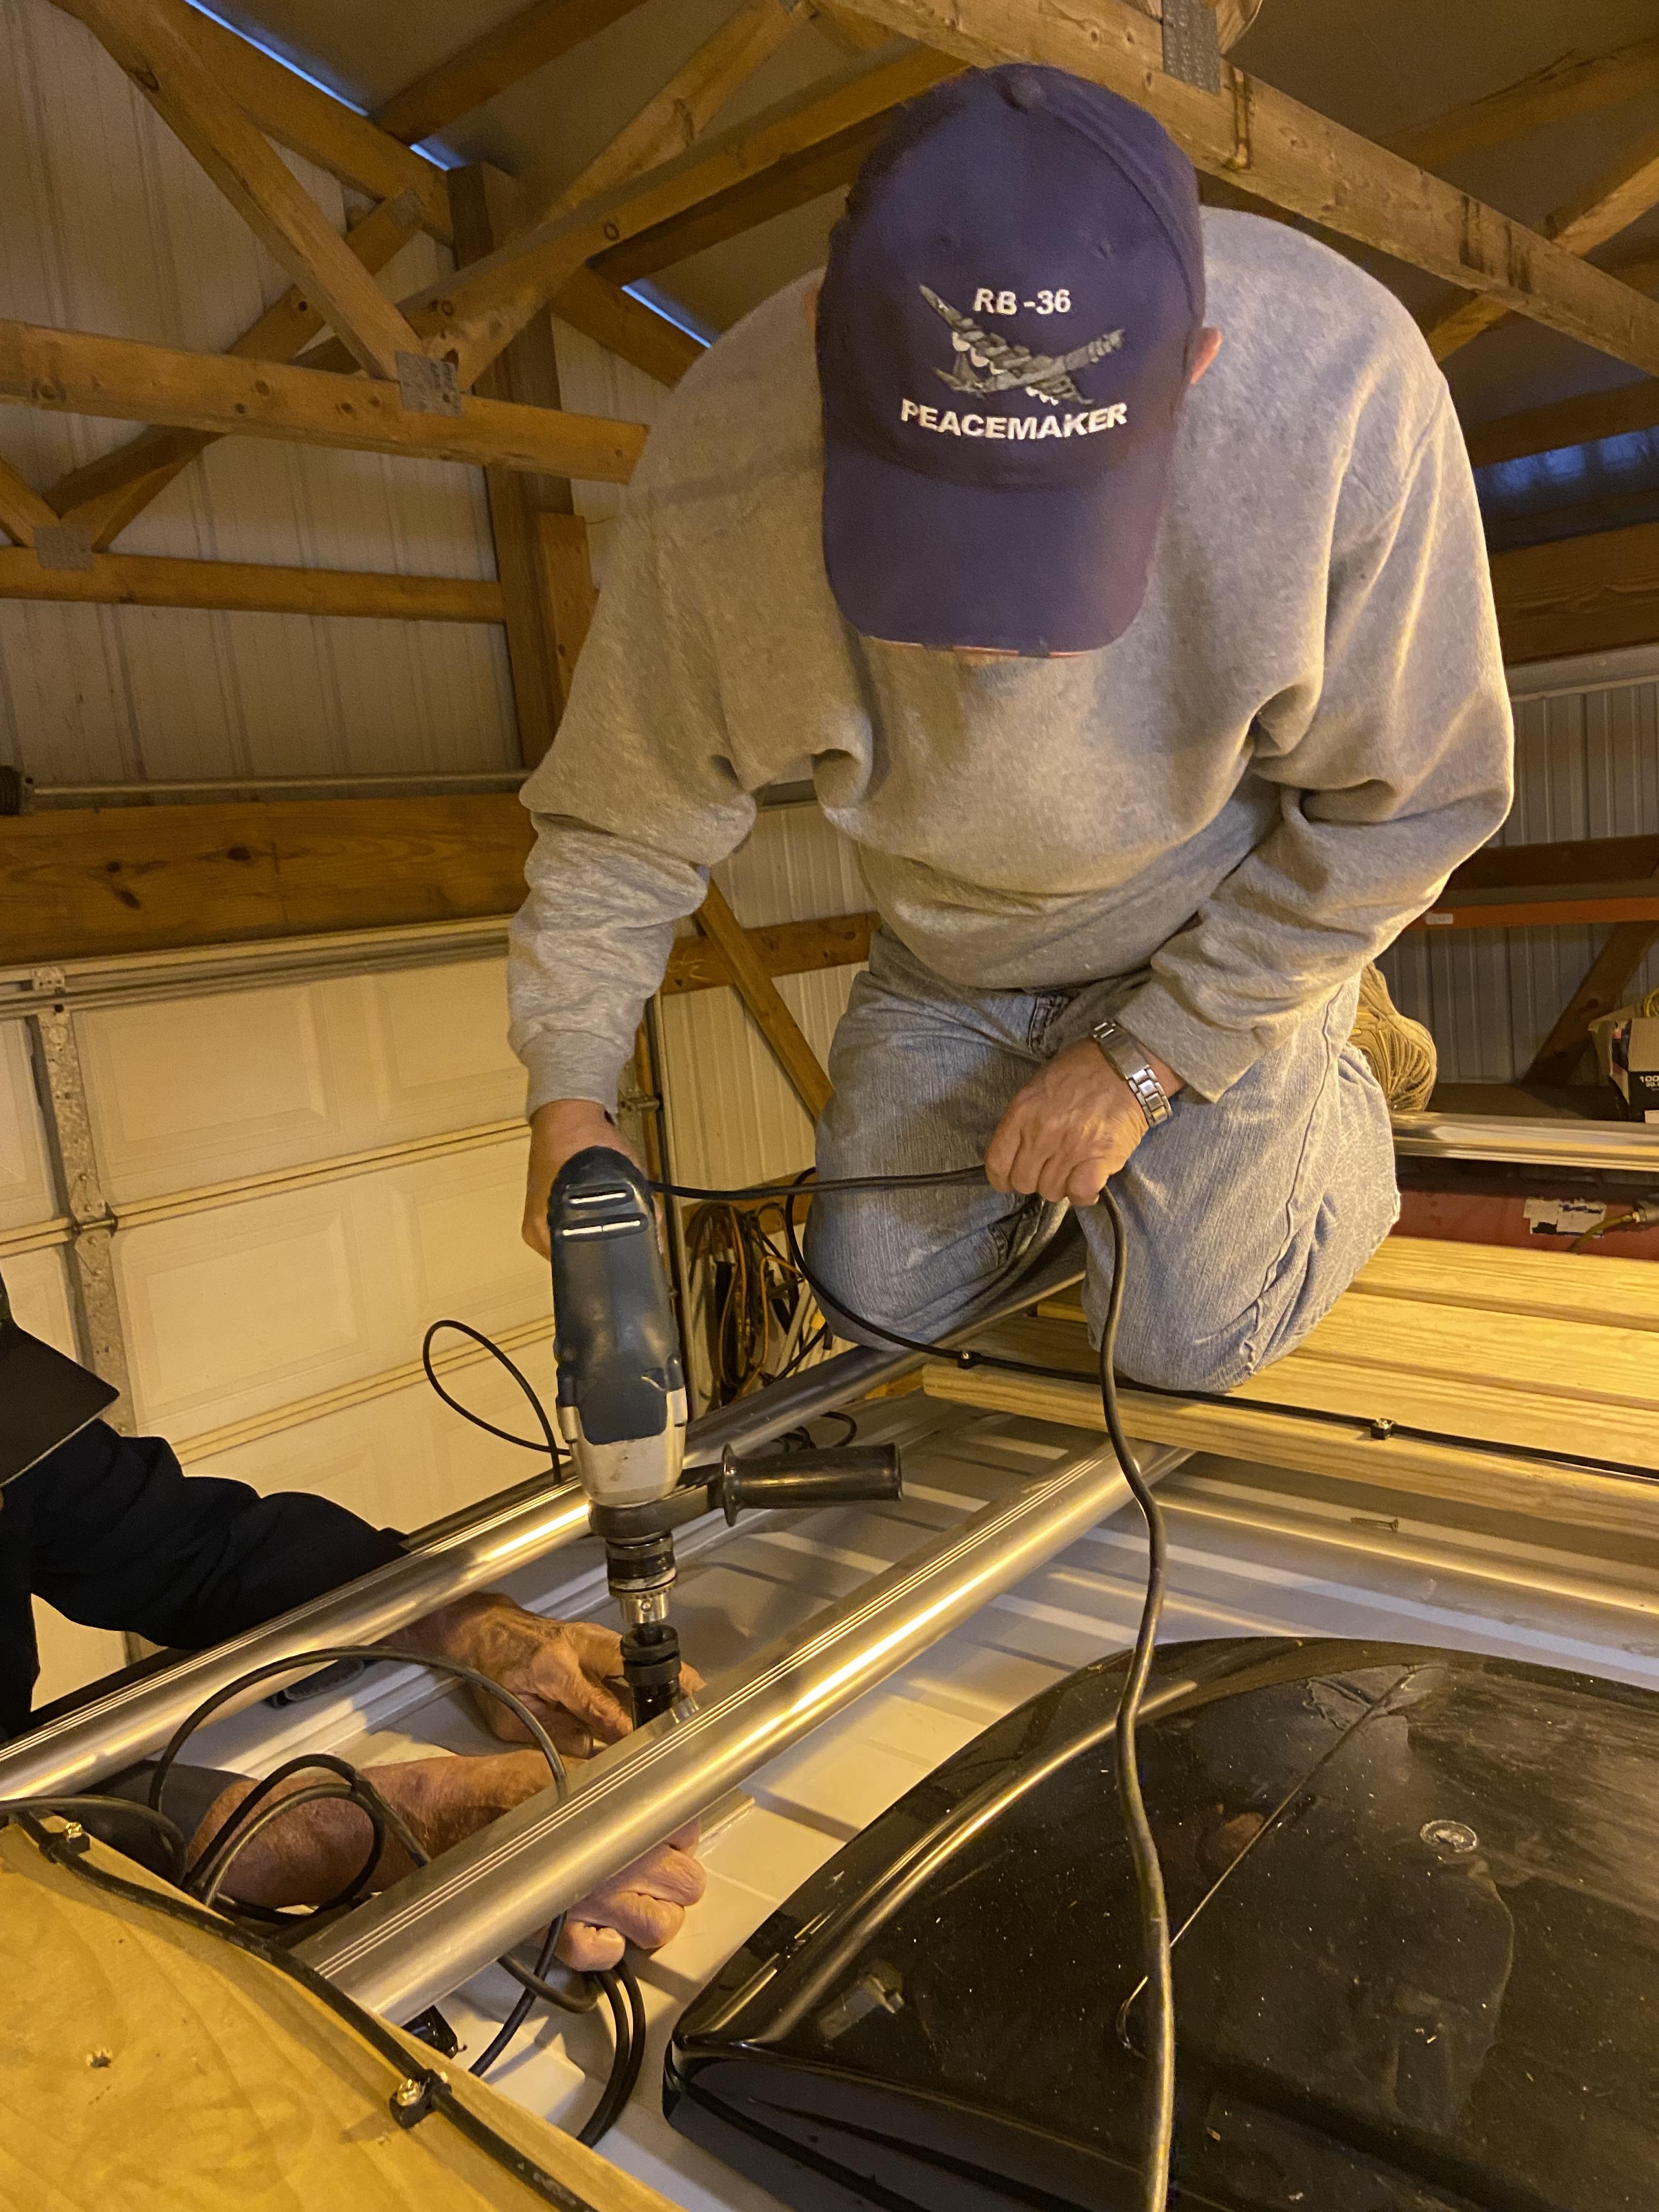
Solar Panels
One more trip to Rick's pole barn, once more onto the roof, another chance to bloody my knees, and drill (yet) another hole in Gravytrain. Side note: Can you believe Bob put his fingers that close to me and a power drill?
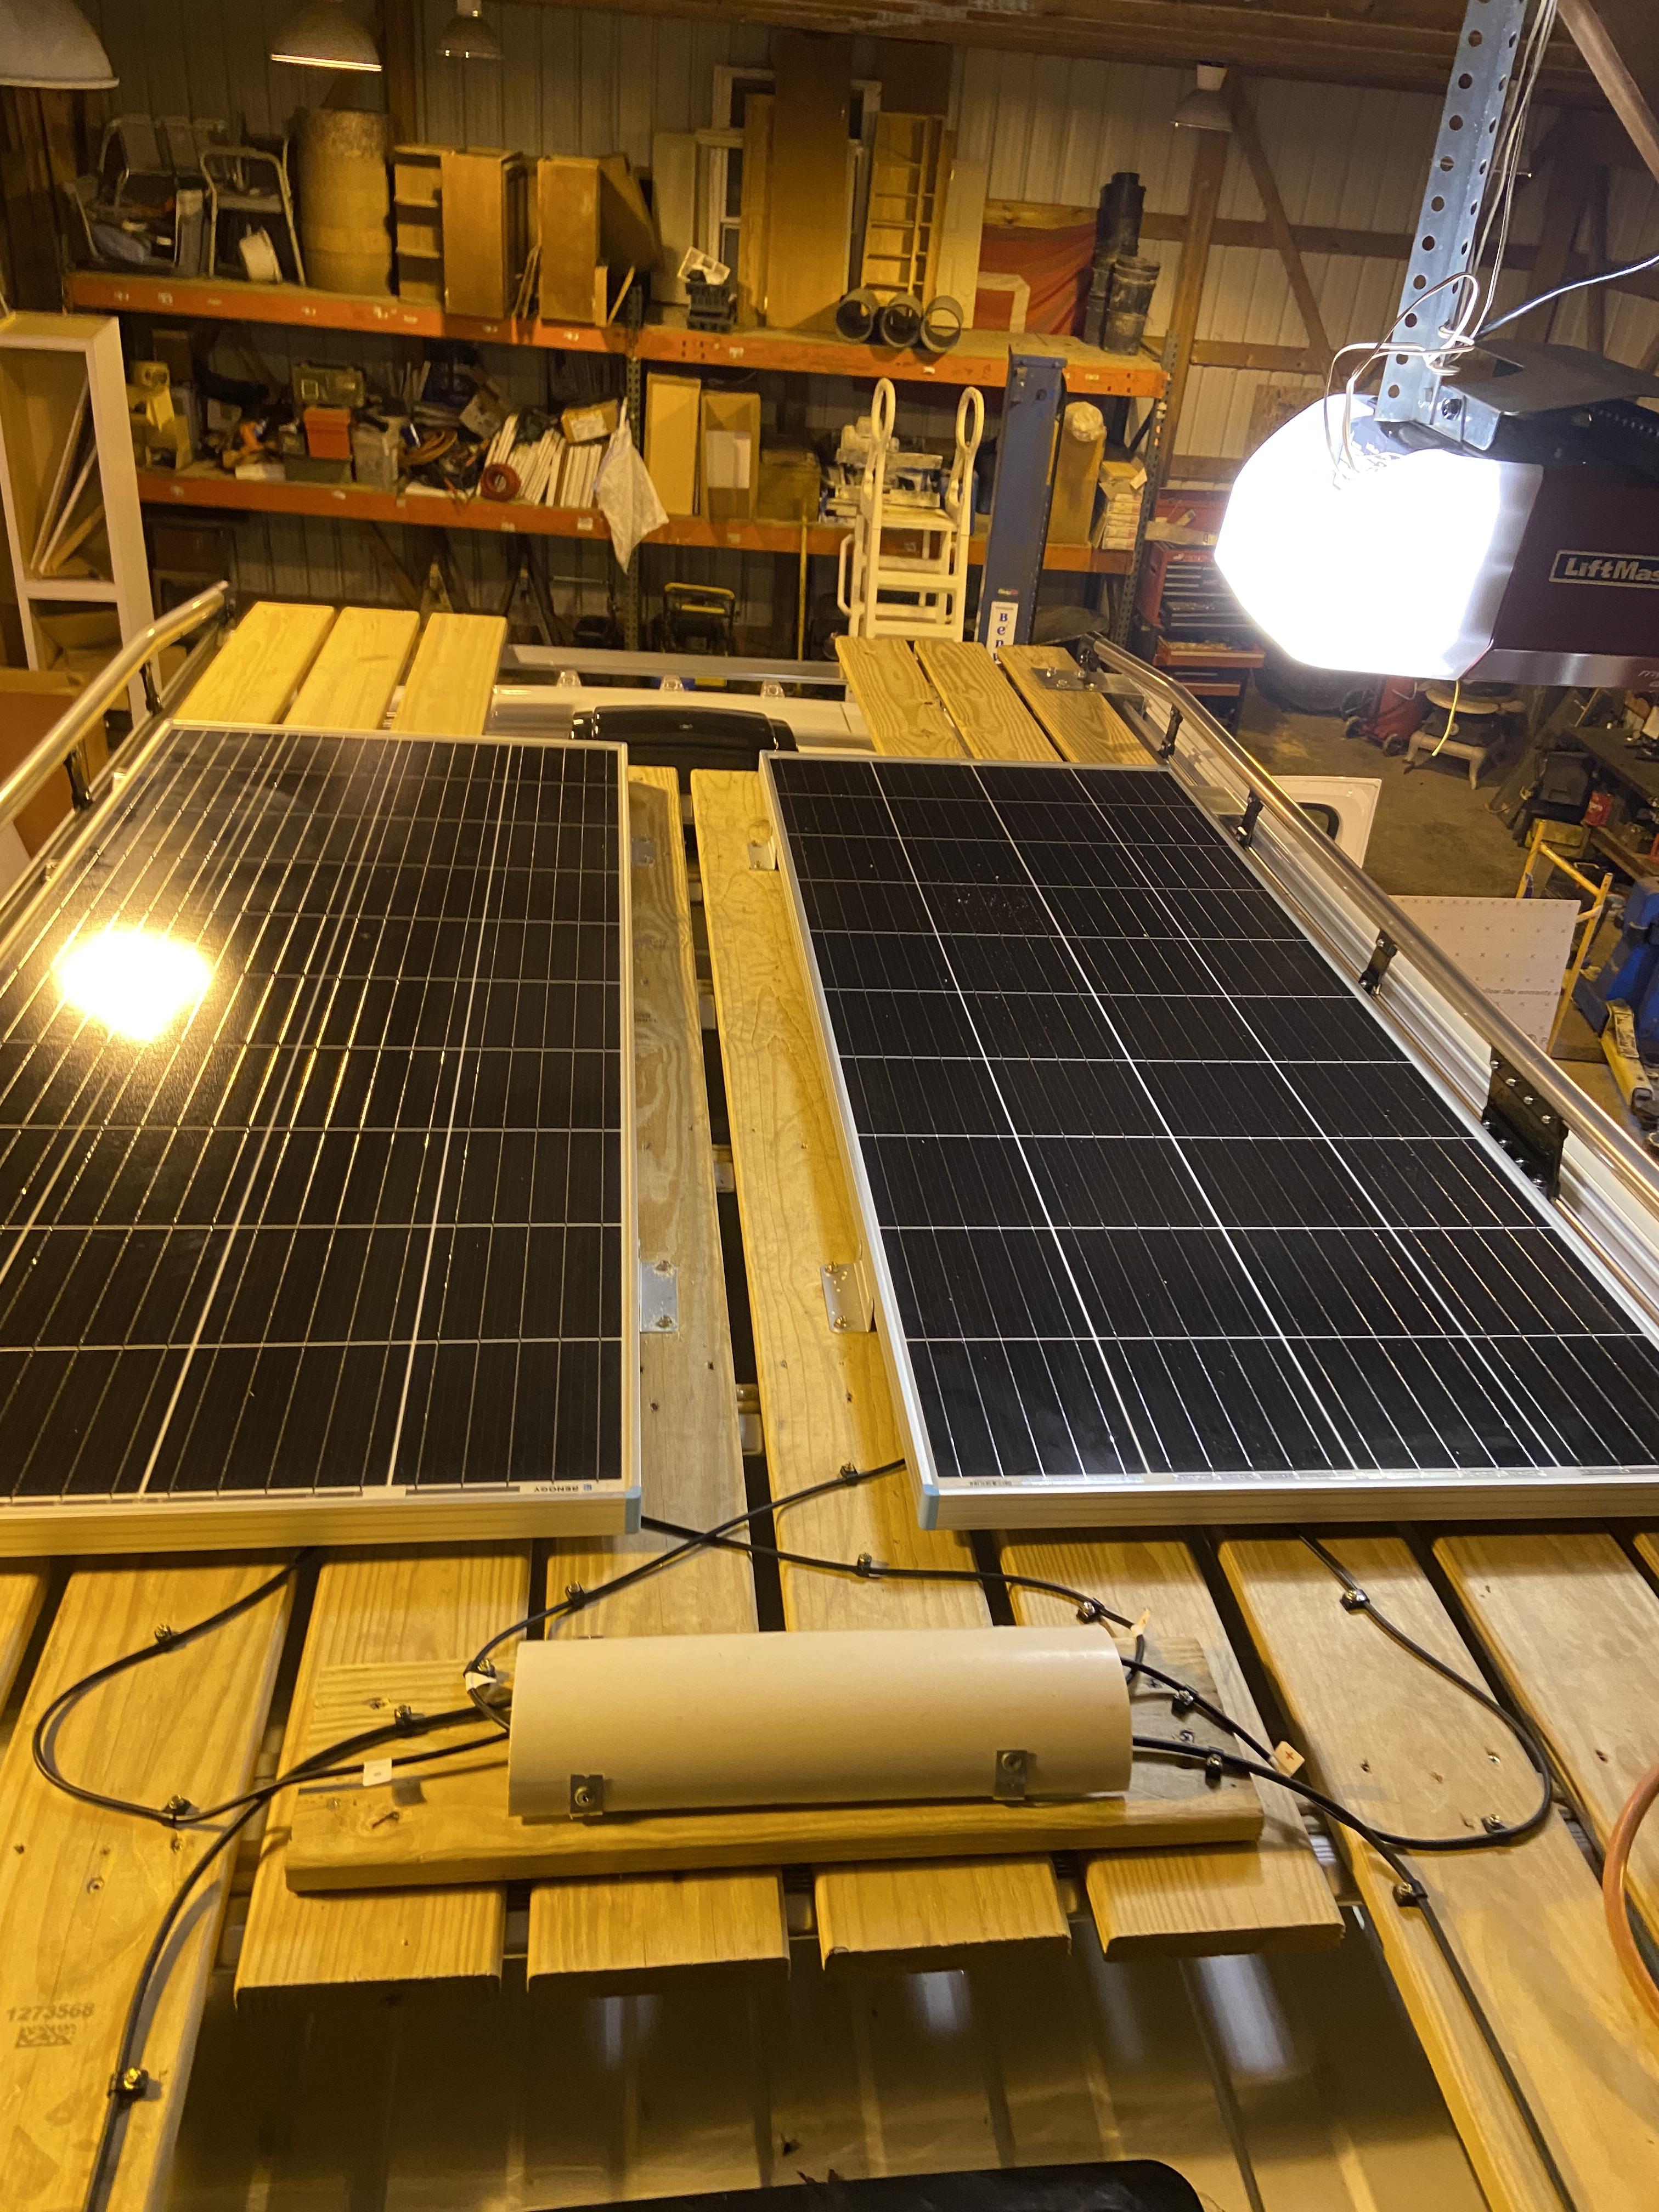
400 Watts Baby!
It was a bitter cold day in the pole barn. We had two propane heaters going, so it was bearable... barely. Thanks again to Rick and Bob on this install.
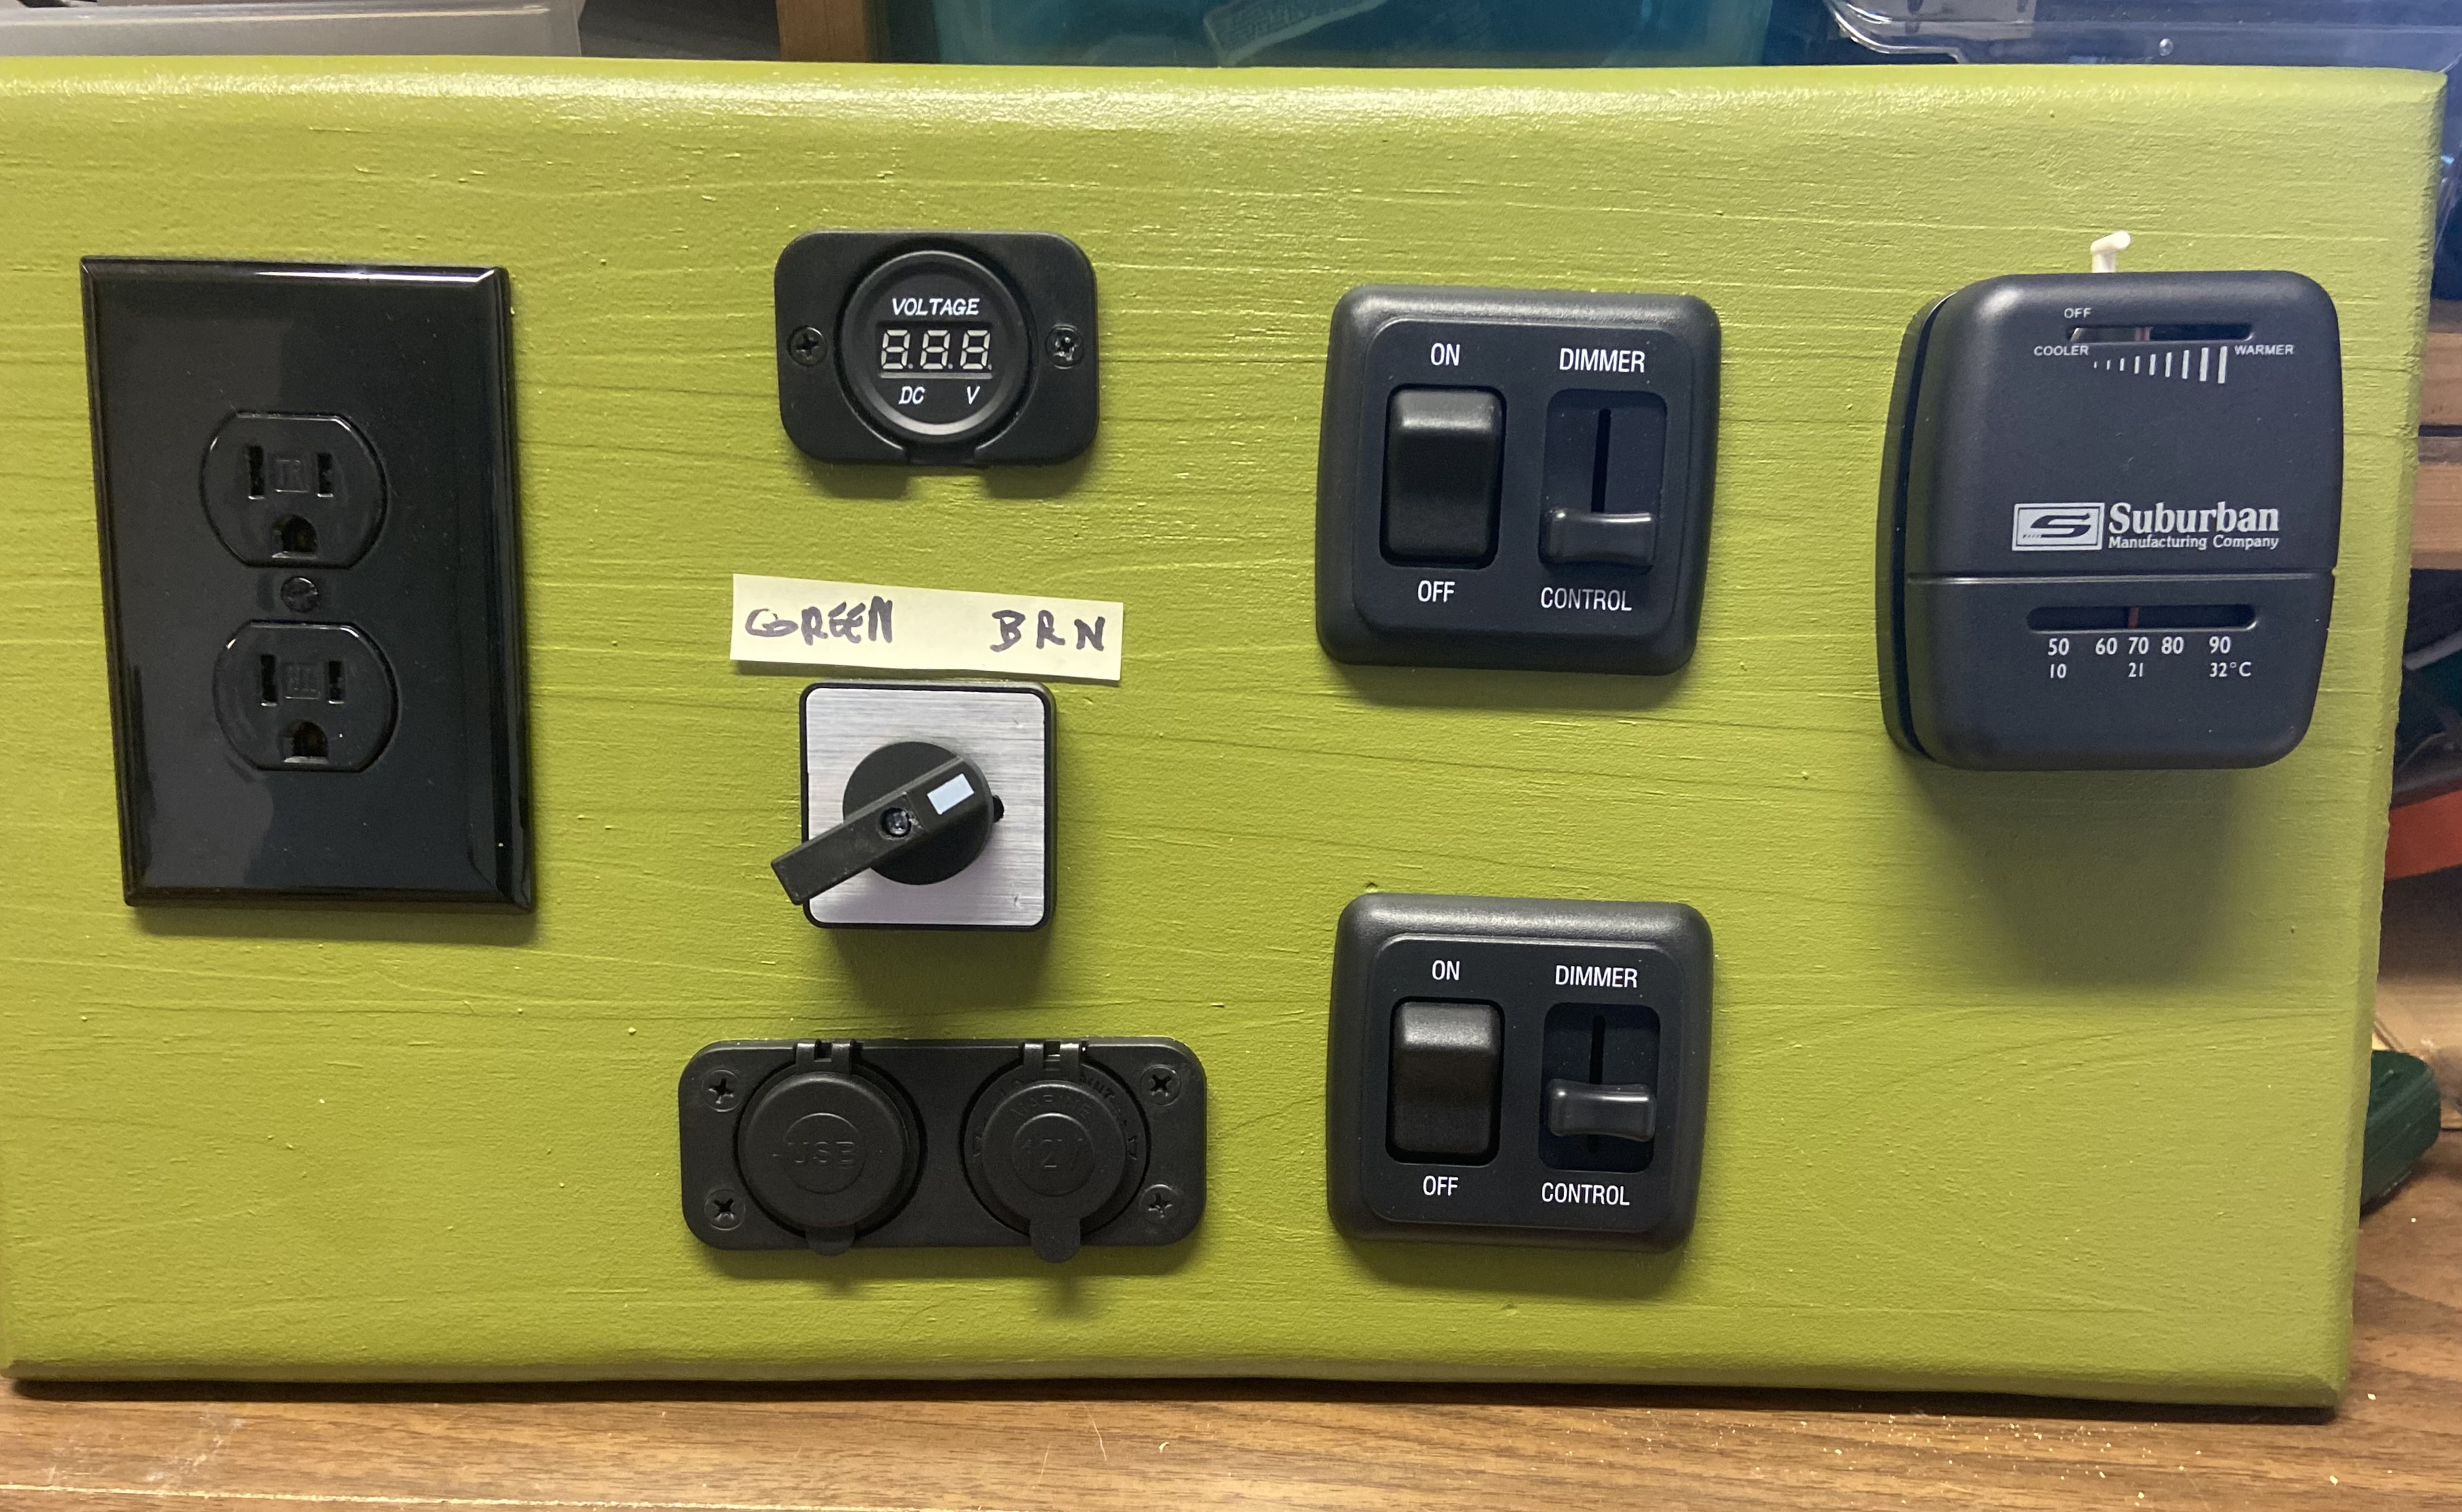
Control Panel
This is Gravytrain's control center. It will be mounted on the wall beside the bed.
So ends the first chapter in Gravytrain's origin story. Now, it's back to Denver to retire and close down my life out there. I plan to be back to Columbus in May to attempt a maiden voyage by July. Wish me luck!